Calibration Option 5
This option is valid for any company wishing to calibrate an RMS device. However limitations do apply:
- If a device is already setup in an RMS software, it cannot be added to another one without deactivating it before hand.
- To maintain all audit trail advantages, the calibration must be done within the Customer's Cloud.
| Important: The digital probe send digital data to the datalogger and as of such no loop calibration is required. |
|---|
Requires:
1 * Measuring Point via a Device
1 * RMS software login, including sufficient user rights.
| Step 1 | Place the Device with the measuring point in the calibration environment. Ensure that the device is connected to the network (via LAN or wireless). |
|---|---|
| Step 2 | Click on "Tools" > "Calibrate": 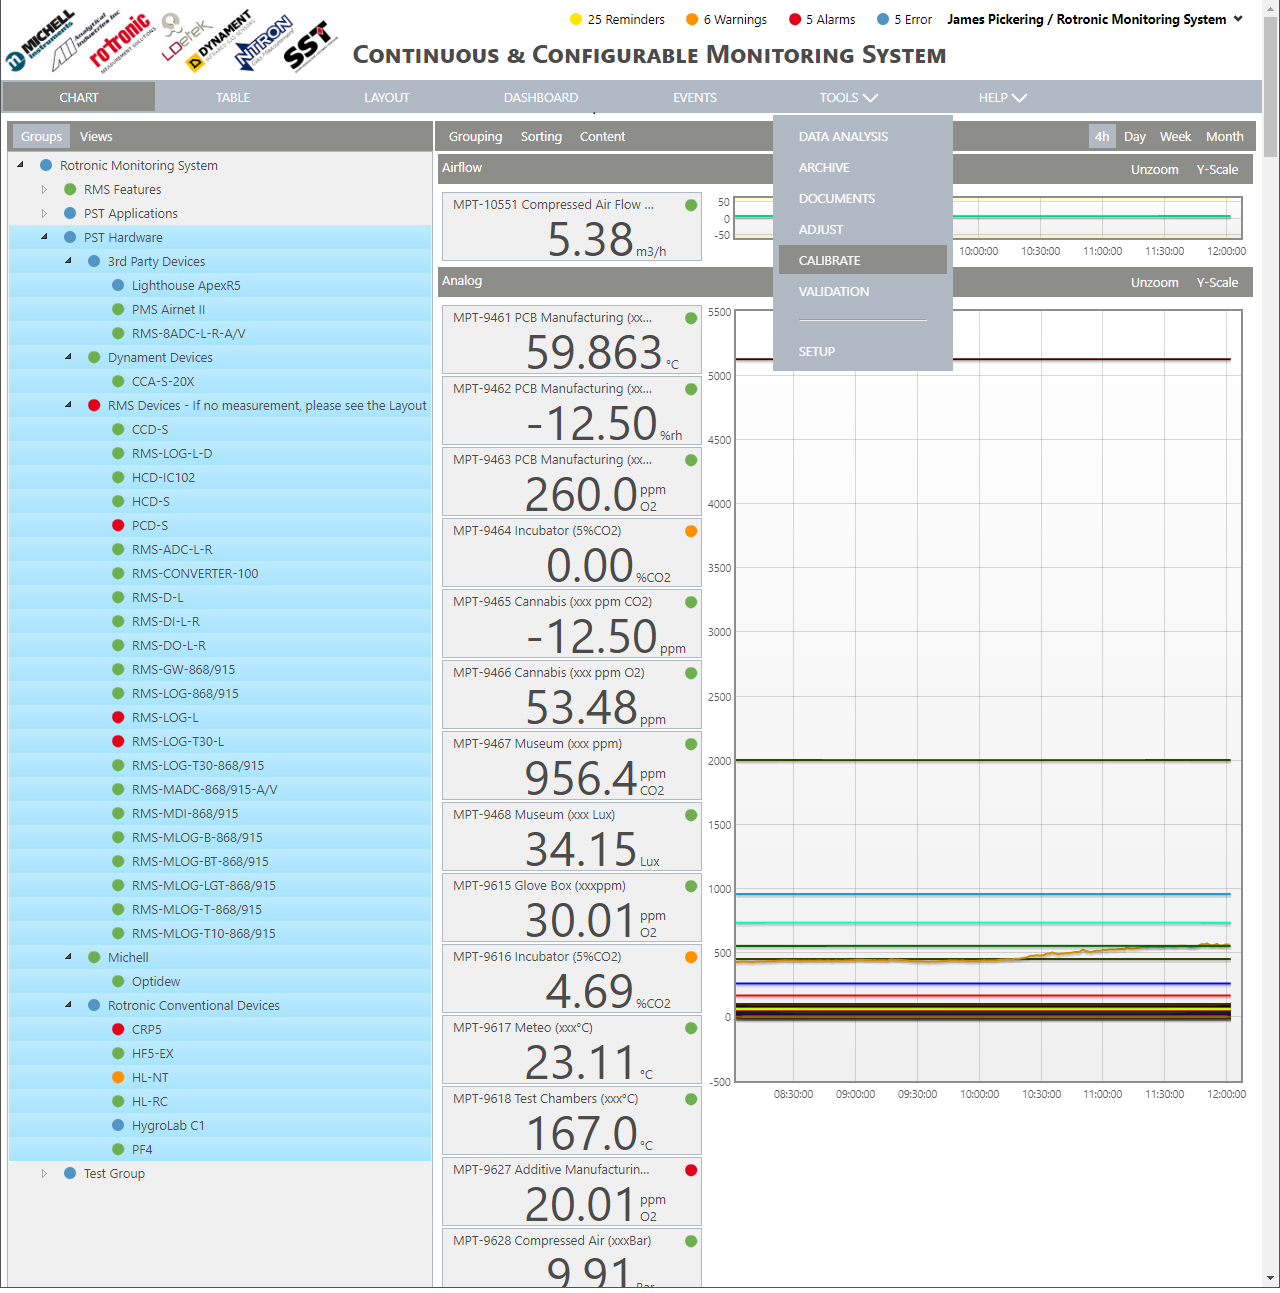 |
| Step 3 | Select the group and the measuring point to be calibrated: 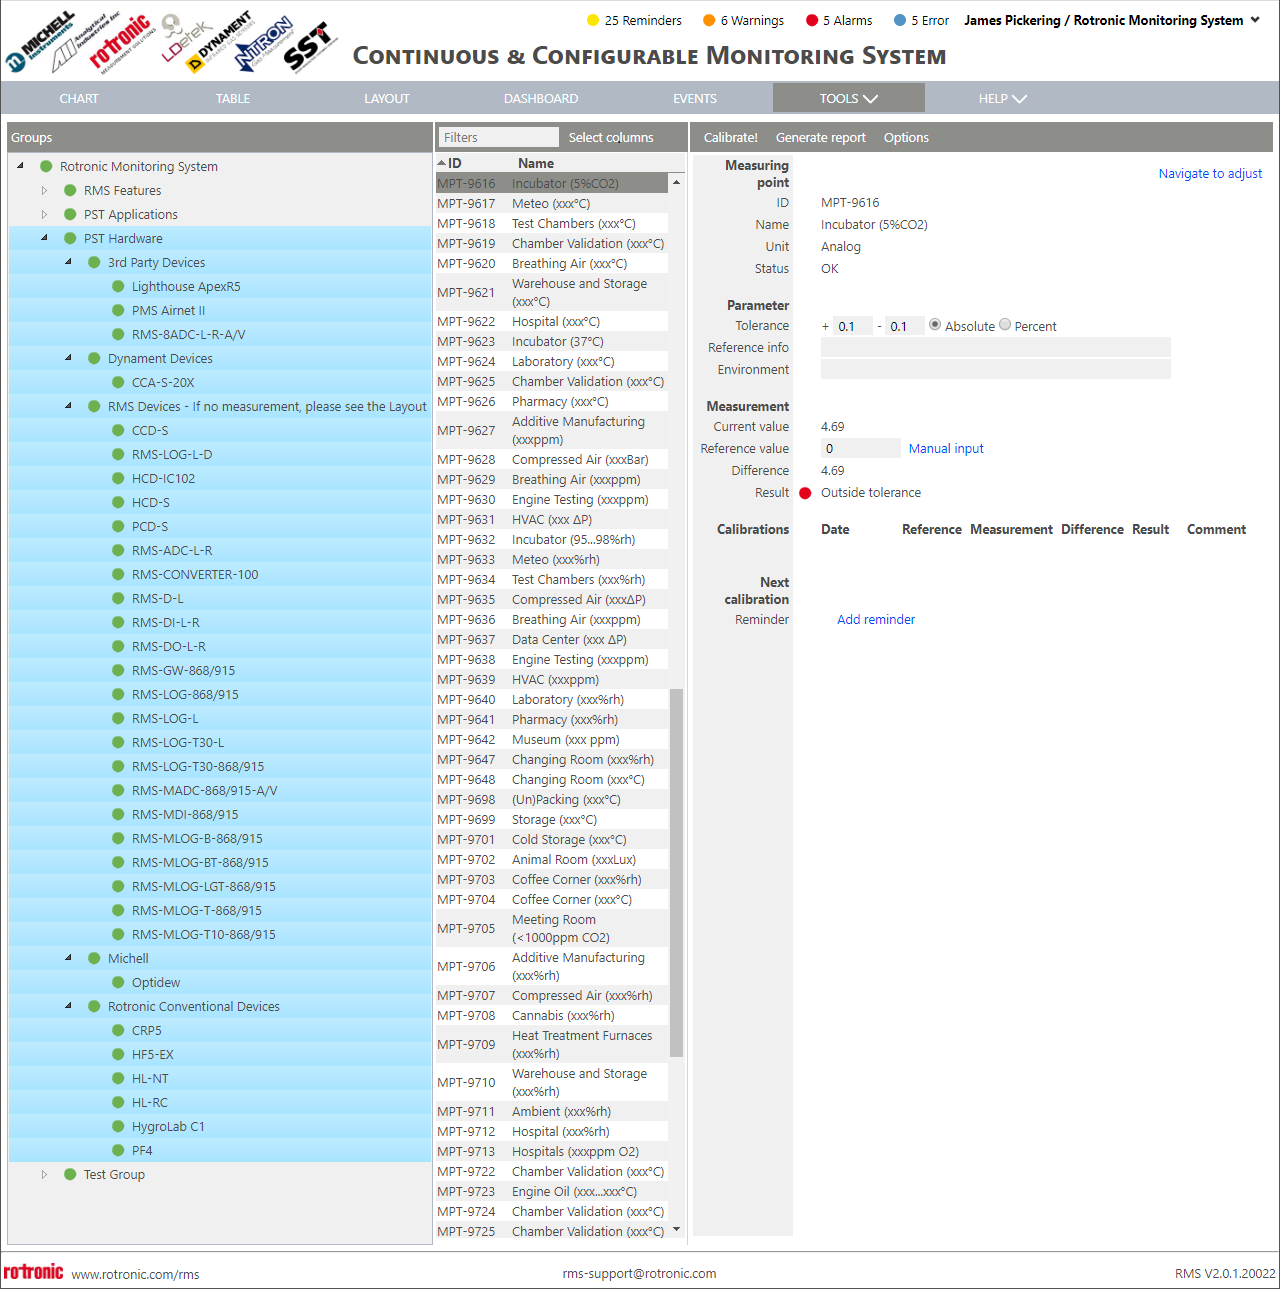 |
| Step 4 | Click on "Options" > "Calibration mode" to carry out a measurement every 60s, if the log interval is already 60s, this step can be missed: 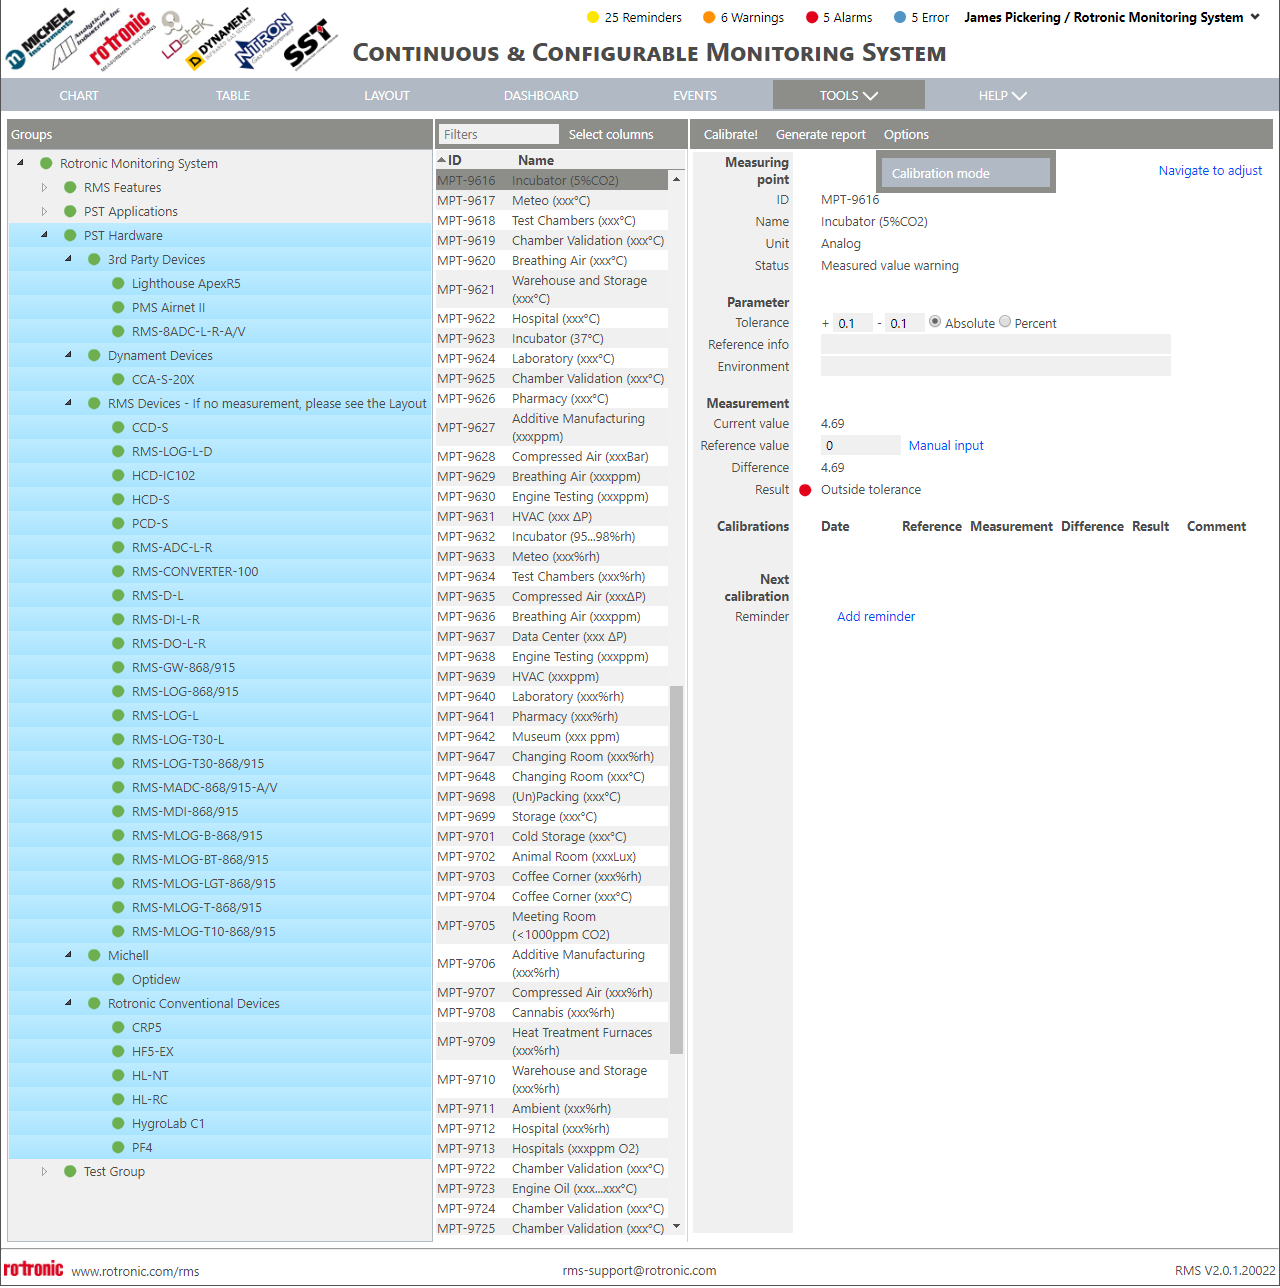 |
| Step 5 | The following pop-up window will appear. Click on "OK": 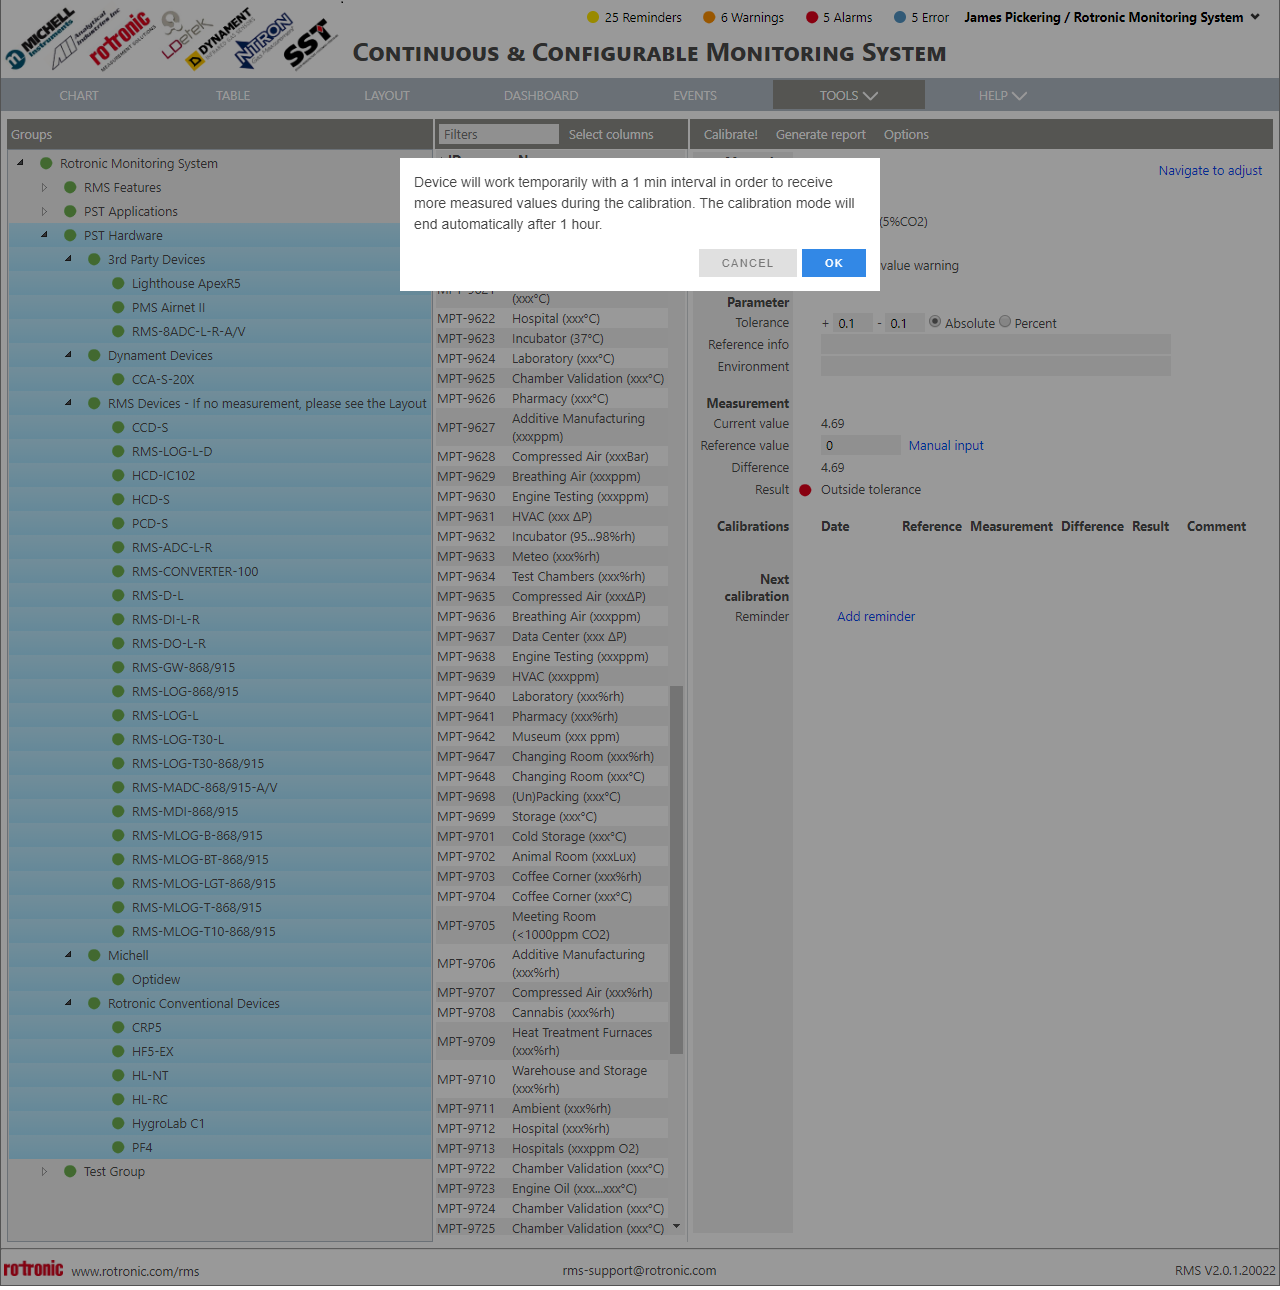 |
| Step 6 | Set the calibration parameters: Tolerance: + and - values in absolute or percent values. Reference info: Add the data relevant to the reference device. Recommendation: add the name, serial number, ISO17025 calibration certificate number and ISO17025 calibration date. Environment: Add the data relevant to the environment. 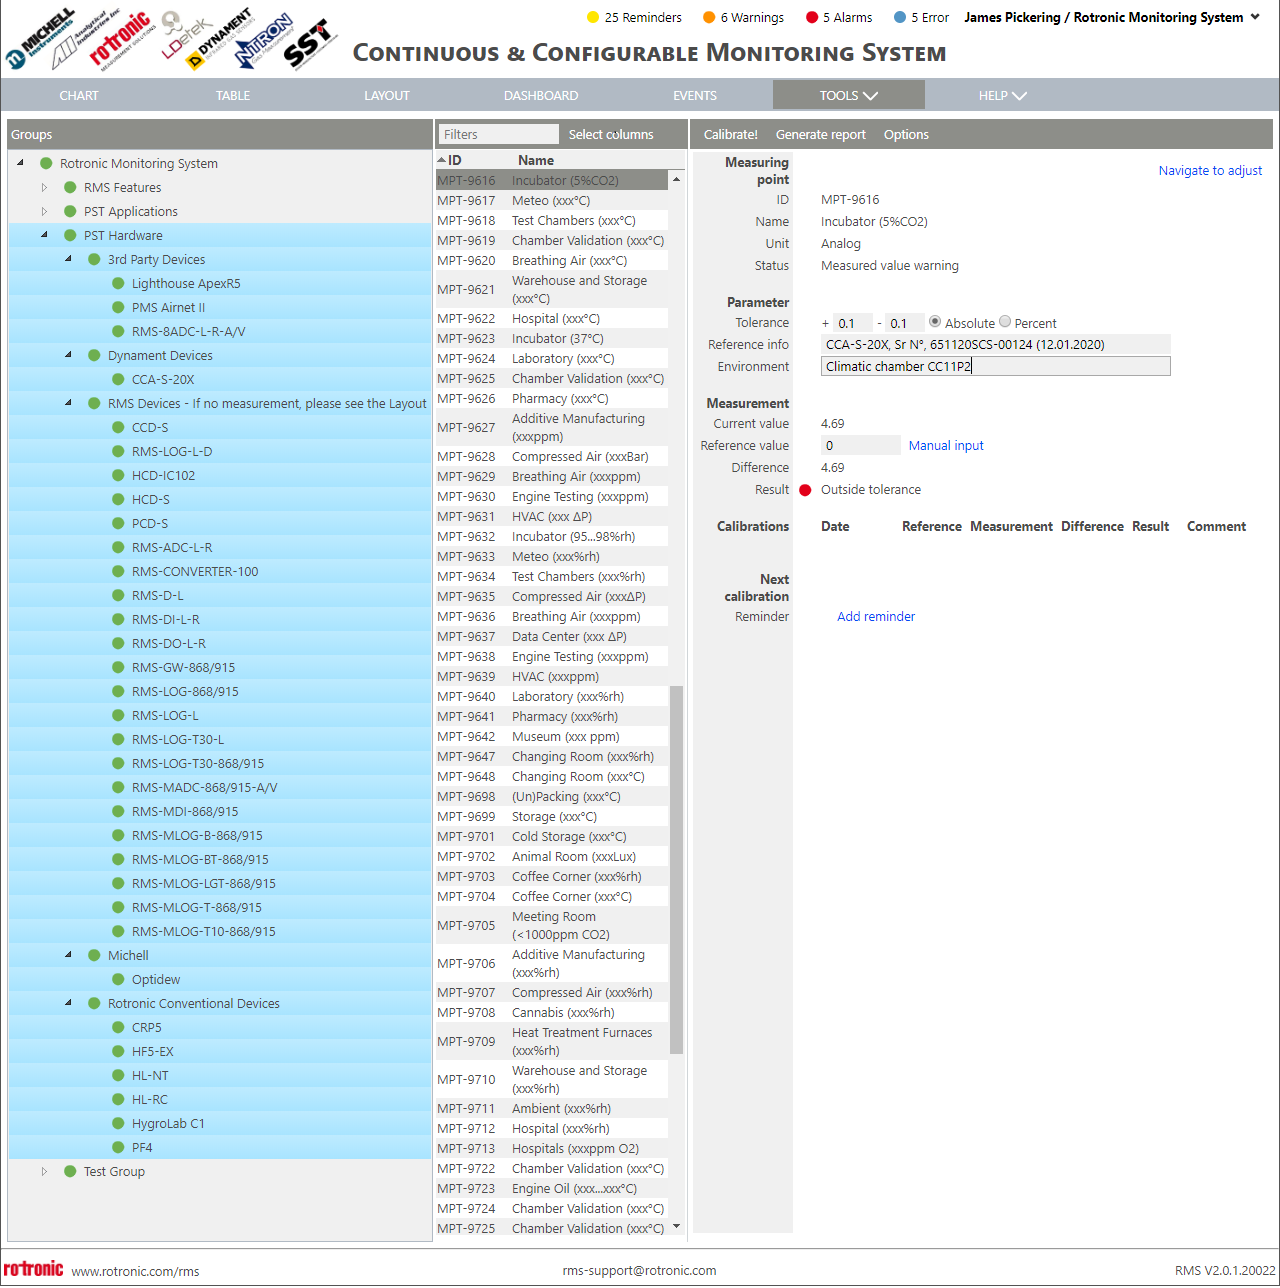 |
| Step 7 | Select "Manual input" or a measuring point from the system if the reference is also a measuring point within RMS: 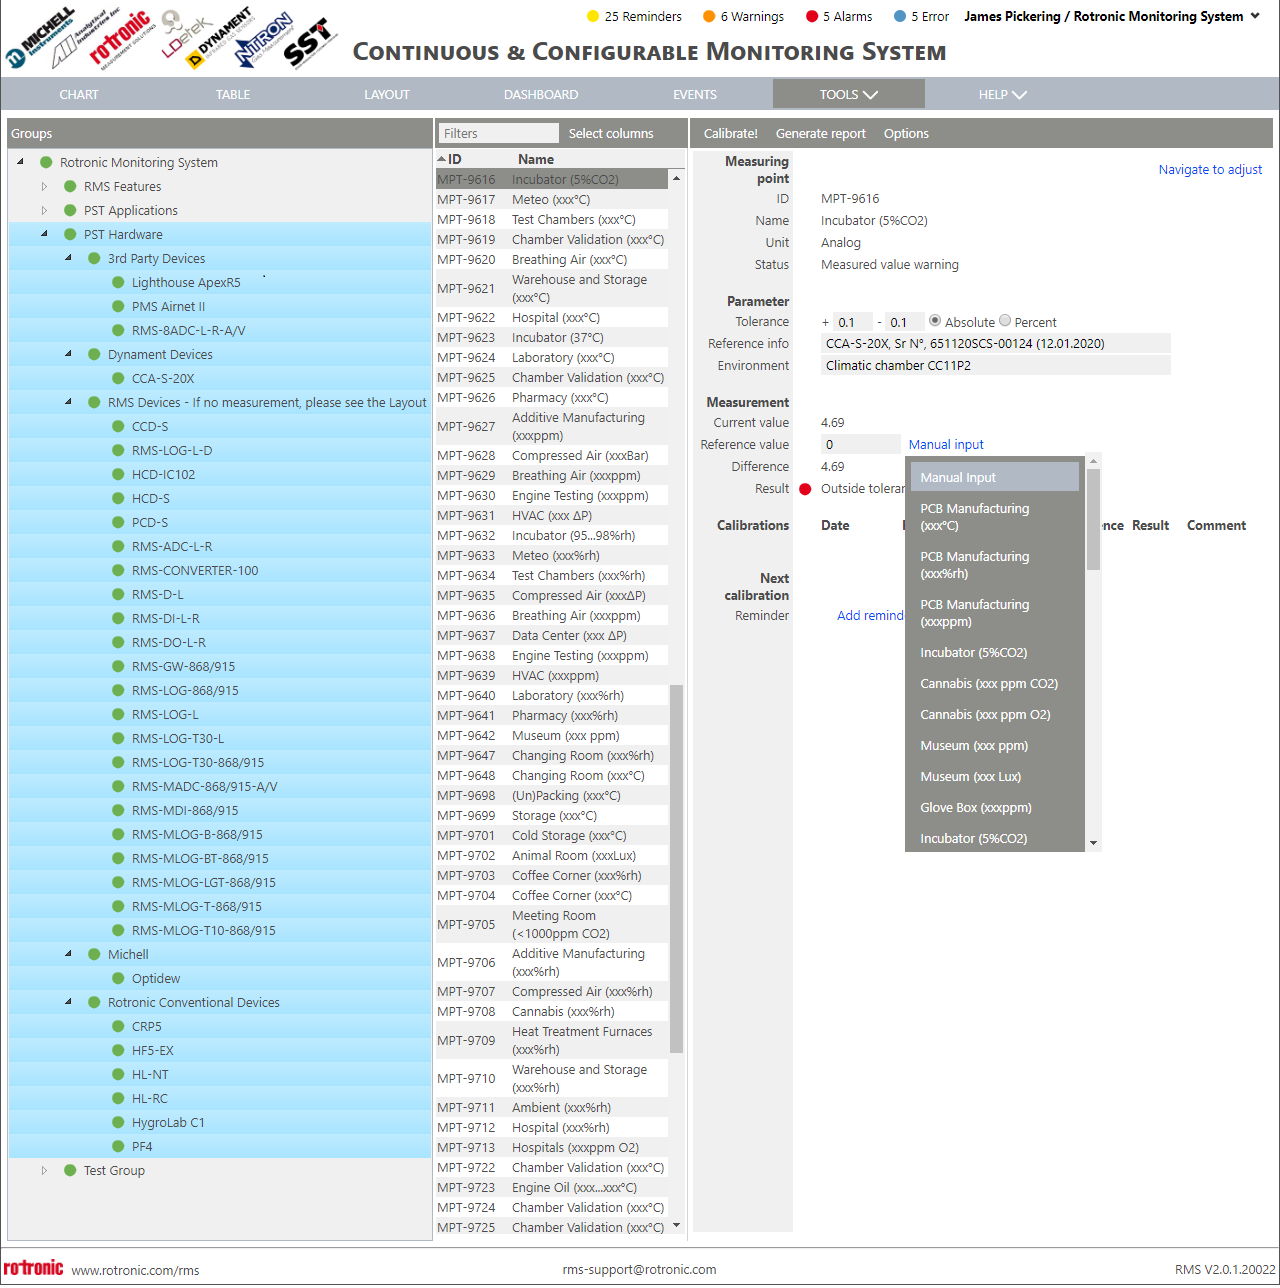 |
| Step 8 | Follow the internal calibration procedures. Enter the reference value shown on the reference if required and click on "Calibrate". If the difference of the measurement compared to the reference is within the tolerance, an OK result will appear in green. If the difference of the measurement compared to the reference is outside the tolerance, an Error result will appear in blue.  |
| Step 9 | A pop-up window will open. Add a comment if required. Select if it is an input or an output calibration.  Click on "OK". |
| Step 10 | The calibration point is added to calibrations: 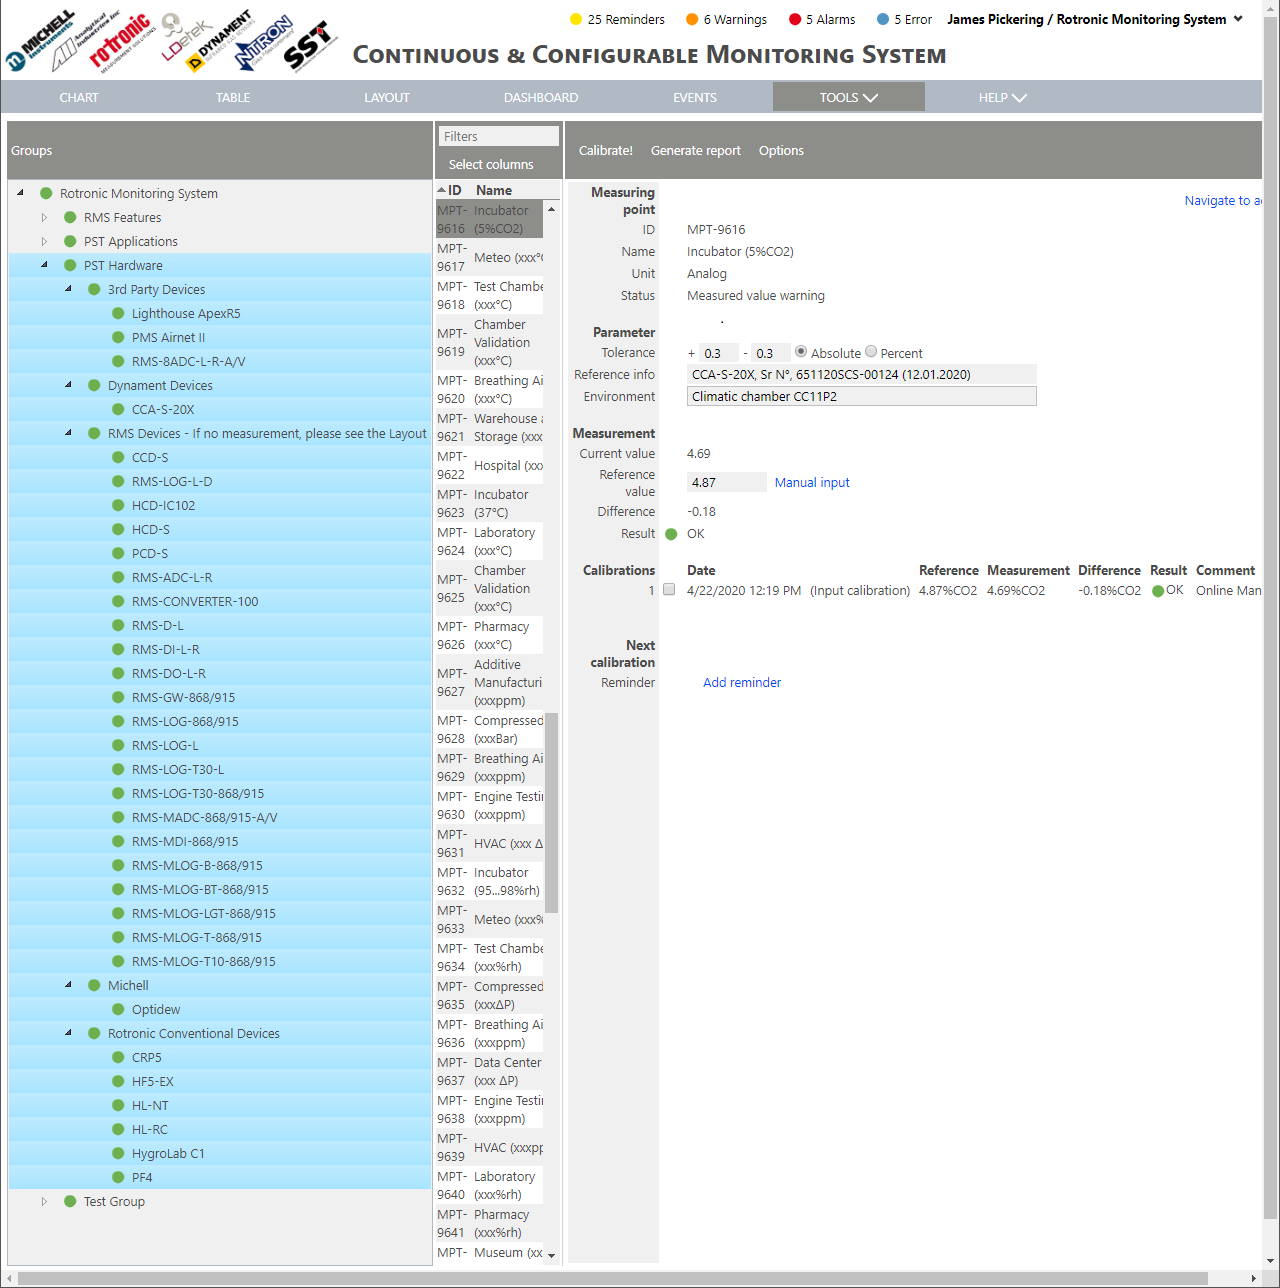 |
| Step 11 | Carry out all of the necessary calibration points. |
| Step 12 | Generate a report by clicking on "Generate Report": 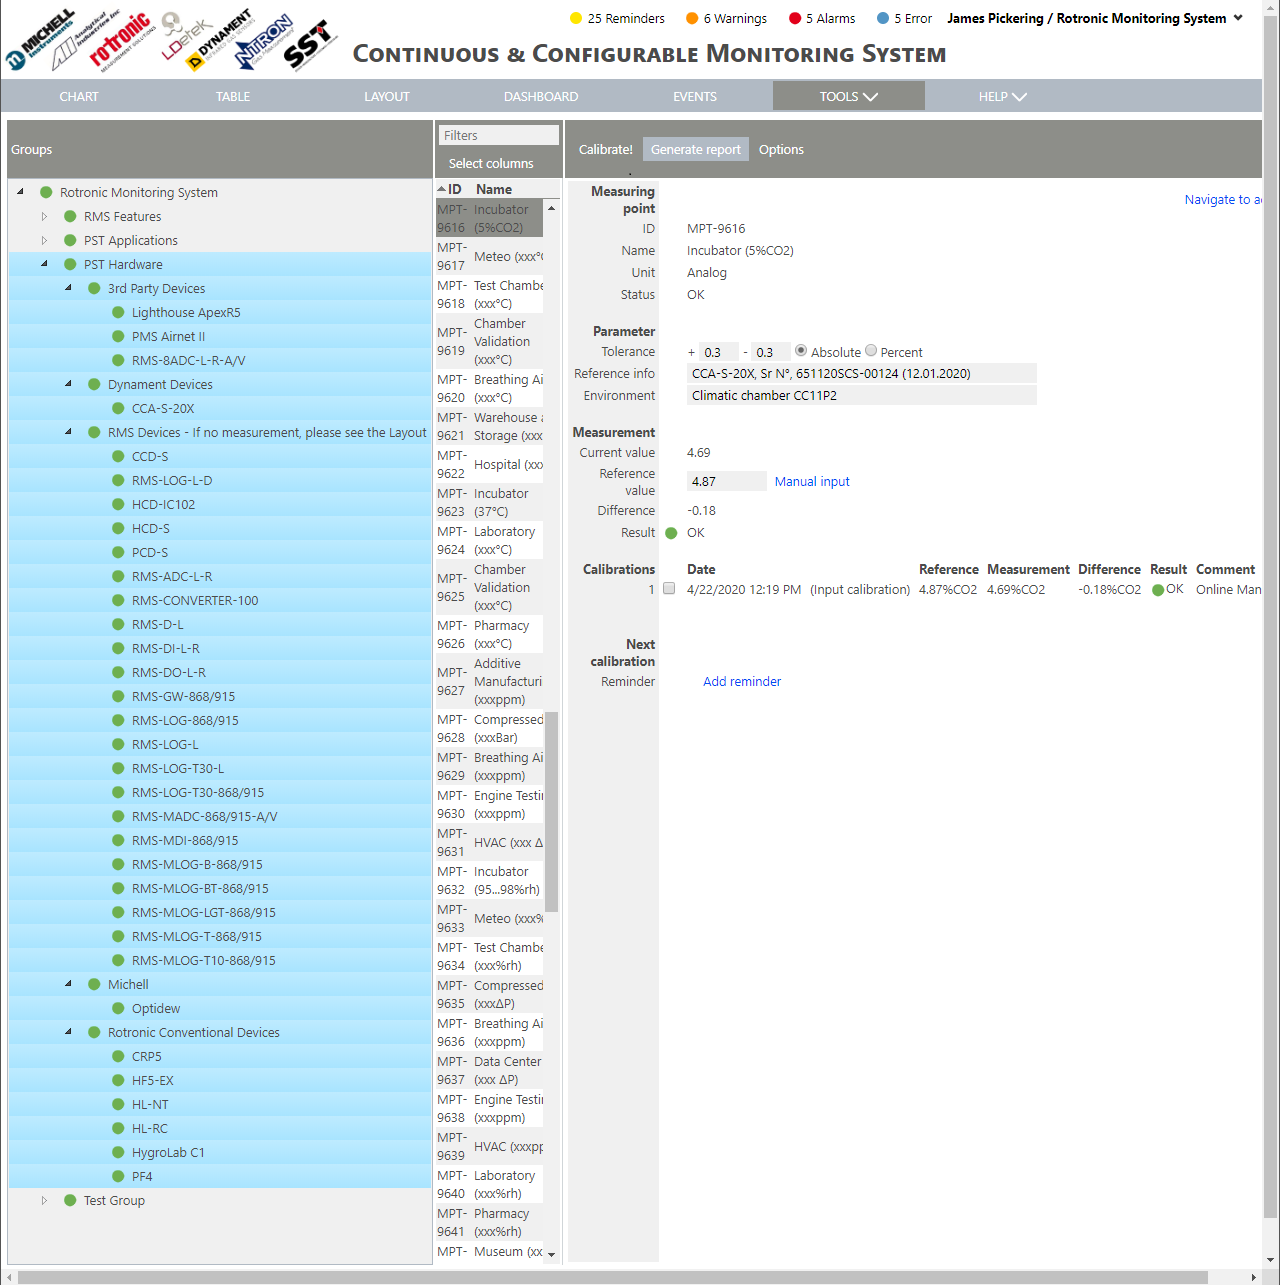 |
| Step 13 | A pop-up window will open. Define if all calibrations or only selected calibrations should be shown on the report and click on OK: 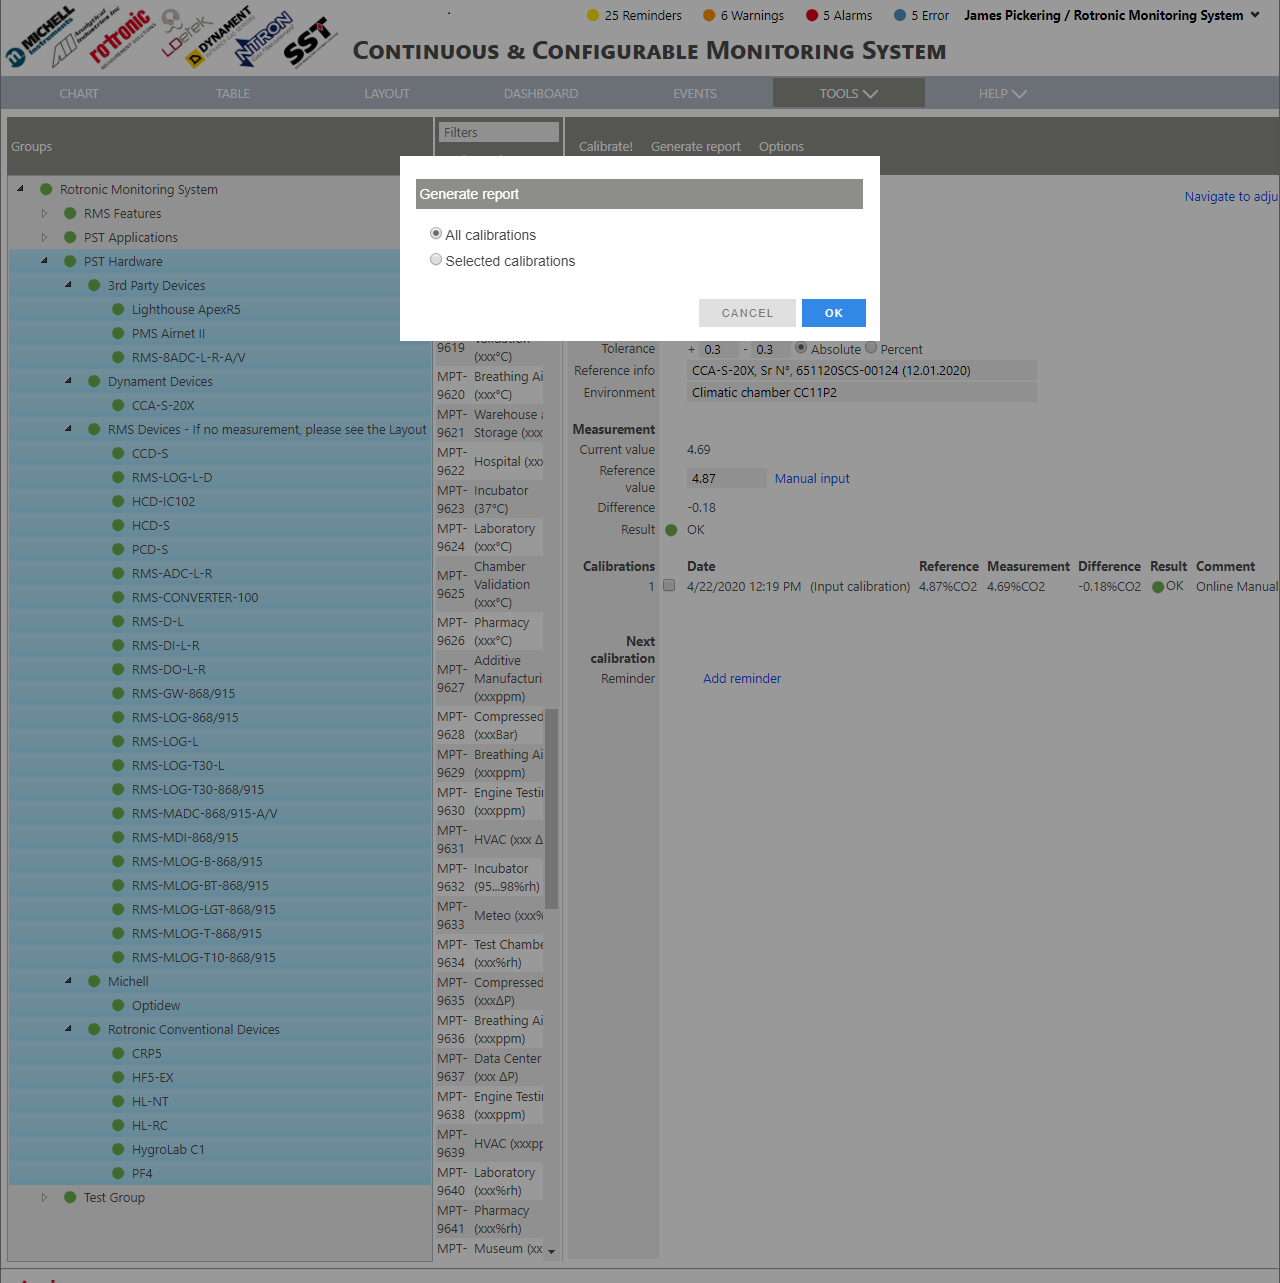 |
| Step 14 | Save the calibration report where required. The calibration report can be found under "Tools" > "Documents" and "Reports" for ulterior revision. |
| Step 15 | Set a reminder for the next calibration date. This reminder will appear in the audit trail as a event on its due date with a notification if programmed (E-Mail, SMS or telephone call): 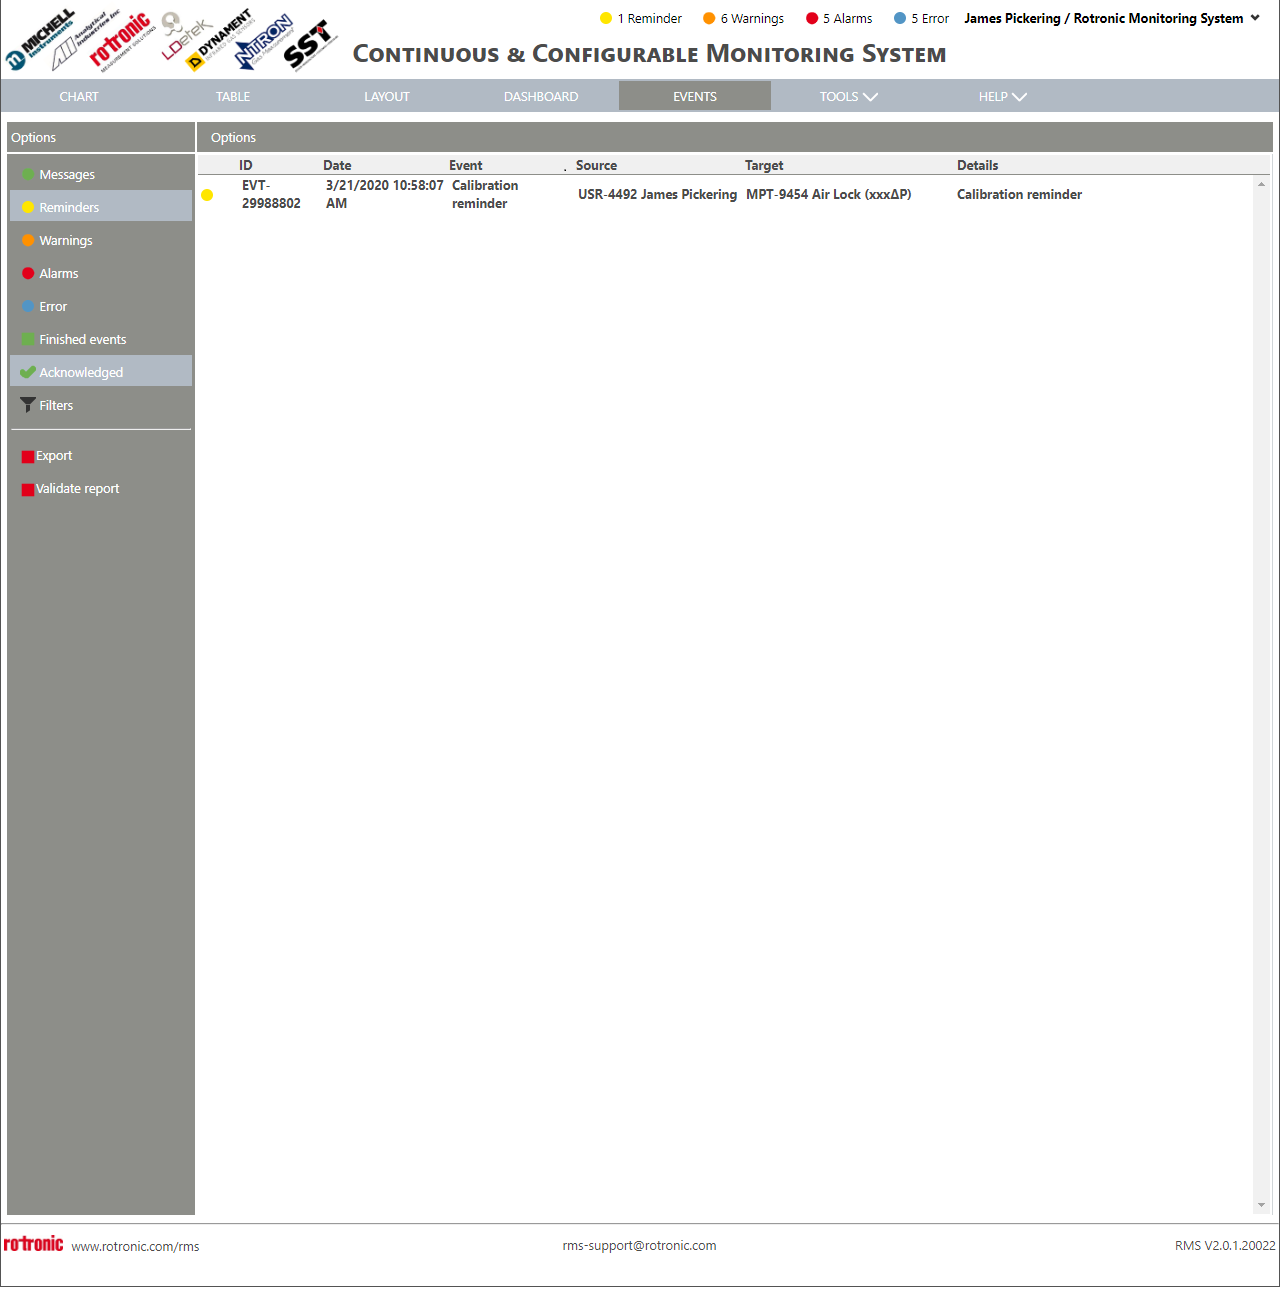 |
| Step 16 | Both the calibration and the creation of a report and of a reminder can be seen within the RMS audit trail. Click on "Events", select "Messages" and "Finished Events": 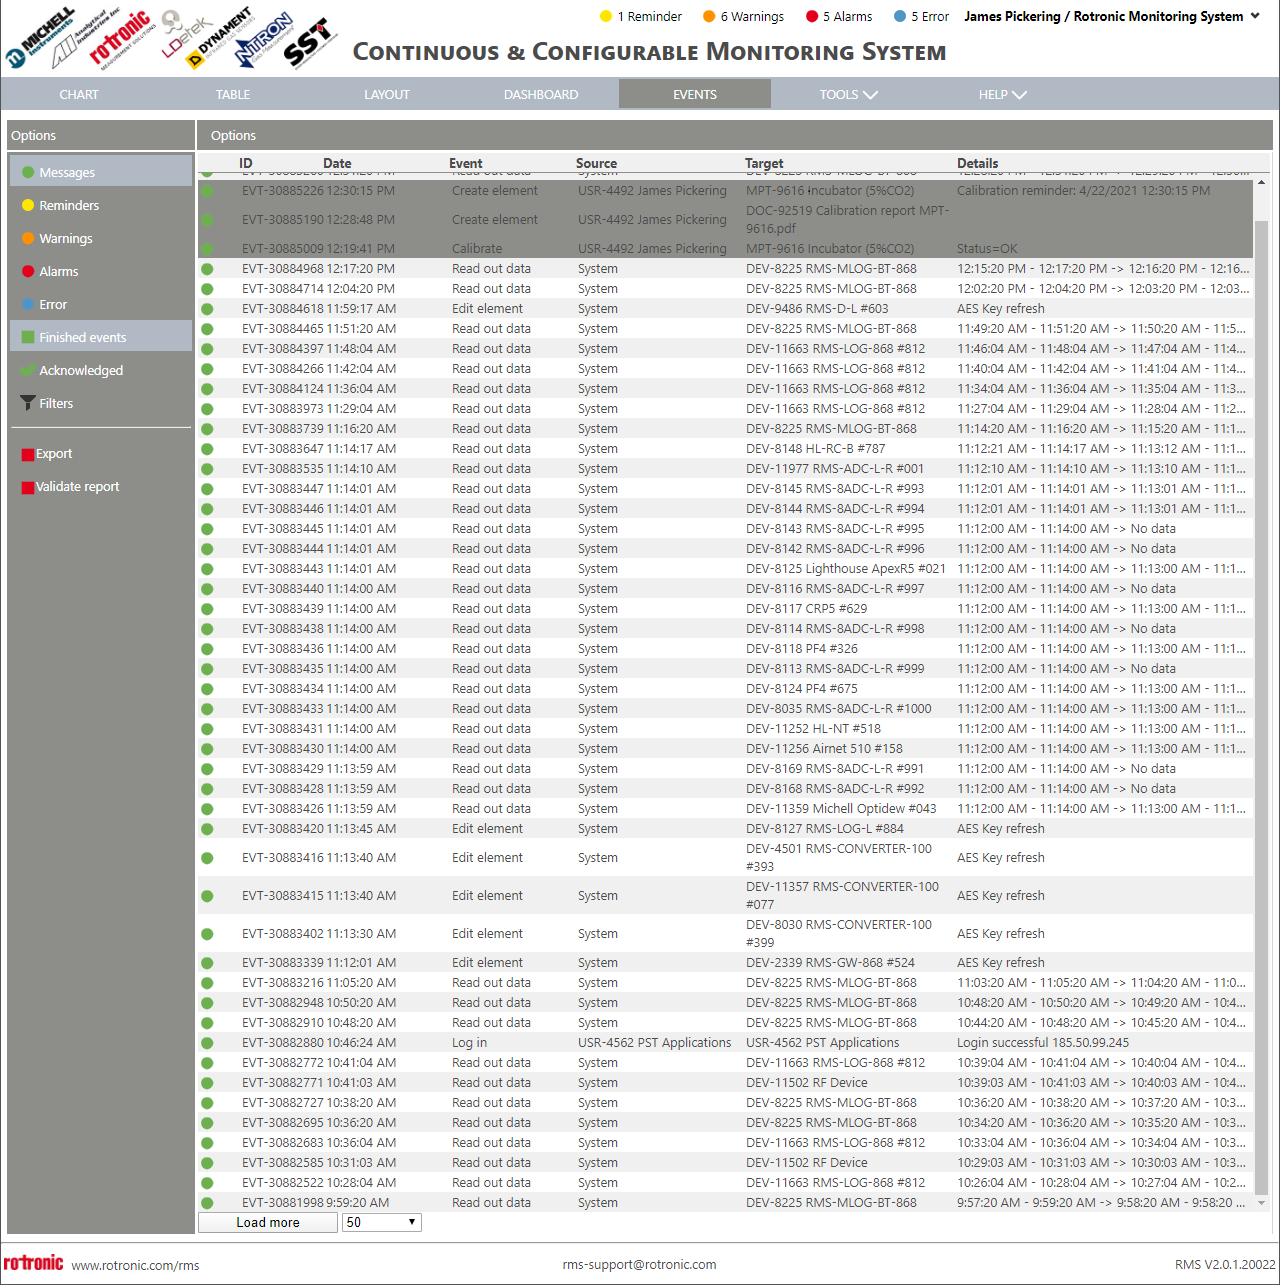 |
| Important: This is only a calibration and not an adjustment. |
|---|
Adjust: Click on "Navigate to adjust" to adjust the probe. Why Adjust?