Update to Version 1.3.1 of the RMS Software
If the RMS software is running and a new update is available, follow these guidelines for the installation.
| Step 1 | Unzip the new version and copy it into a folder with the version number parallel to the currently installed version: "C://inetpub/wwwroot/rms/{version}". |
|---|---|
| Step 2 | Edit connection string in "Connections.config" in folder \wPage and \wService: The existing settings can be found in "web.config" in folder \wService of the current RMS Installation. |
| Step 3 | Update web.config files, if there are changes under "Appsettings" or "DefaultProxy" |
| Step 4 | Switch wService and wPage application offline by selecting physical path "…/{new version}\Offline". ("Server Manager" > "IIS" > right click on the server and select "Internet Information Server (IIS) manager"). The file "App_Offline.htm" should be located in the directory. Afterwards a maintenance message will be displayed in the browser when RMS is called. 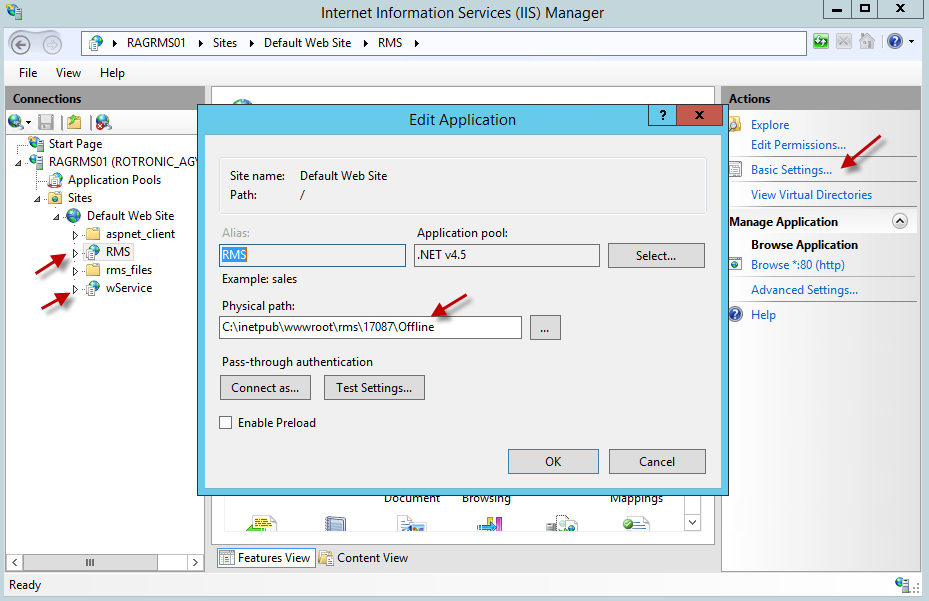 |
| Step 5 | Create a backup of the RMS database: 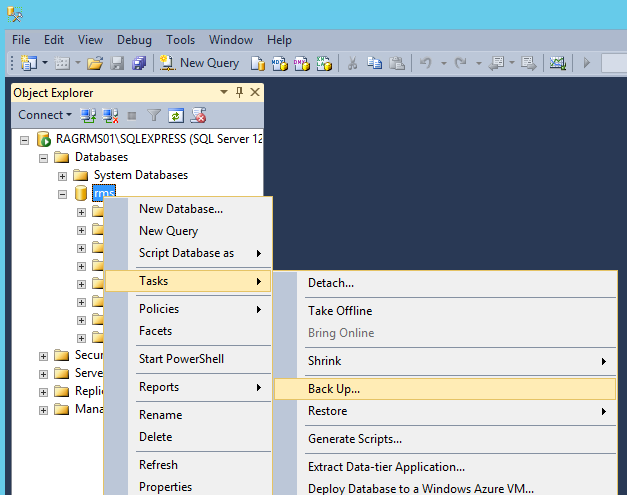 |
| Step 6 | Update the database schema using the attached SQL script of the new version (Rotronic-RMS-Tables.sql) 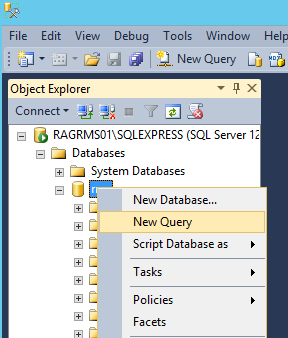 Then drag the script into the window and run. |
| Step 7 | Recycle Application Pool ".NET V4.5" (in "IIS Manager" > "Application Pools" > "Recycle"). |
| Step 8 | Set both applications online again. C://inetpub/wwwroot/rms/{new version}/wPage C://inetpub/wwwroot/rms/{new version}/wService |
| Step 9 | Test to see if the website and the webservice are running: Login to the website Service test: ({ServerAddresse}/wService/wService3.DeviceService.svc/TestDatabase)  Figure : Service test |
| Step 10 | In case of upgrading from a version older than V1.2, adapt "User rights" in RMS SW due to new rights "Report templates" and "Email reports" |