Installation of the RMS Software V2.2.1
| Step 1 | Double click on the folder 21172 and do a right click on the NDP472-KB4054531-Web.exe (.NET-Framework V4.7.2) and run as administrator d 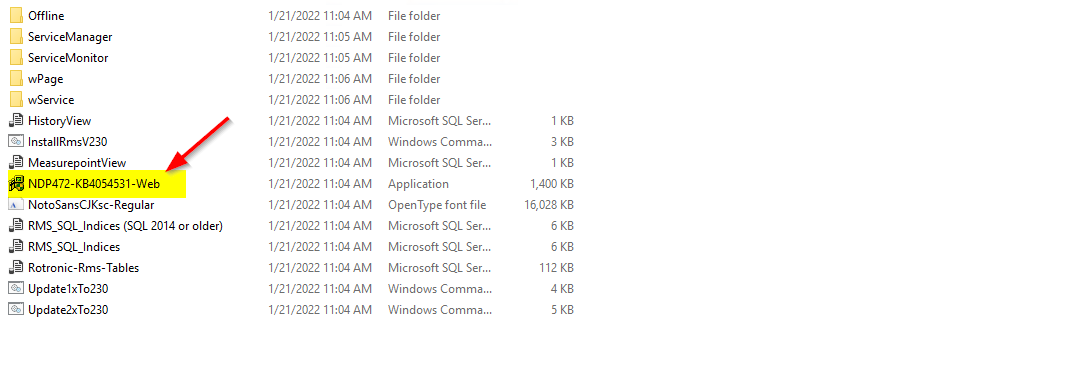 |
|||||||||||||||
|---|---|---|---|---|---|---|---|---|---|---|---|---|---|---|---|---|
| Step 2 | Click on Yes 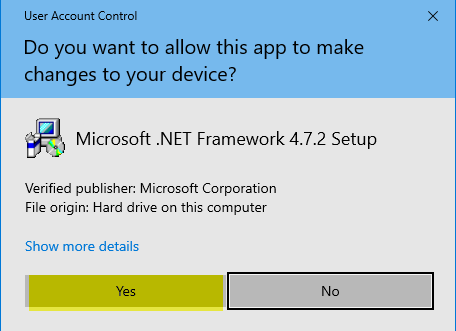 |
|||||||||||||||
| Step 3 | If .NET-Framework V4.7.2 is allready installed, the follow window will appear, if no follow the instructions on Step 4 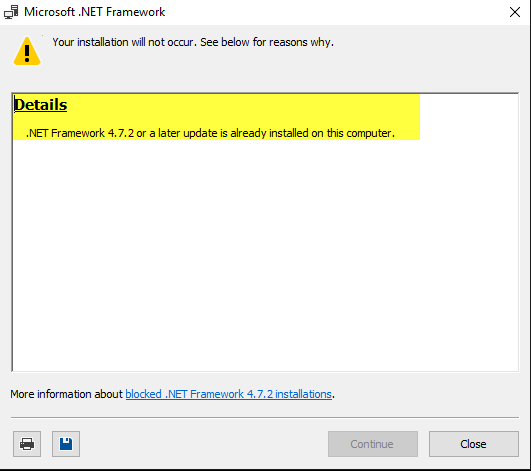 |
|||||||||||||||
| Step 4 | Installation of .NET-Framework V4.7.2 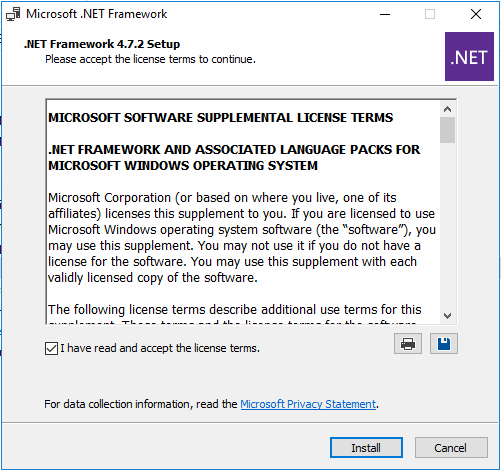 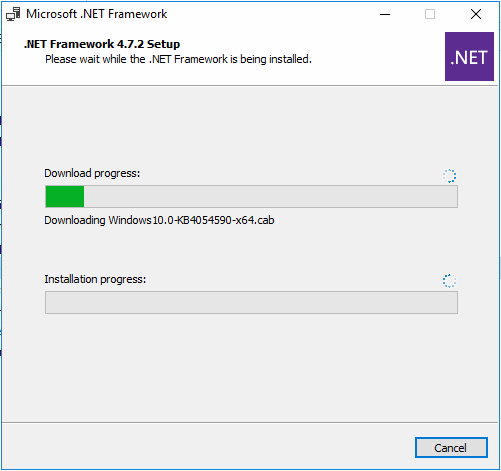 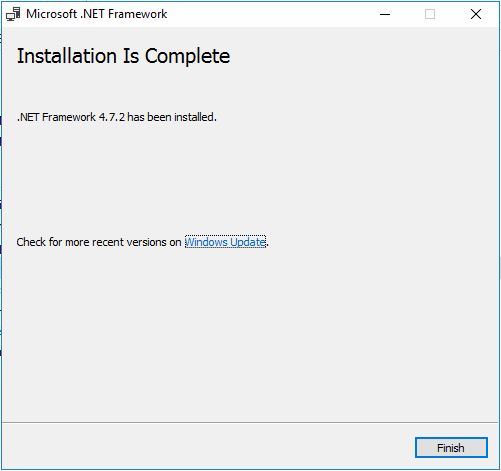 |
|||||||||||||||
| Step 5 | Setup the SQL Connection for the RMS Service Manager. Open the file "Connection.config" in the folder "ServiceManager" by using a text editor. 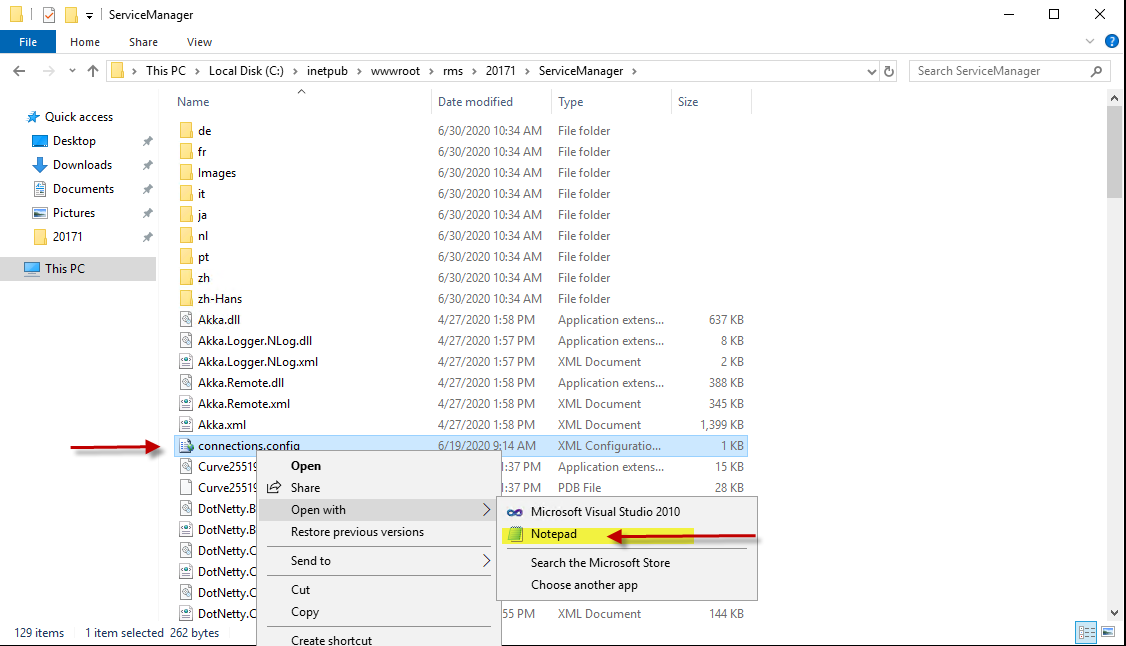 |
|||||||||||||||
| Step 6 | The follow information in the connection string must be modified. If you set up as the mentioned steps before, you've only to double check if everything is correct. If you can't save the file, open the text editor as administrator and modify the file again. \ |
Data Source \ | Database Name, for Example .\ SQLEXPRESS (for a local SQL Express installation) Servername\SQLEXPRESS (for SQL Express on another server) Servername\SQLName (for SQL Server on another server) \ |
\ | --- \ | --- \ | \ | Initial Cataog \ | RMS Database Name. Should be “RMS” \ | \ | User ID \ | Username for database access: Should be “rmsUser” \ | \ | Password \ | The password that has been assigned to the rmsUser \ | 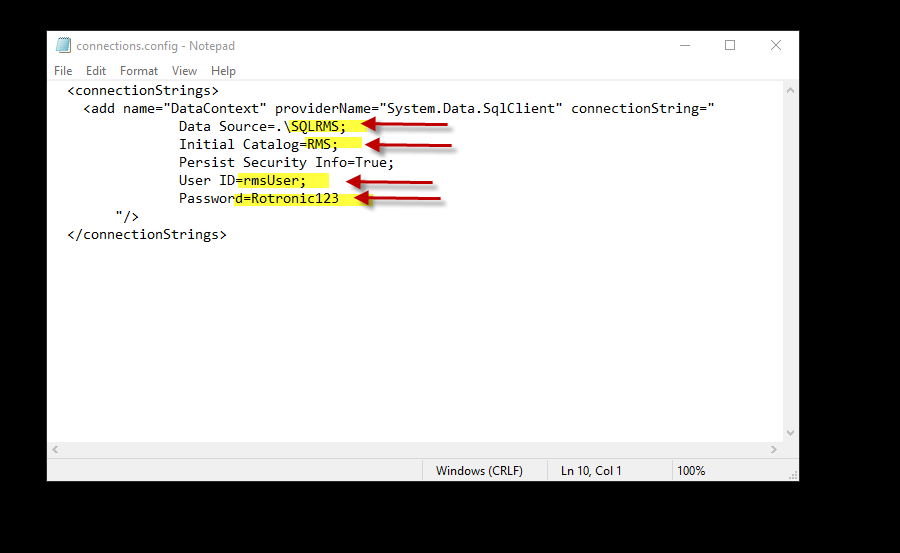 |
| Data Source | Database Name, for Example .\ SQLEXPRESS (for a local SQL Express installation) Servername\SQLEXPRESS (for SQL Express on another server) Servername\SQLName (for SQL Server on another server) |
|||||||||||||||
| Initial Cataog | RMS Database Name. Should be “RMS” | |||||||||||||||
| User ID | Username for database access: Should be “rmsUser” | |||||||||||||||
| Password | The password that has been assigned to the rmsUser | |||||||||||||||
| Step 7 | Test the SQL Connection. Right click the file "TestDatabase.cmd" in the folder "ServiceManager" and run as administrator. 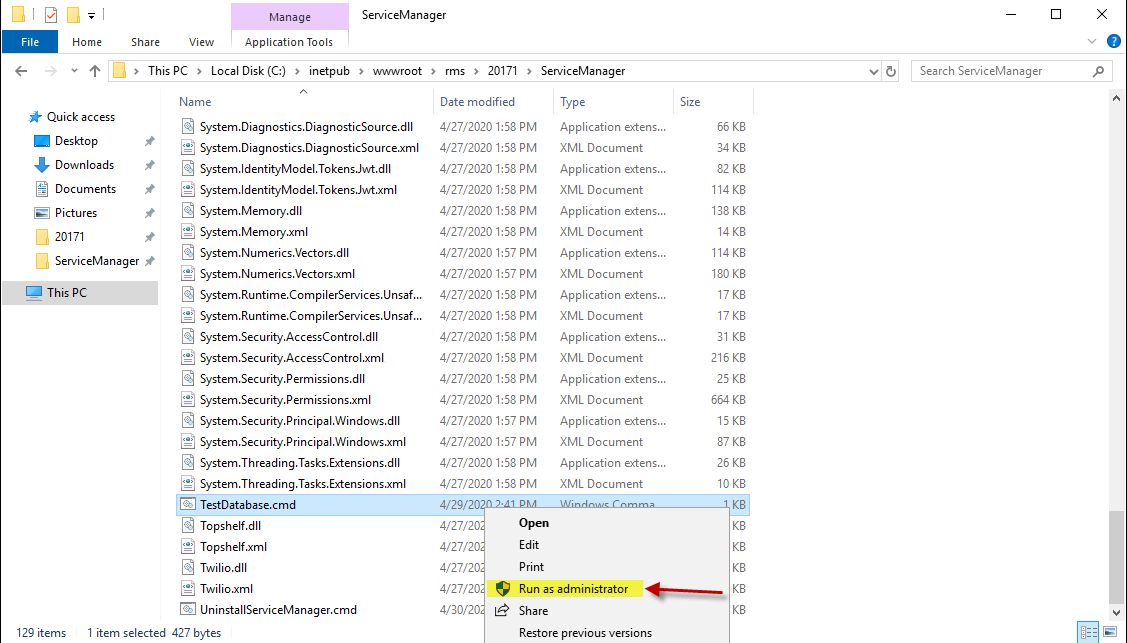 |
|||||||||||||||
| Step 8 | If the connection is successful, the follow message will appear: 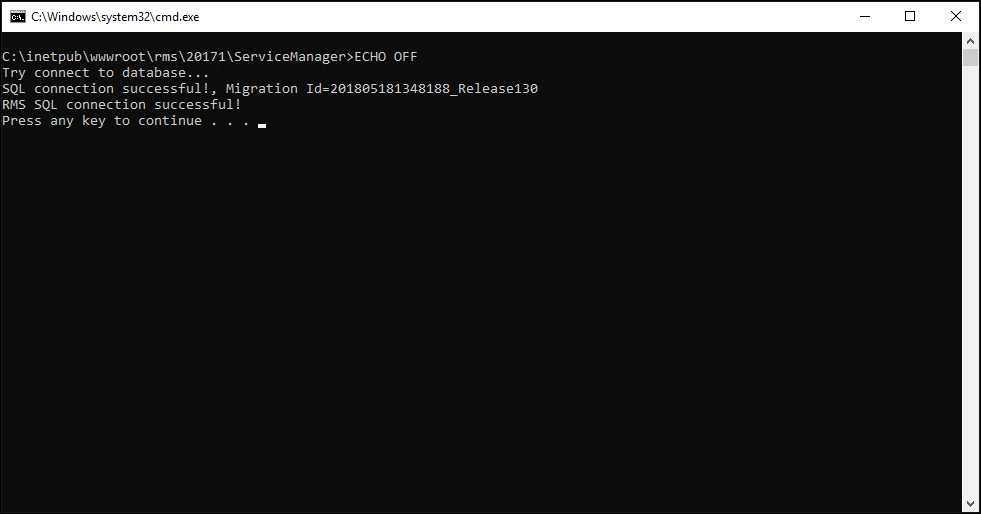 If the connection is not successful, the follow message will appear: 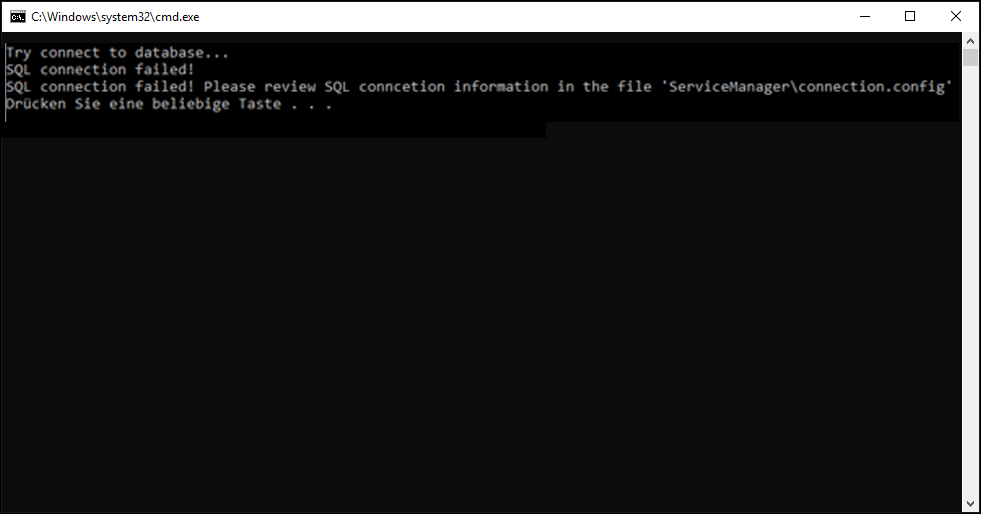 |
|||||||||||||||
| Step 9 | If the connection to the database is successful, click in the folder 21084 on the "installRMSV220.cmd" and run as administrator. What the script does: - Check if an RMS application is already installed - Check the database connection - Install and start the RMS ServiceManager - Add the application Pool “RmsApplicationPool” to IIS - Install the IIS Apps “RMS” and “wService” - Create a folder “Files” in the “RMS” folder - Set access permission for the “Files” folder - 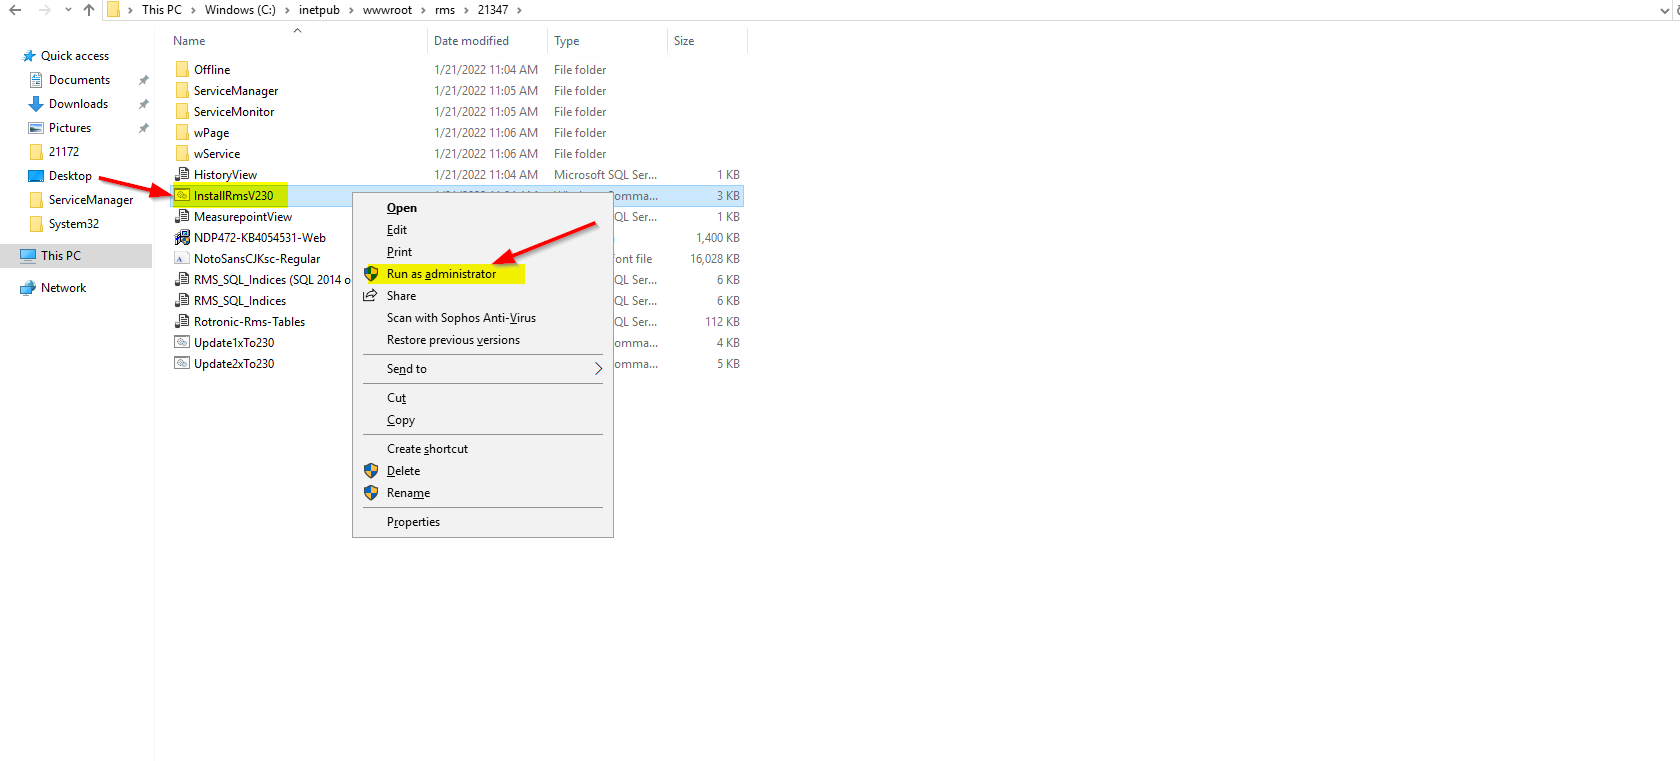 |
|||||||||||||||
| Step 10 | After the srcript is finished, you can close the window and go further with the next steps 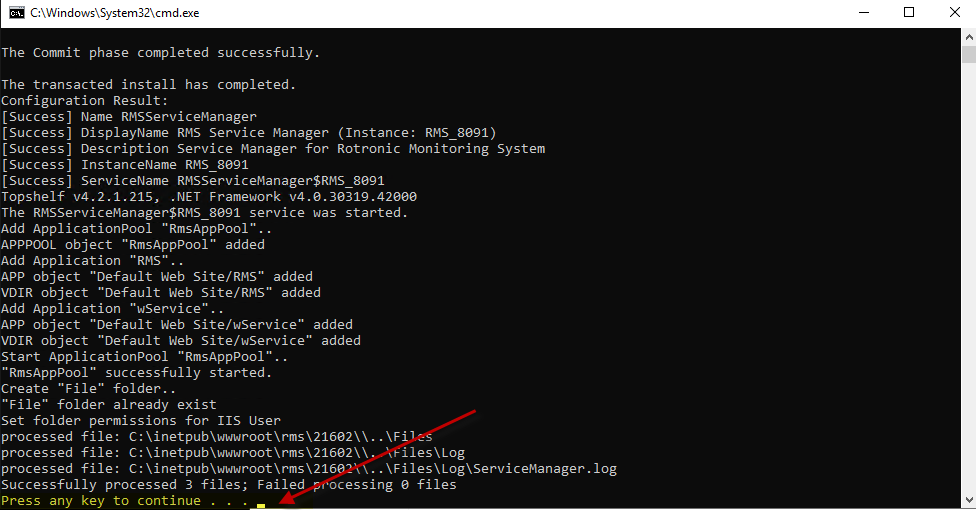 |