Installation of the RMS Software V2.4.0 Using Windows Authentication Mode
| Step 1 | Double click on the folder 240.23070 and then on the folder "Dependencies" and do a right click on the npd48-web.exe (.NET-Framework V4.8.0) and run as administrator:  |
||||||||||||
|---|---|---|---|---|---|---|---|---|---|---|---|---|---|
| Step 2 | If .NET-Framework V4.8.0 is already installed, the follow window will appear, if so jump forward to Step 5: 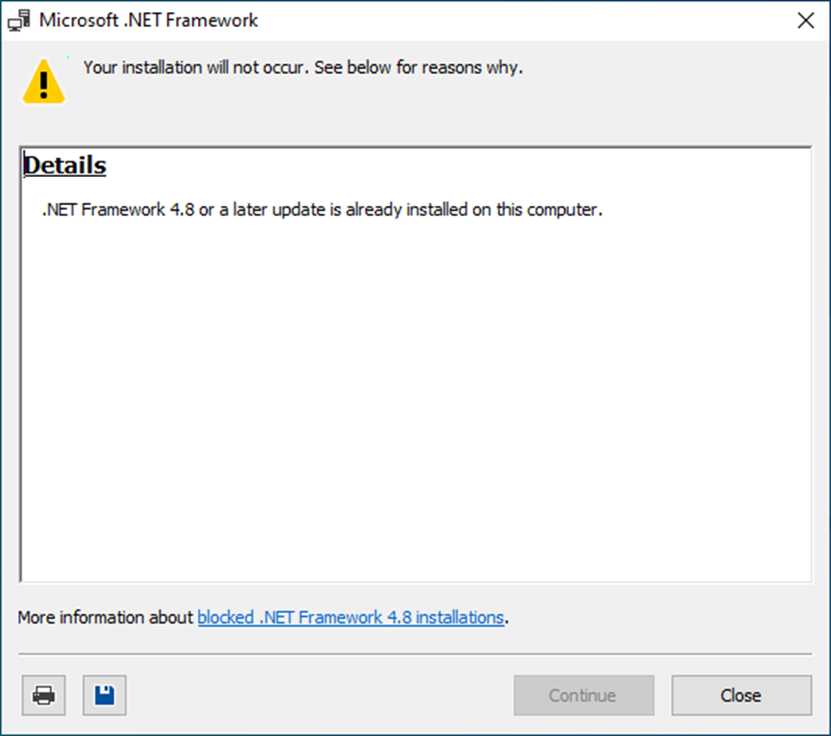 |
||||||||||||
| Step 3 | Installation of .NET-Framework V4.8.0: 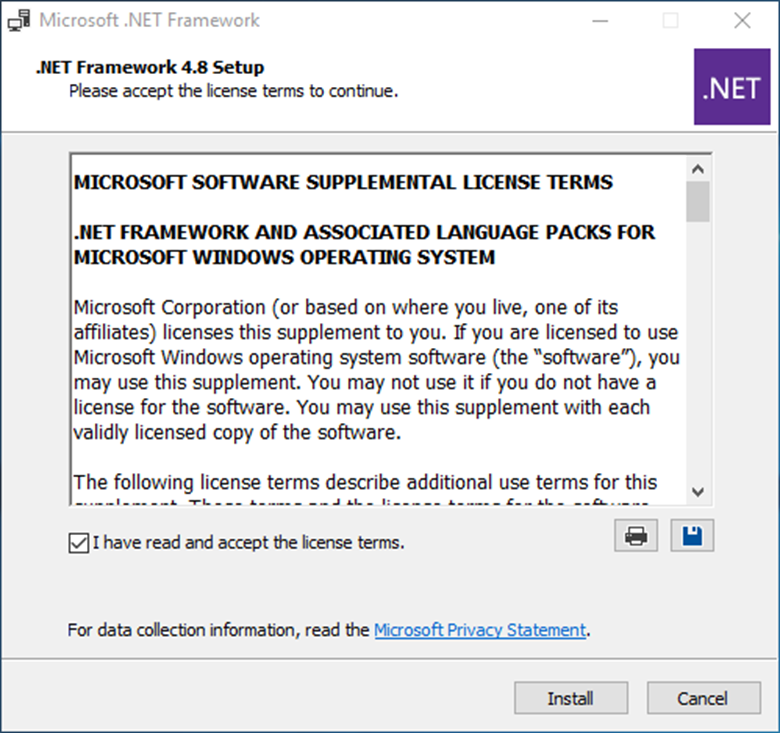 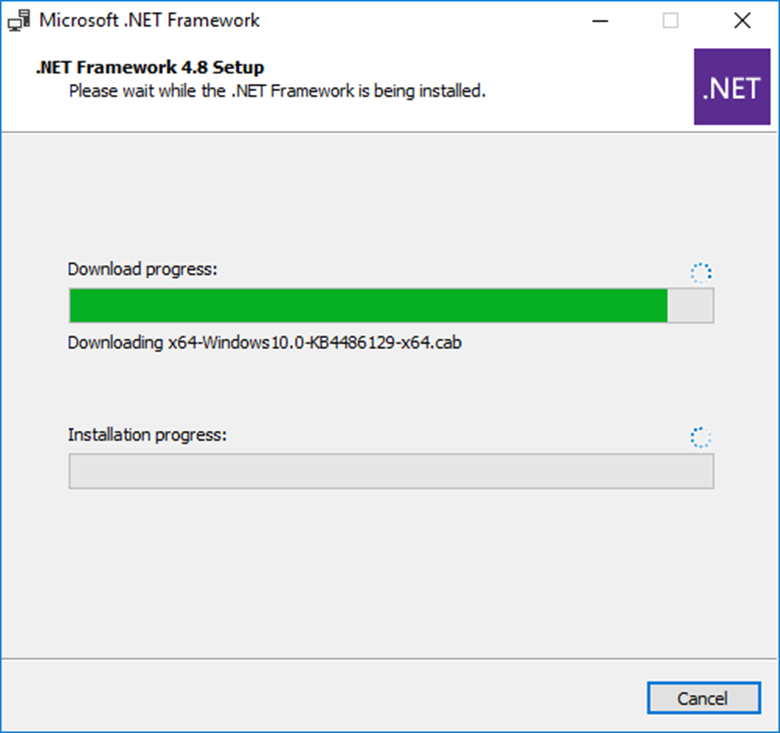 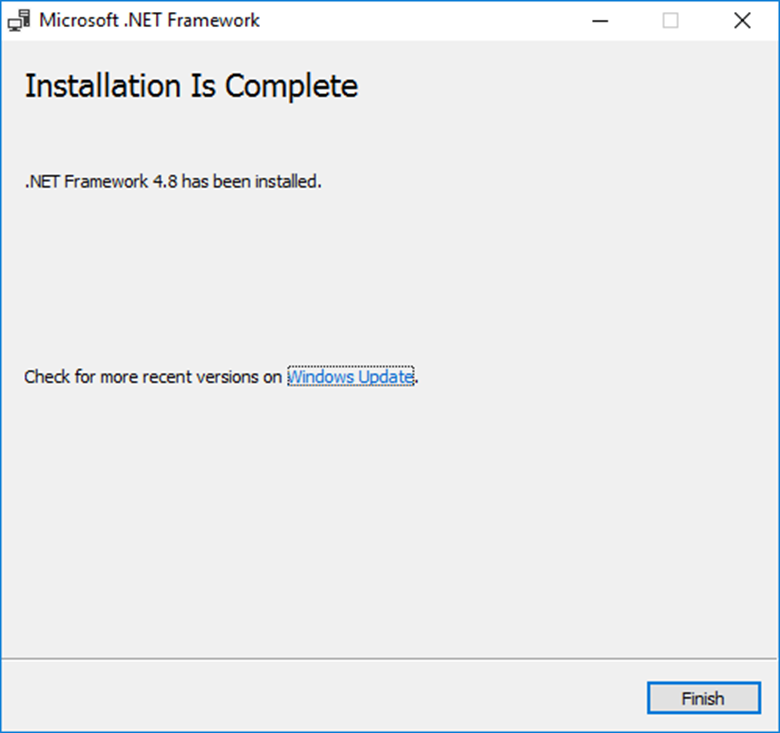 |
||||||||||||
| Step 4 | Setup the SQL Connection for the RMS Service Manager. Open the file "Connection.config" in the folder ServiceManager by using a text editor. 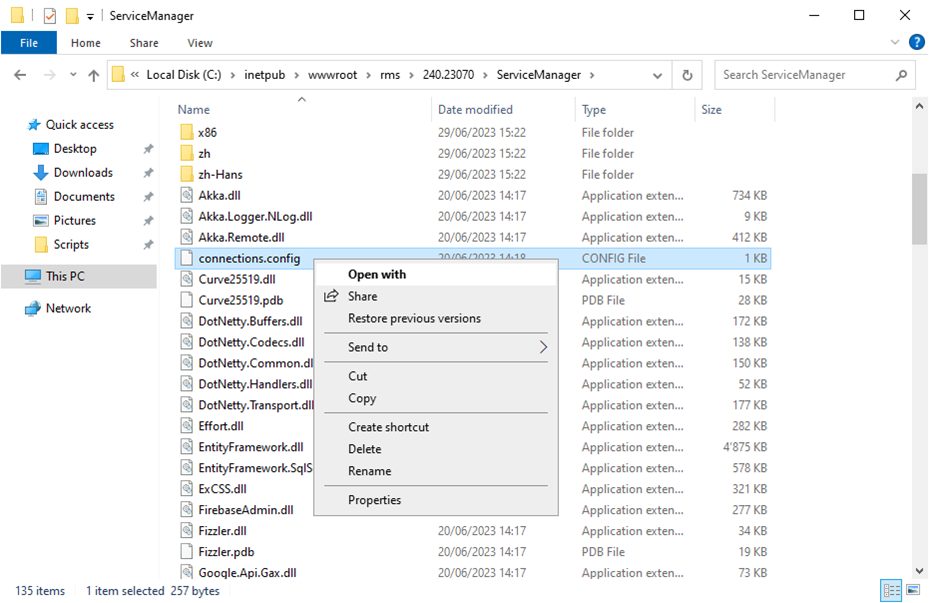 |
||||||||||||
| Step 5 | The following information in the connection string must be modified. If you can't save the file, open the text editor as administrator and modify the file again. \ |
Data Source \ | Database Name, for Example .\ SQLEXPRESS (for a local SQL Express installation) Servername\SQLEXPRESS (for SQL Express on another server) Servername\SQLName (for SQL Server on another server) \ |
\ | --- \ | --- \ | \ | Initial Catalog \ | RMS Database Name. Should be “RMS” \ | \ | Integrated Security \ | Windows authentication \ | 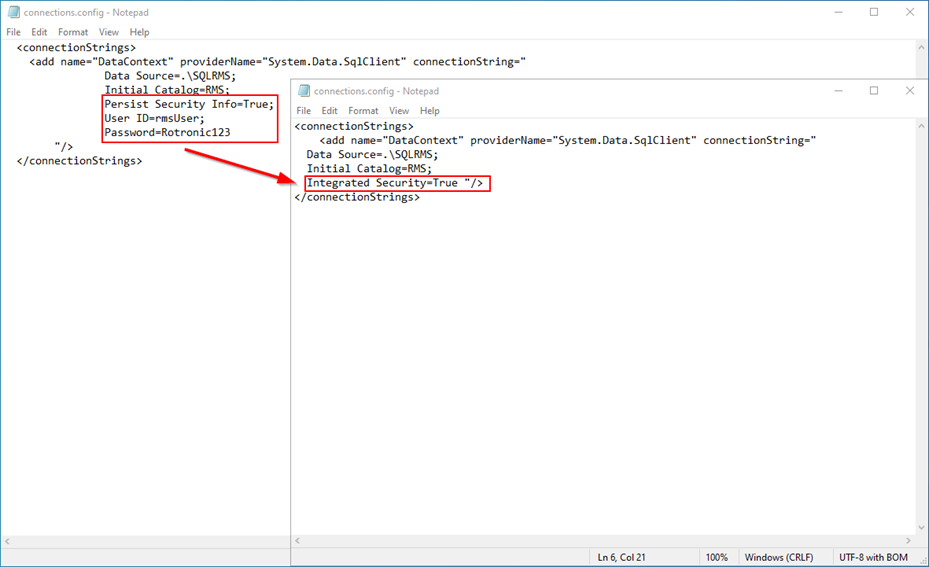 |
| Data Source | Database Name, for Example .\ SQLEXPRESS (for a local SQL Express installation) Servername\SQLEXPRESS (for SQL Express on another server) Servername\SQLName (for SQL Server on another server) |
||||||||||||
| Initial Catalog | RMS Database Name. Should be “RMS” | ||||||||||||
| Integrated Security | Windows authentication | ||||||||||||
| Step 6 | Test the SQL Connection. Right click the file "TestDatabase.cmd" in the folder "ServiceManager" and run as administrator. 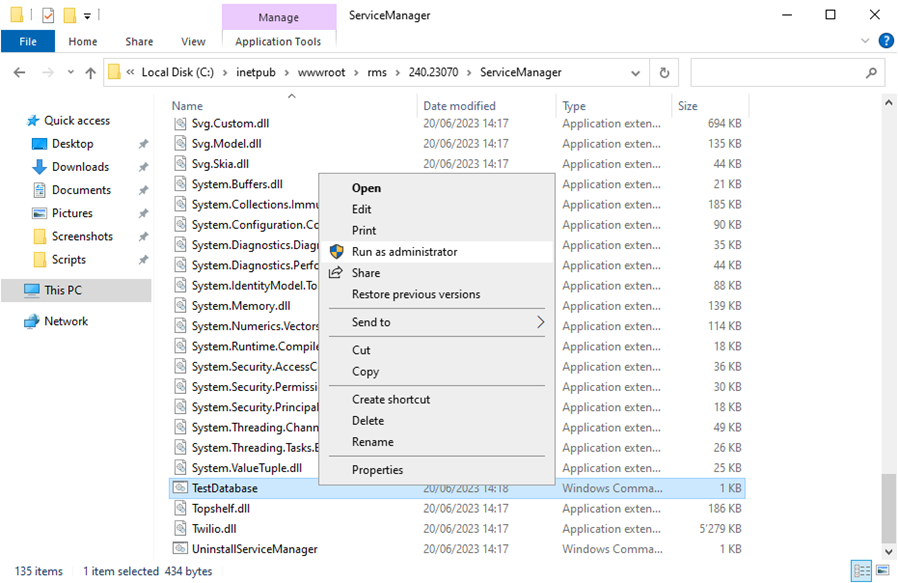 |
||||||||||||
| Step 7 | If the connection is successful, the follow message will appear: 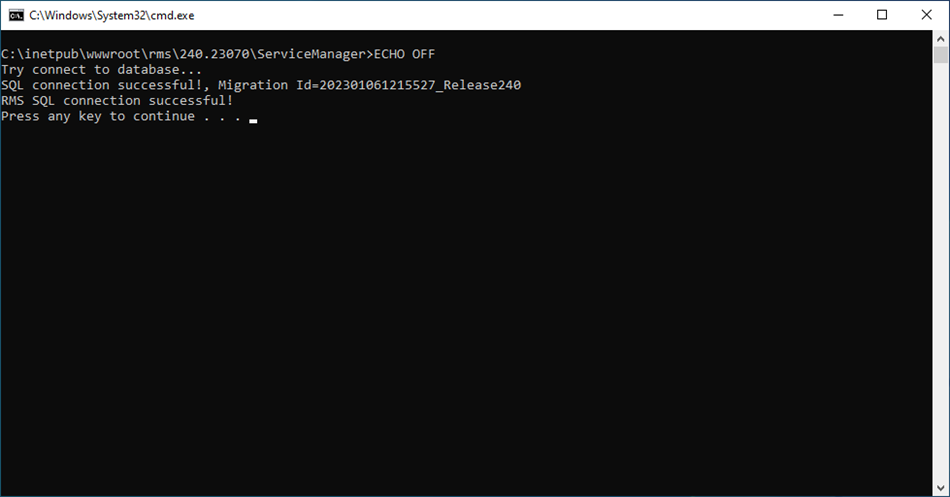 If the connection is not successful, the follow message will appear: 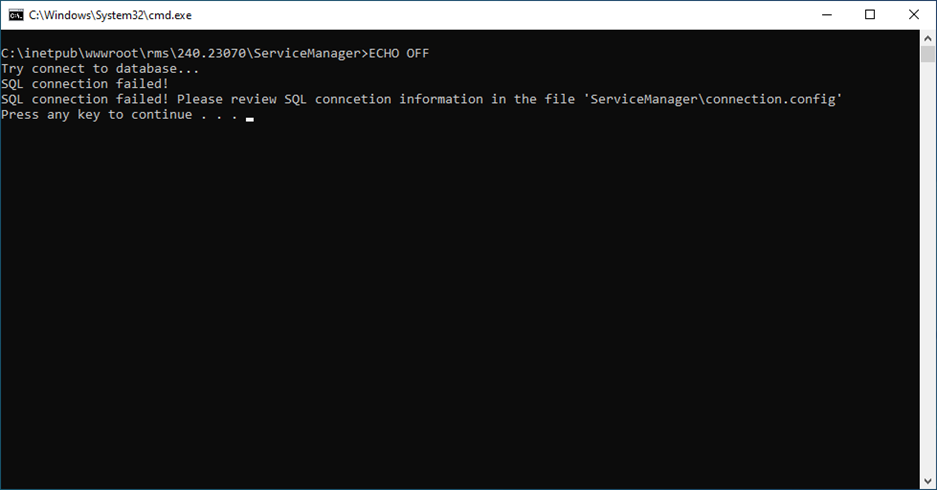 |
||||||||||||
| Step 8 | If the connection to the database is successful, click in the folder 240.23070 on the "installRmsV240.cmd" and run as administrator. What the script does: - Check if an RMS application is already installed, - Check the database connection, - Install and start the RMS ServiceManager, - Add the application Pool “RmsApplicationPool” to IIS, - Install the IIS Apps “RMS” and “wService”, - Create a folder “Files” in the “RMS” folder, - Set access permission for the “Files” folder. 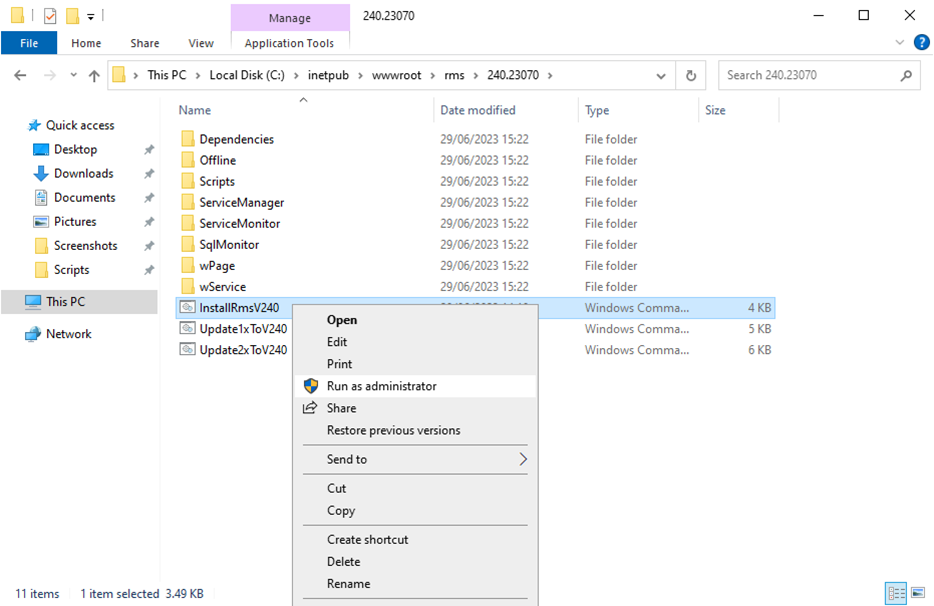 |
||||||||||||
| Step 9 | After the script is finished, you can close the window and go further with the next steps. 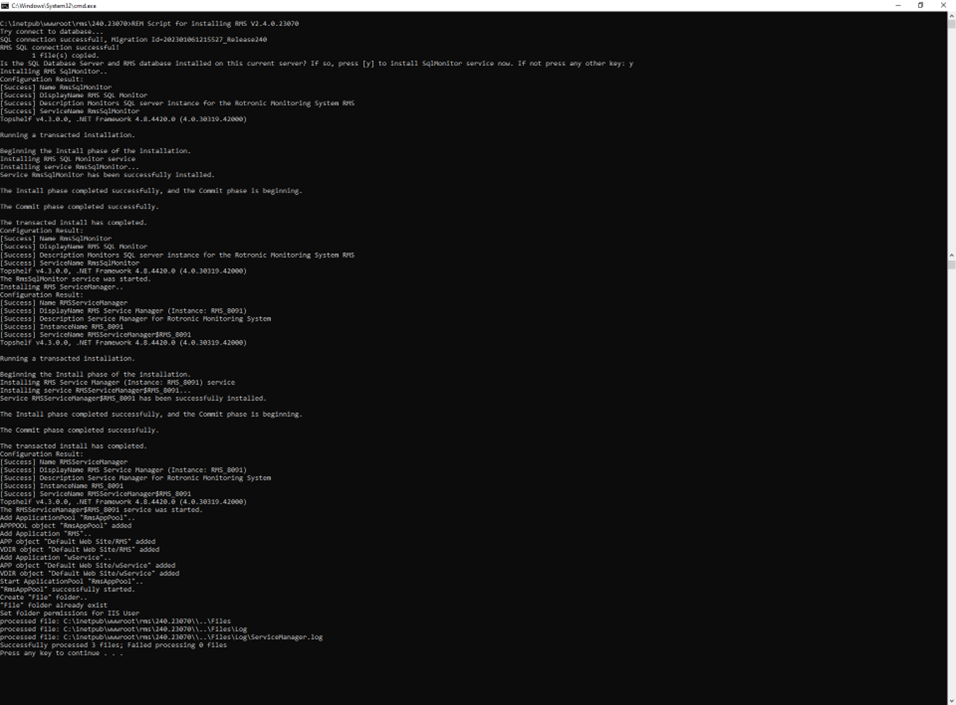 |
Update date: 24.07.2023