Update RMS to V2.5.2 of the RMS Software
Within the Rotronic Software Contract, a link to download the RMS software is stated within the Annex.
| Important: As soon as the Rotronic Monitoring System >V2.0.0 has been uploaded, please update all RMS-GW devices with the latest firmware version: Update Firmware. Please reach out to Rotronic for more details: [email protected]. |
|---|
Installing Multiple Instances.
Follow these guidelines for the upgrade of a software version
Prerequisites:
- A previous version of RMS is already installed (
V2.0.0). -
The current version is hosted in IIS on the site “Default Web Site” and named “RMS” and “wService”.
-
The new RMS Files are unzipped in the folder “C:\inetpub\wwwroot\RMS\252.24169”.
- The “connection.config” file contains the correct information for the database connection.
IMPORTANT: as soon as the prerequisites above are not met, additional adaptations are necessary!!!
| Step 1 | Unzip the new version (password: Rotronic123): 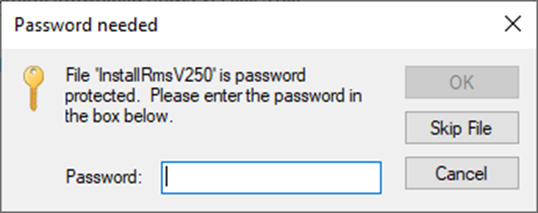 Copy it into a folder with the version number parallel to the currently installed version: "C://inetpub/wwwroot/rms/{version}". 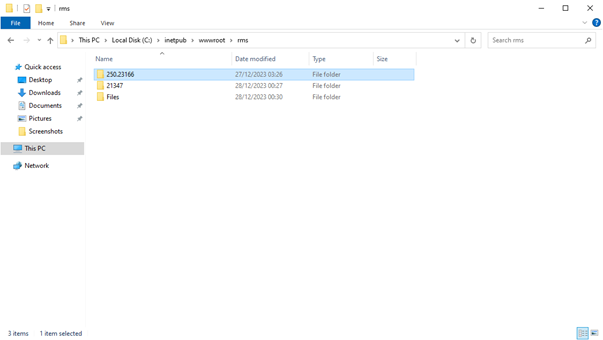 |
|---|---|
| Step 2 | Open SQL Server Management Studio: 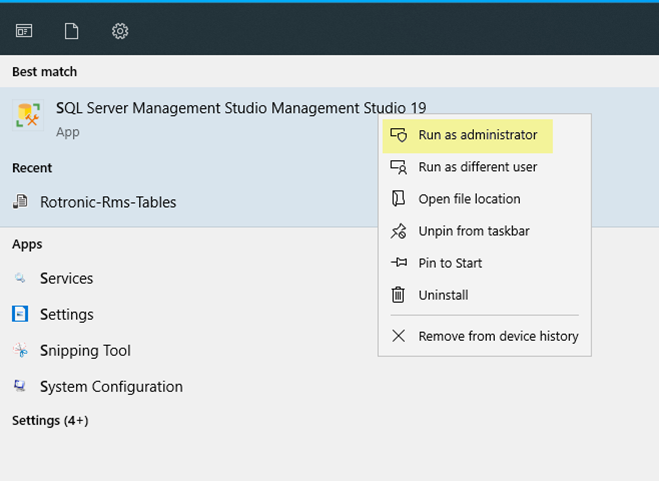 Login to the SQL Server as ADMIN or SA user: 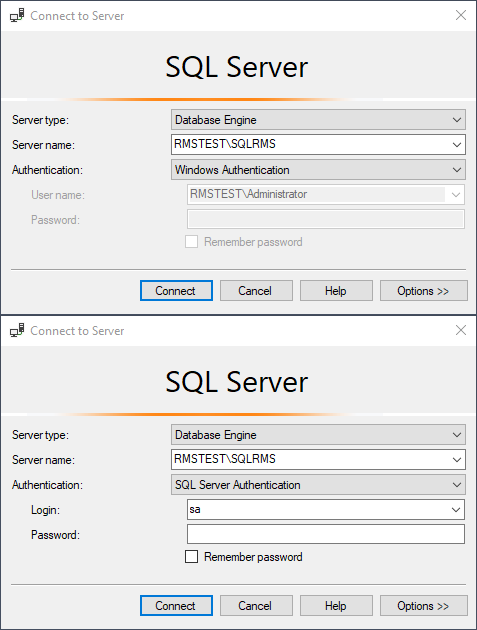 |
| Step 3 | Create a backup of the RMS database, right click on the rms database>Tasks>Back Up... 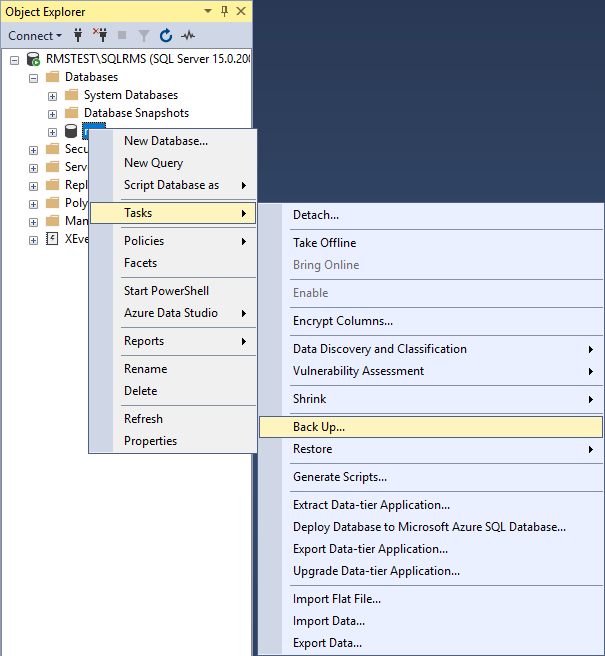 Select a full backup to the disk and click on OK:  Ensure that the tick box under Media Options is selected to verify the backup when finished: 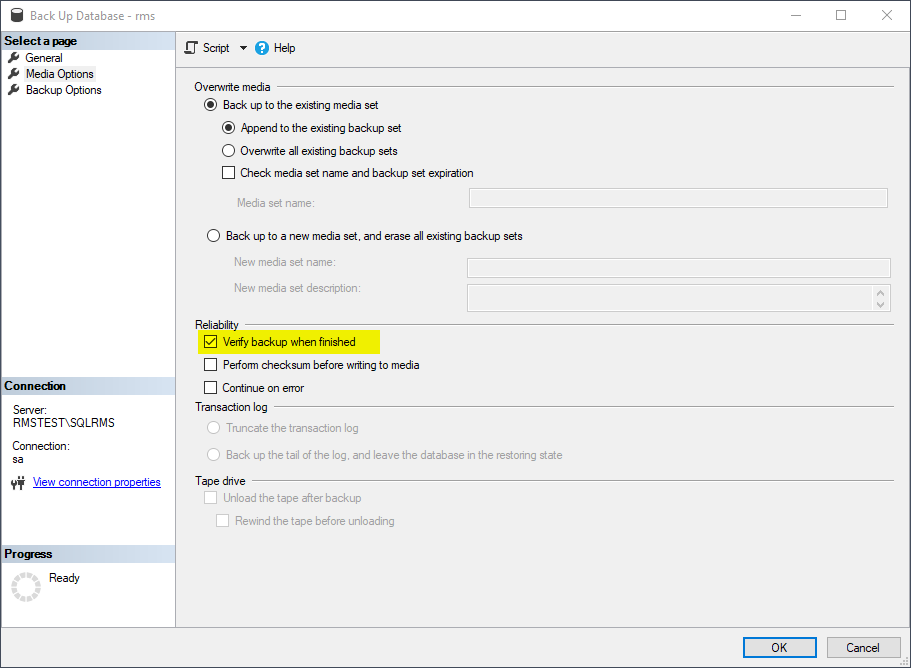 Go to General, press add and select the backup destination: 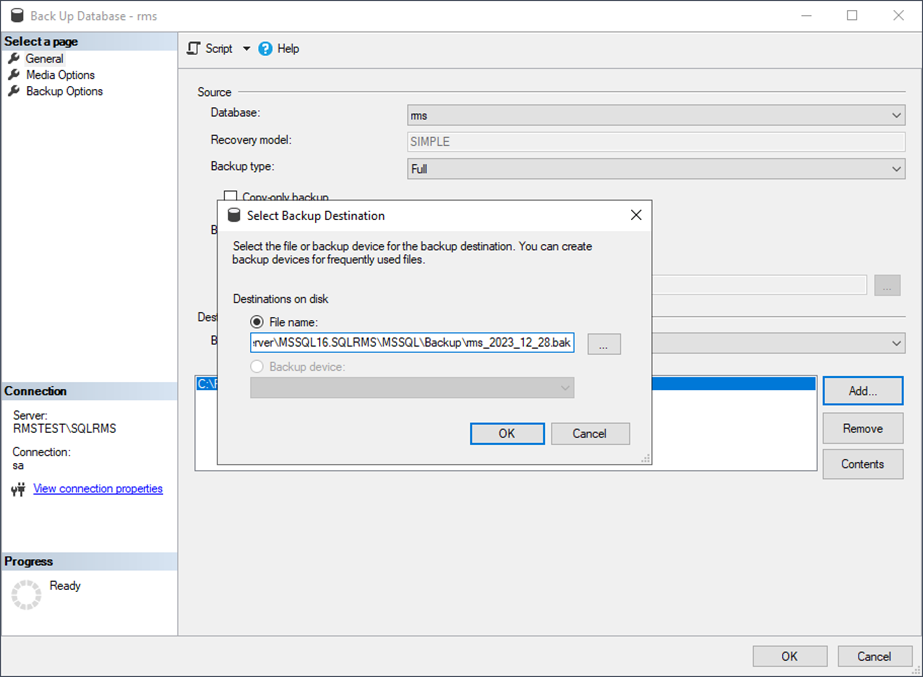 Remove all paths except the one added: 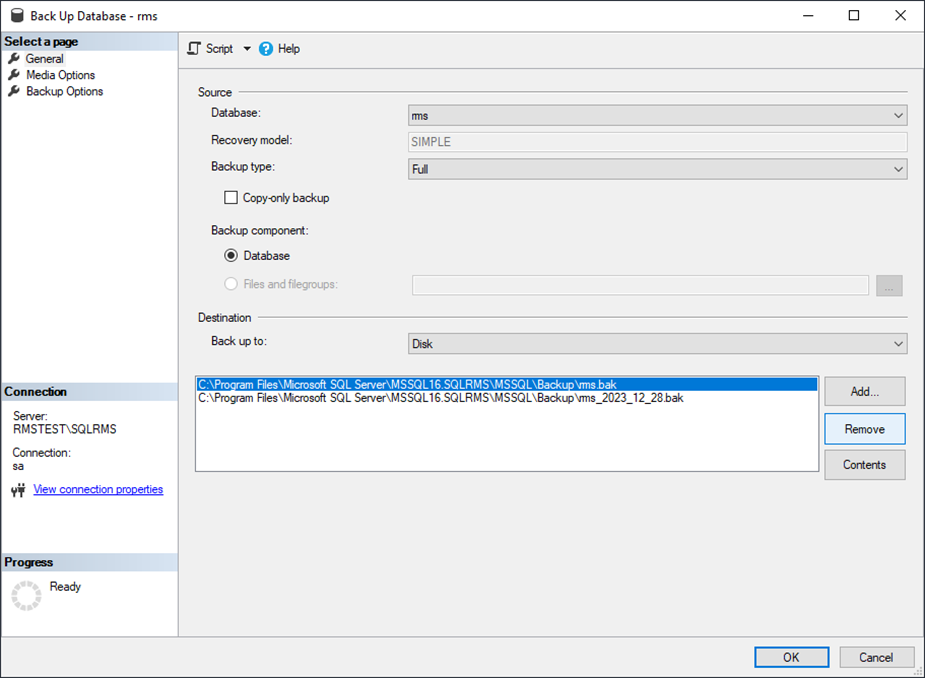 Click on OK, the database should then be backed up. 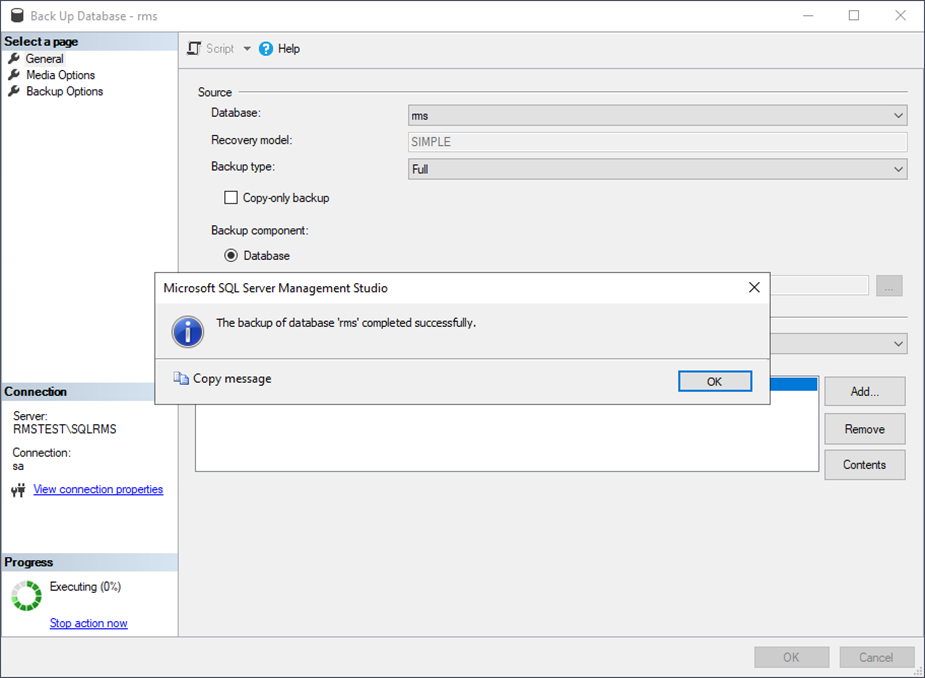 |
| Step 4 | Update the database tables using the "Rotronic-Rms-Tables". Click on "File" at the top left of the SQL Server Management Studio and then on "Open" and then on "File..." again. 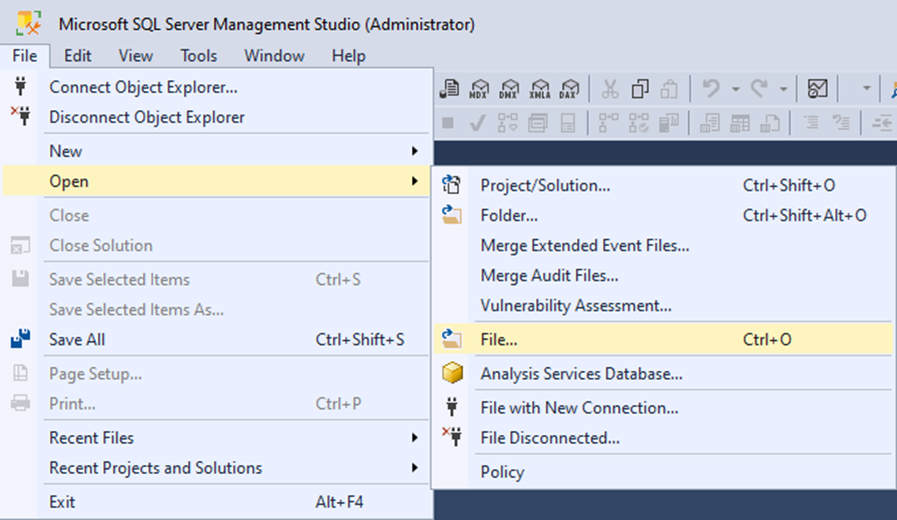 Go to the RMS folder and double click on the script "0000-Rotronic-Rms-Tables": 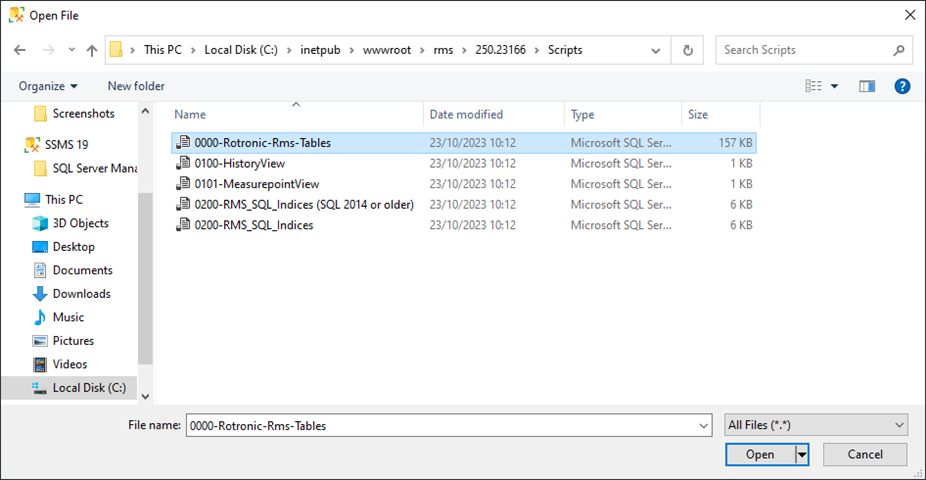 The following data will be shown: 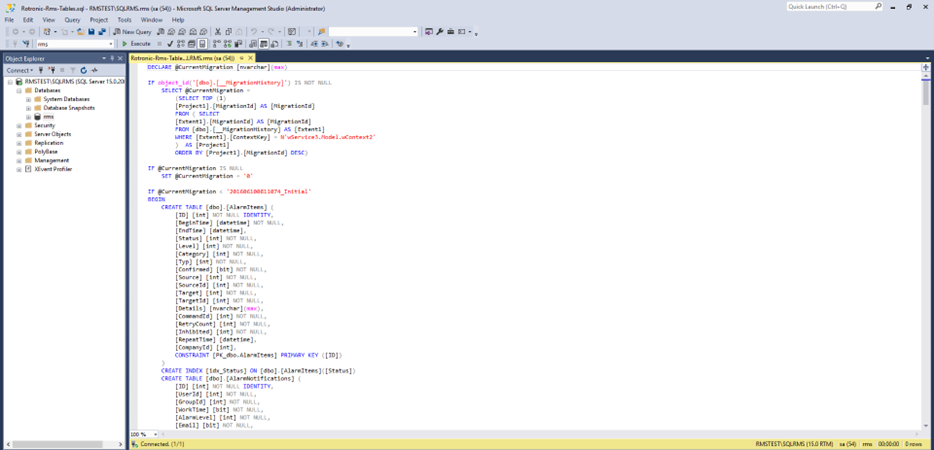 Please check in which database you will run this script. The rms database should be shown in the left top field! Click on execute.  Once executed, the following screen should be visible: 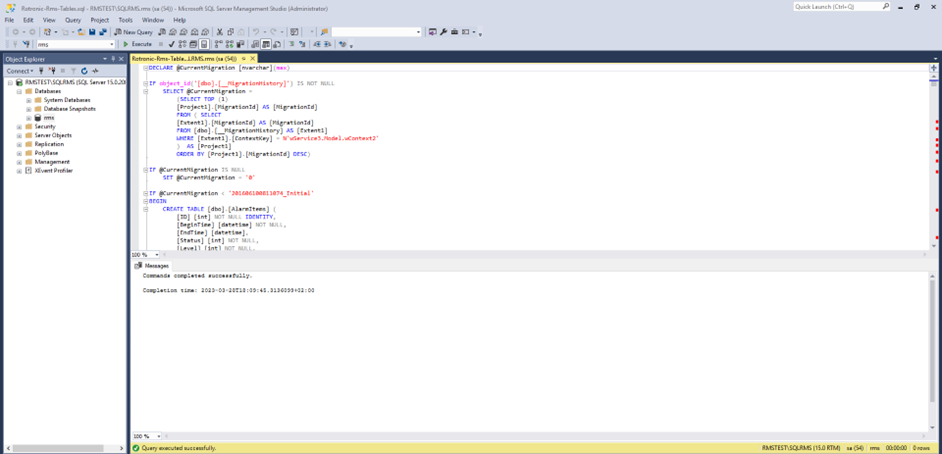 |
| Step 5 | Update the RMS SQL indices, via the SQL Server Management Studio, click on "File" at the top left and then on "Open" and then on "File..." again and do to the RMS folder. 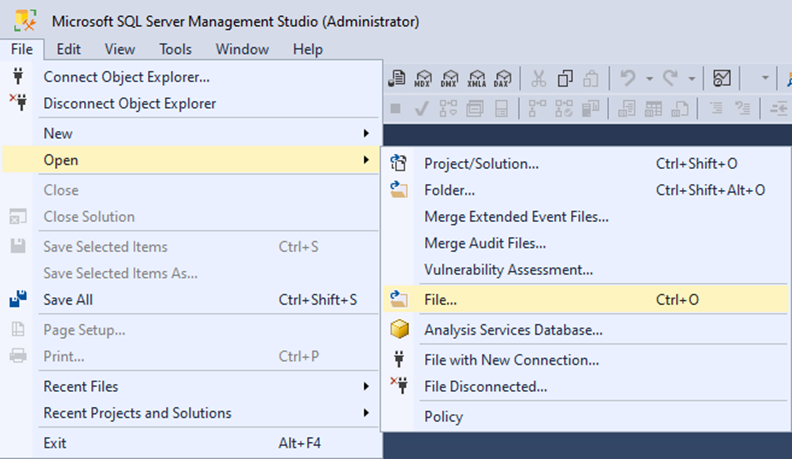 Check what version of MS SQL is running on the server. Based upon the MS SQL version, double click on the either - "0200-RMS_SQL_Indices (SQL 2014 or older)" or - "0200-RMS_SQL_Indices": 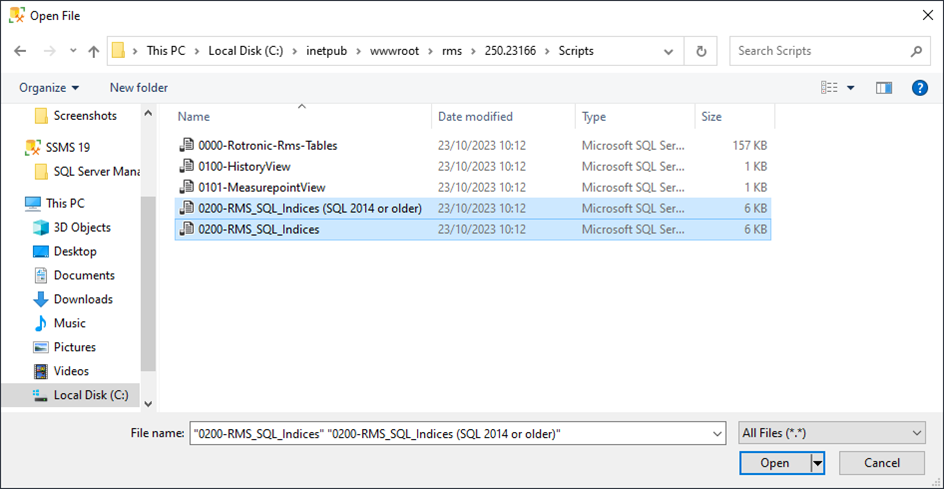 The following overview will appear: 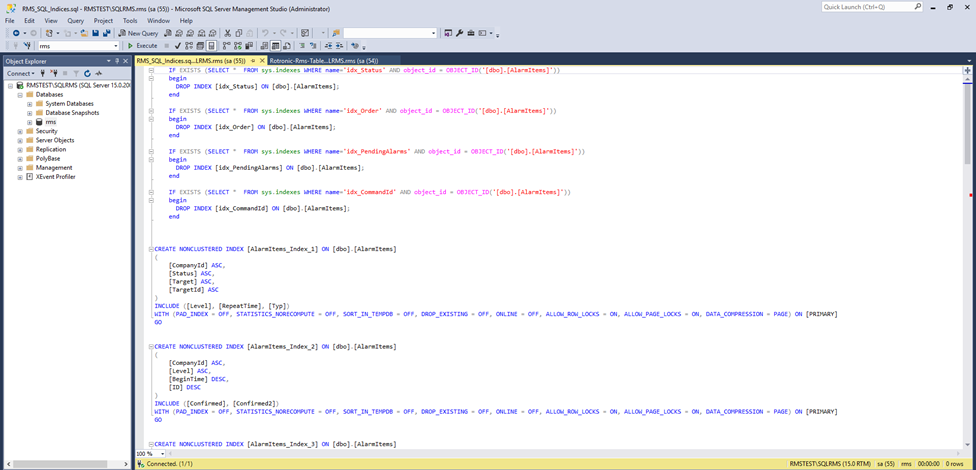 Please check in which database you will run this script. The rms database should be shown in the left top field! Click on execute: 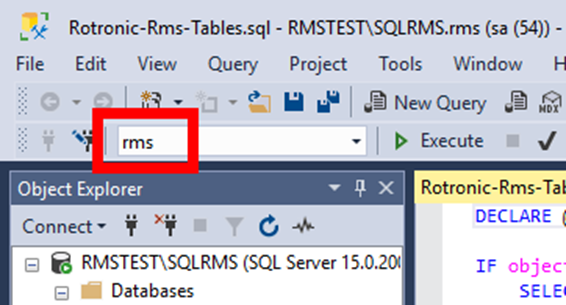 Once executed, the following screen should be visible (take this print screen for validation purposes): 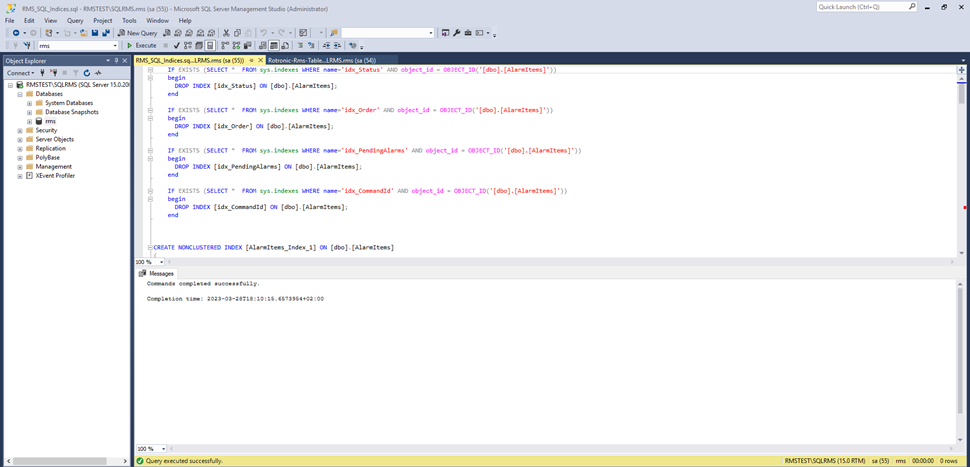 |
| Step 6 | Install the .Net Framework V4.8.0 or newer in the Dependencies folder under 252.24169, double-click on the file "npd48-web.exe": 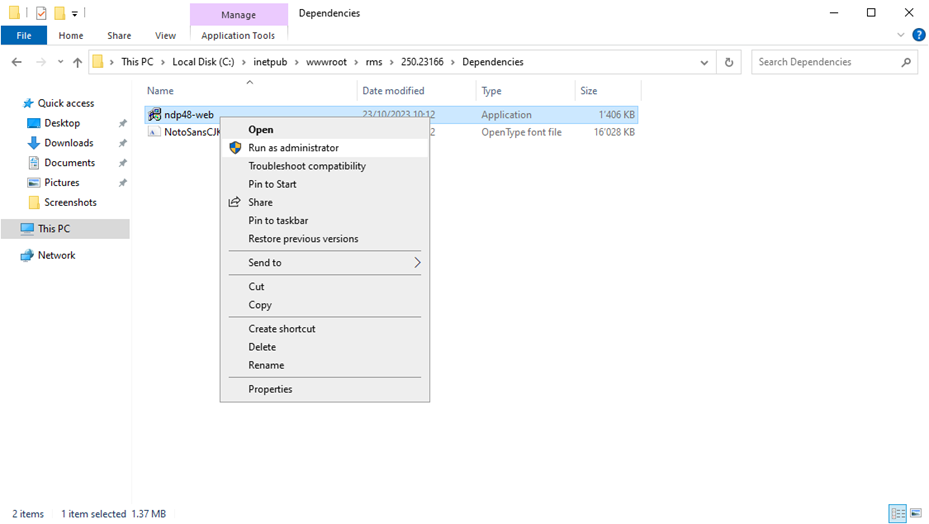 When prompted click on continue to install the .NET framework or close if it is already installed. If .NET framework V4.8 is already installed, close the window, and please move to the next step. 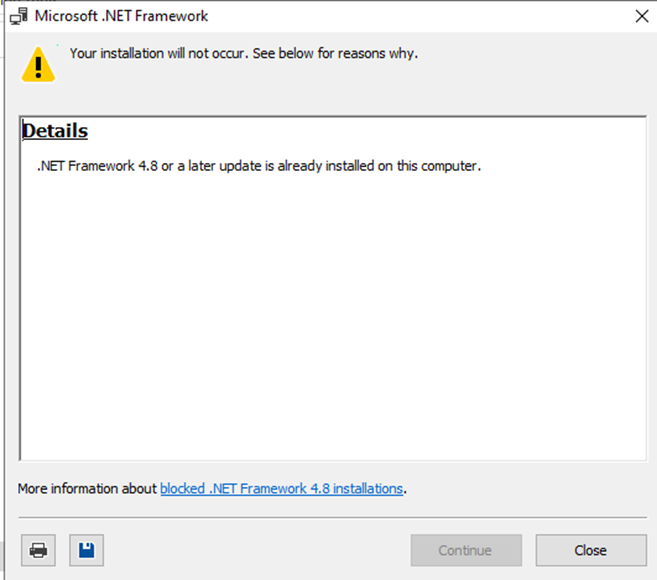 Installation of the .NET framework, click on Install. 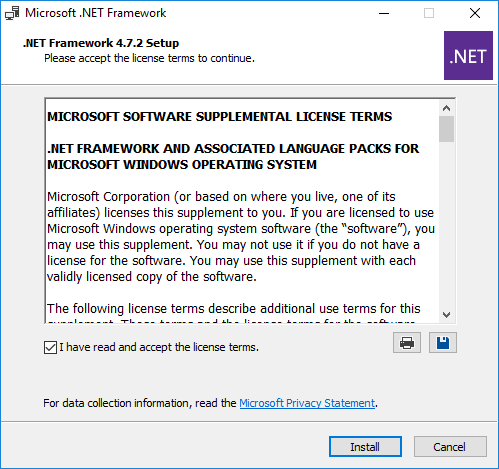 The installation will start: 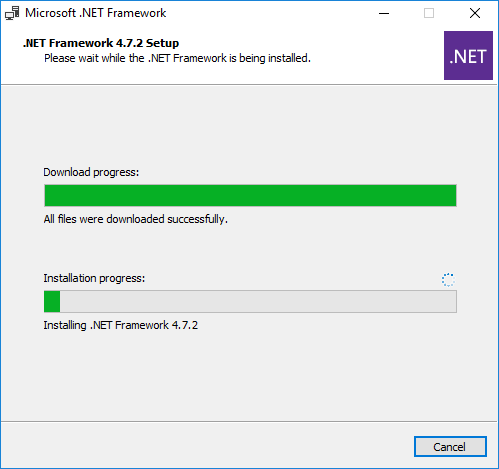 Once completed, the following screen will appear: 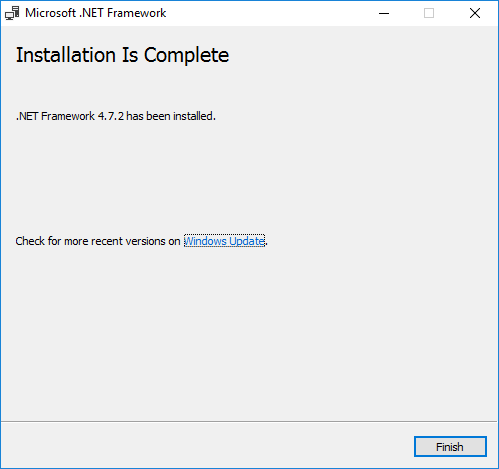 A server restart is required: 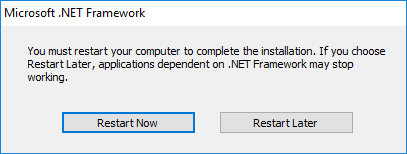 |
| Step 7 | In the 252.24169 folder, update the connections.config file of the new software installation based upon the settings of the current software installation. Edit the connection string (via Notepad), if required, in the connections.config file located in folder C:\inetpub\wwwroot\RMS\252.24169\ServiceManager: 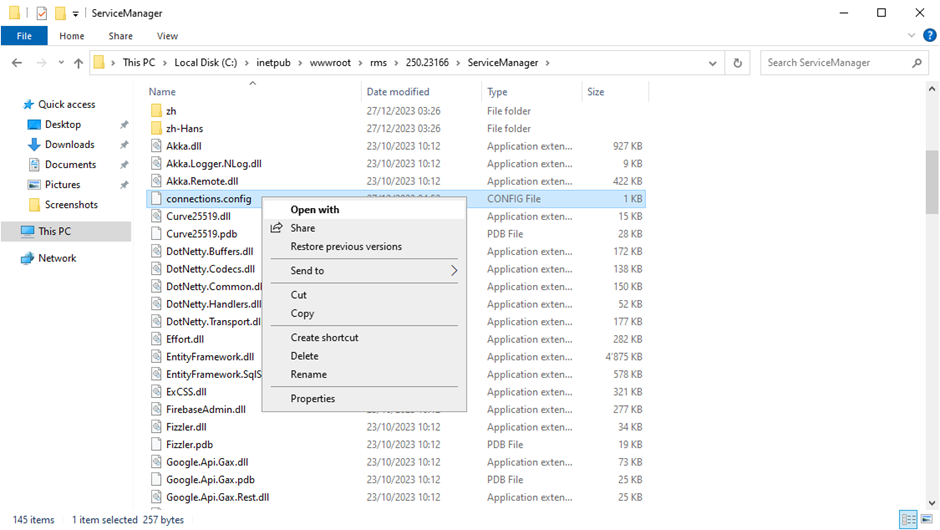 The pre-existing connections.config data can be found in: - C:\inetpub\wwwroot\RMS\xxxxx\ServiceManager or - C:\inetpub\wwwroot\RMS\xxxxx\wPage. 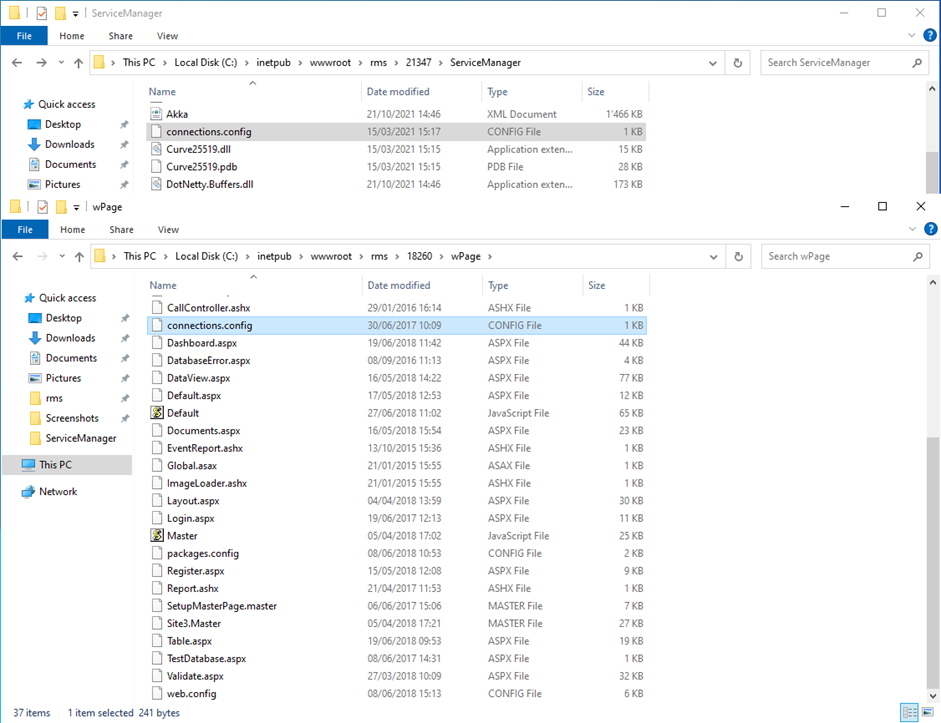 Here is for example an overview of the current and new files. The new connections.config should be based upon the settings of the current connections.config: - Data Source, - Initial Catalog, - User ID, - Password. 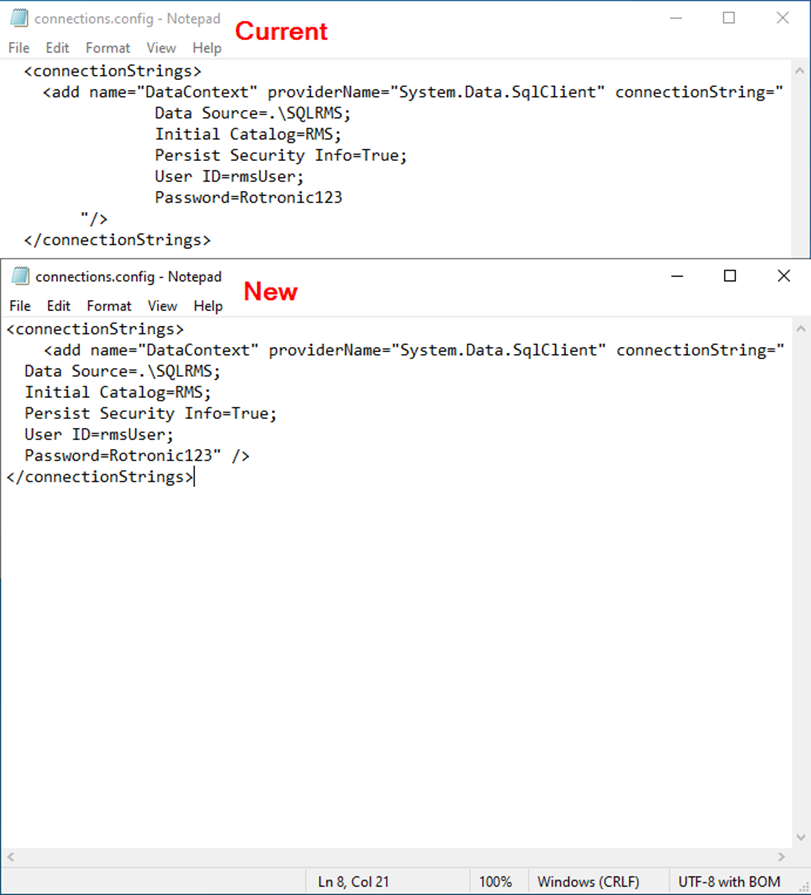 If the current version is 2.4.0 or newer, the connections.config in the SqlMonitor folder must also be updated:  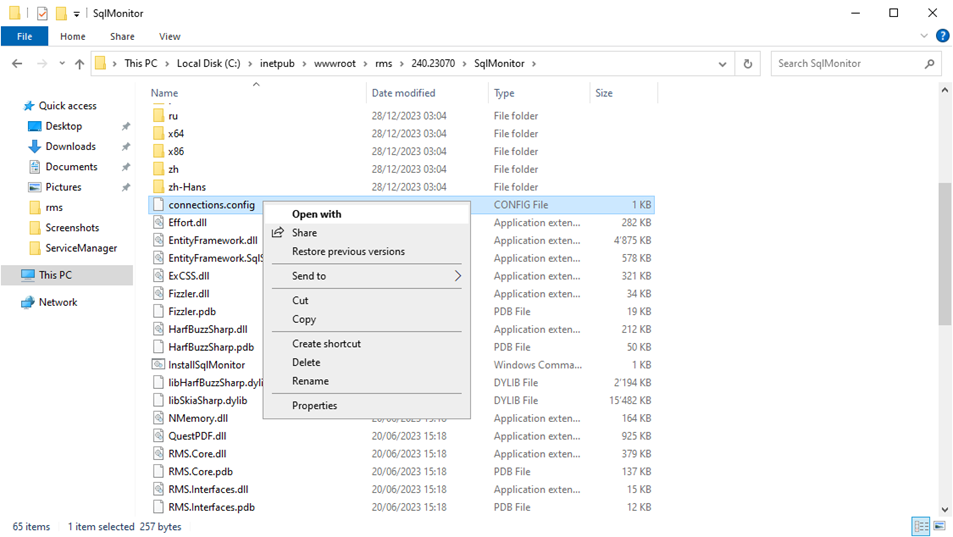 |
| Step 8 | Test the connection to the database, by double clicking on the TestDatabase.cmd command: 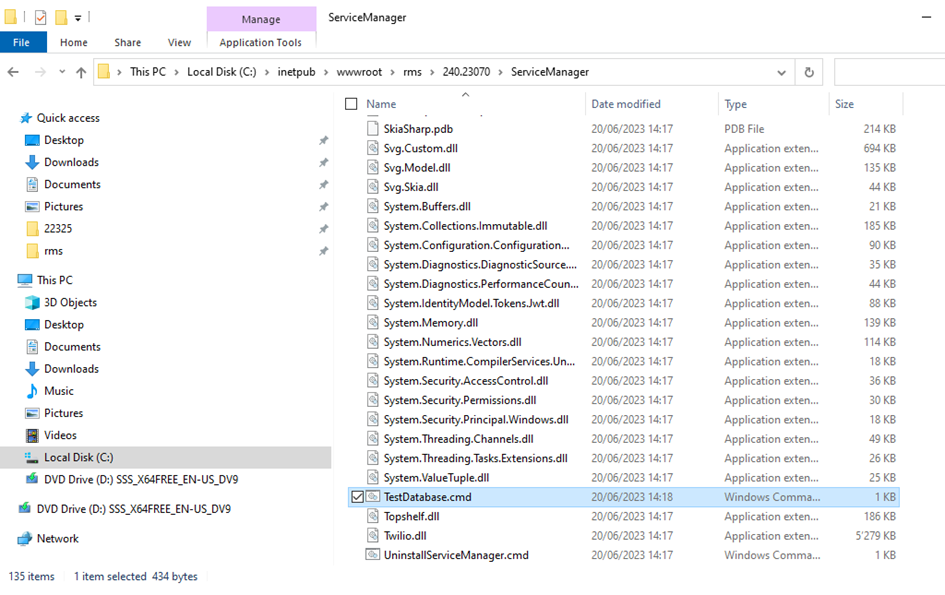 If the following screen appears, return to step 4 and 5 and execute the "0000-Rotronic-Rms-Tables" and "0200-RMS_SQL_Indices": 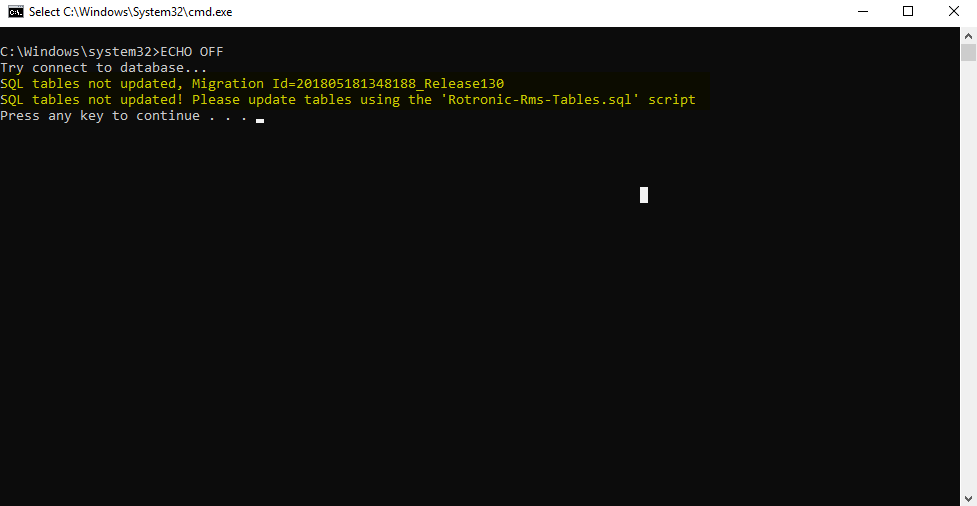 The following screen should be shown if the test is successful: 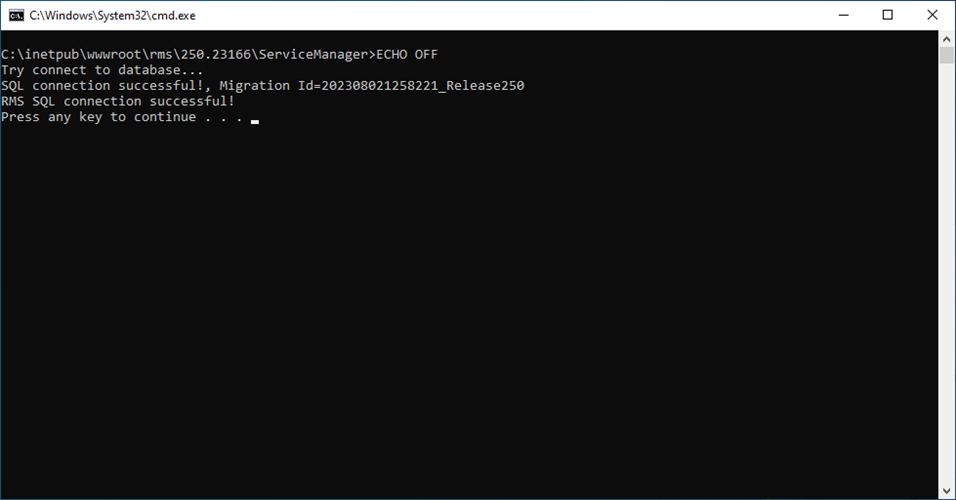 |
| Step 9 | The ports and paths of the new version must be checked. Not all versions have the folders for which the ports and paths needs to be checked. Please note the versions: For versions: >V2.0.0 or higher: Open the file RmsServiceManager.exe.config under the ServiceManager folder for the new and current version and check to ensure that the port is based on the settings of the current port. (Port 8091 is the default port.) 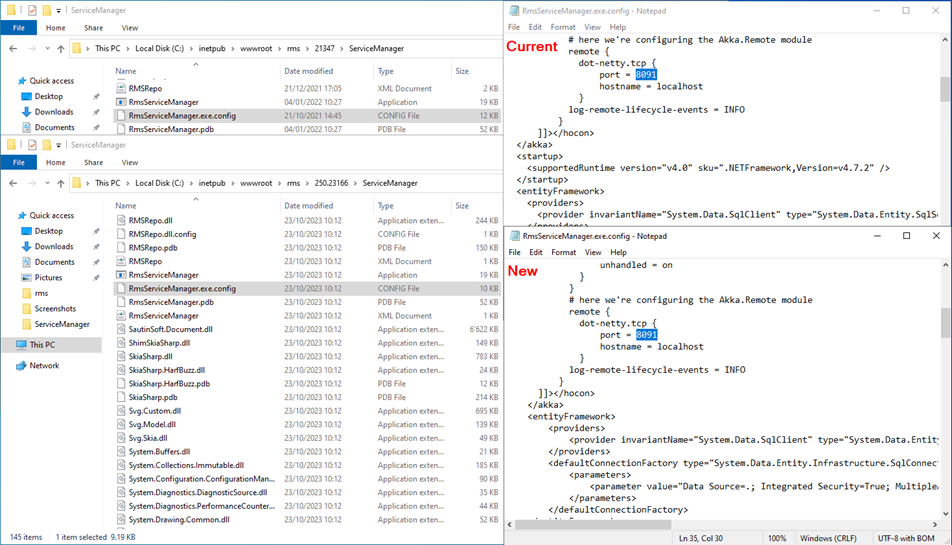 For versions: >V2.0.0 or higher: Open the file NLog.config under the ServiceManager folder for the new and current version and check to ensure that the path is based on the settings of the current path. 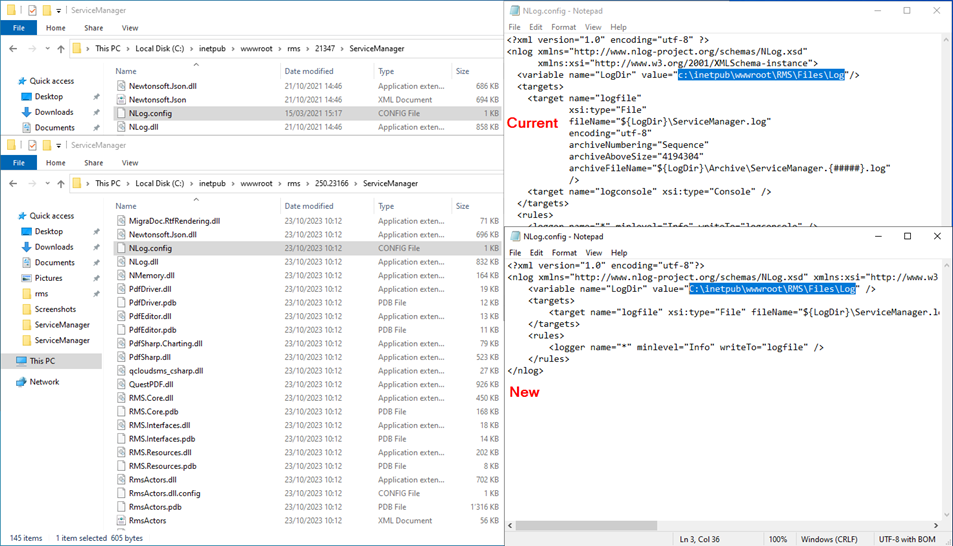 For versions: 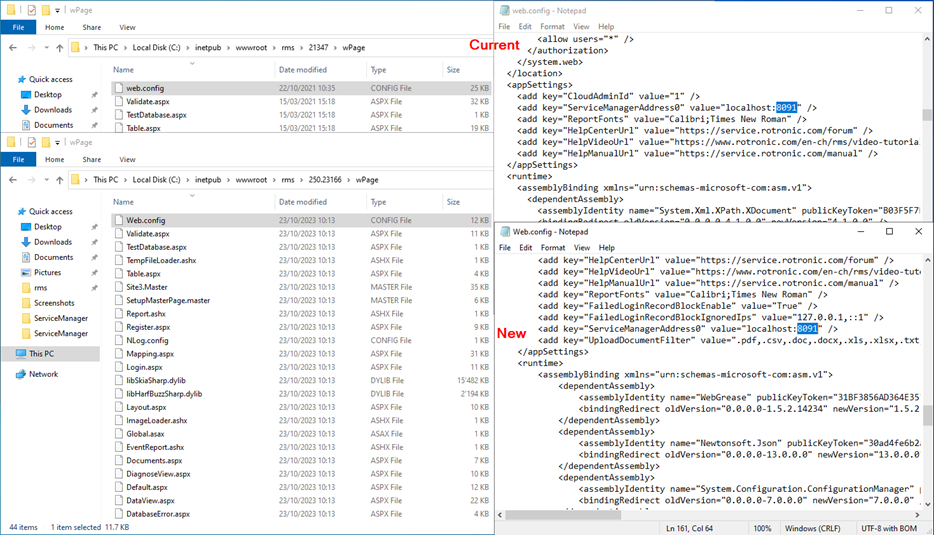 For versions: 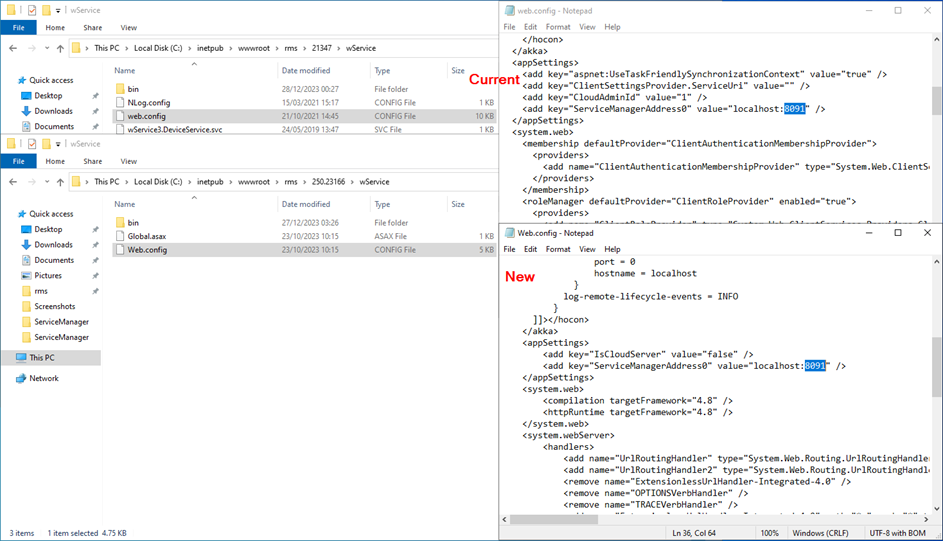 For versions: >V2.0.0 or higher: Open the file NLog.config under the wService (or wService\bin) folder for the new and current version and check to ensure that the path is based on the settings of the current path. 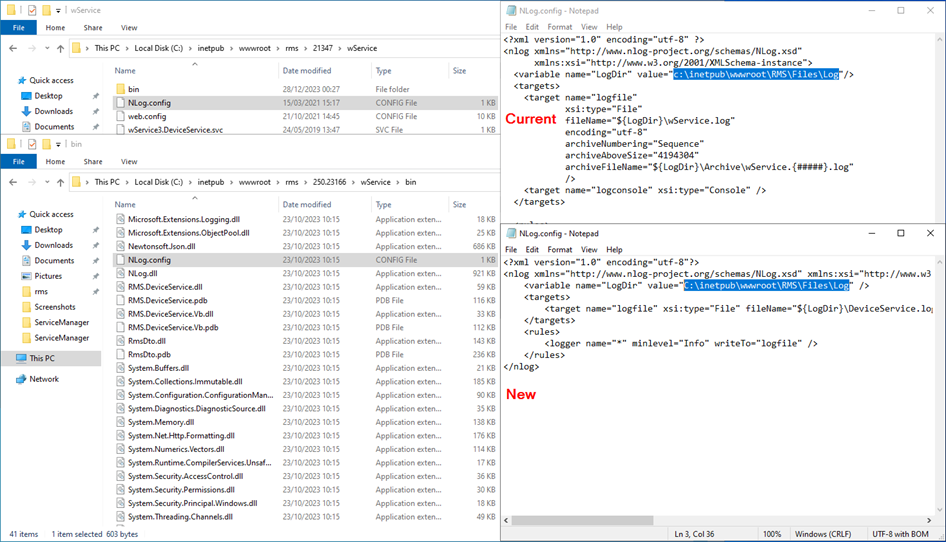 For versions: >V2.4.0 or higher: Open the file RmsServiceManager.exe.config under the ServiceMonitor folder for the new and current version and check to ensure that the localhost port is based on the settings of the current localhost port. 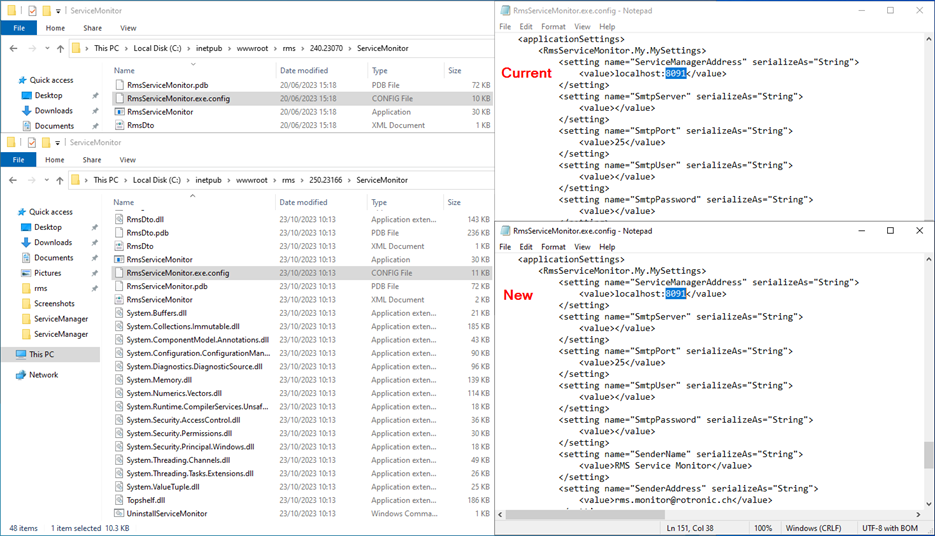 For versions: >V2.4.0 or higher: Open the file NLog.config under the ServiceMonitor folder for the new and current version and check to ensure that the path is based on the settings of the current path. 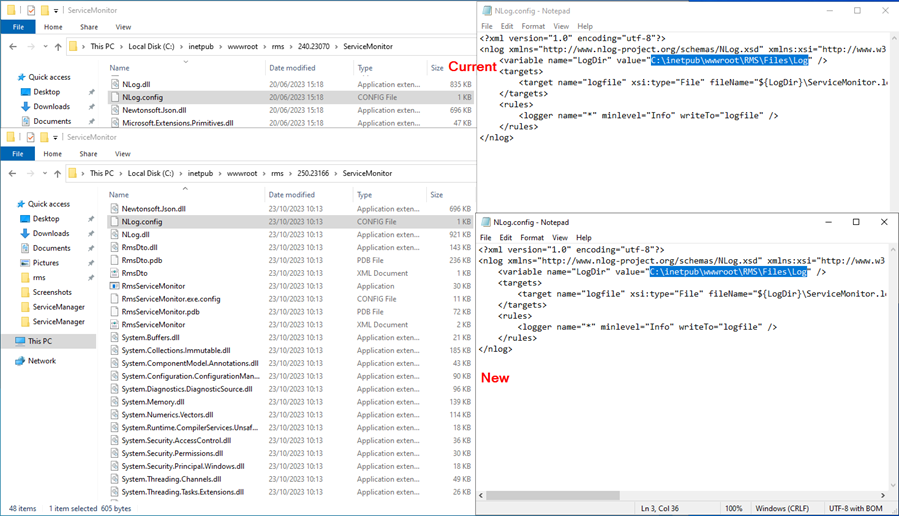 |
| Step 10 |
Open the file UpdatexxToV252.cmd with Notepad and on the current version (only from version >V2.0.0 or higher) open the file InstallRmsVxxx.cmd with Notepad to make sure that wPageName, wServiceName and ManagerInstance are all correct. Important Note: - If you update from 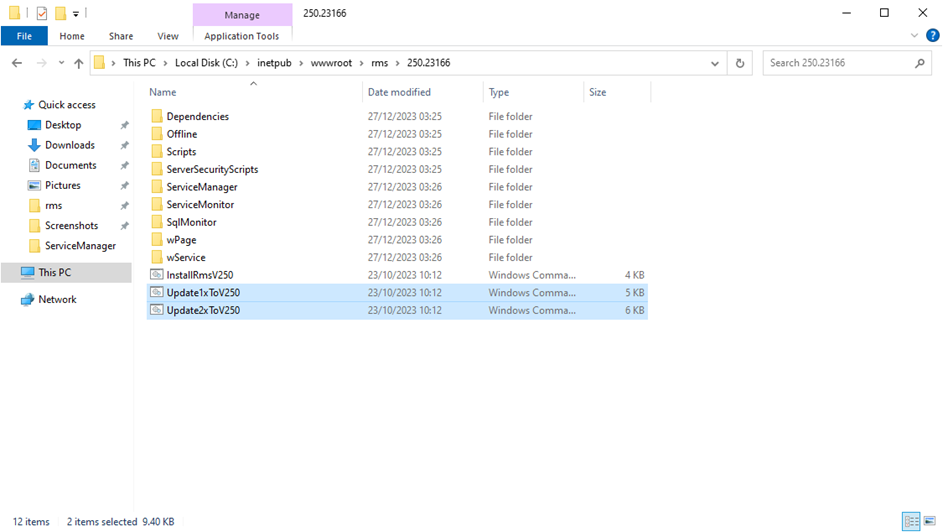 Here is for example an overview of the current and new files. The new UpdatexxToV252.cmd should be based upon the settings of the current InstallRmsVxxx.cmd: 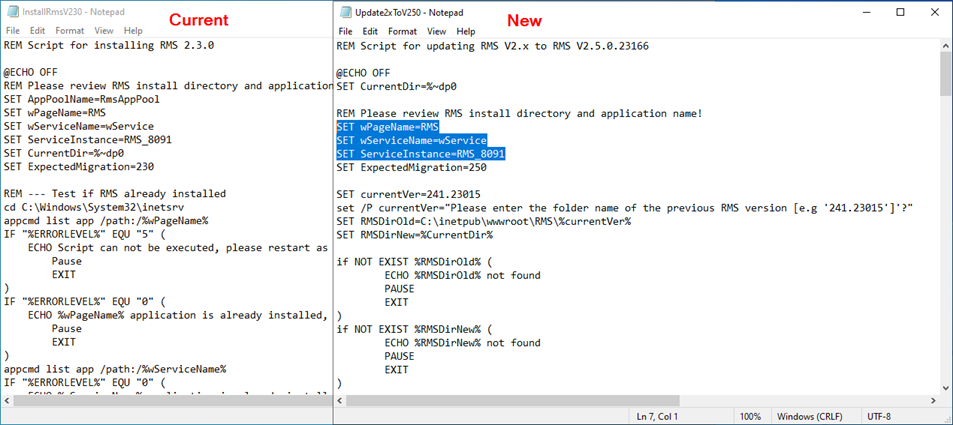 For versions <V1.3.3 you will find the wPageName and wServiceName in the IIS: 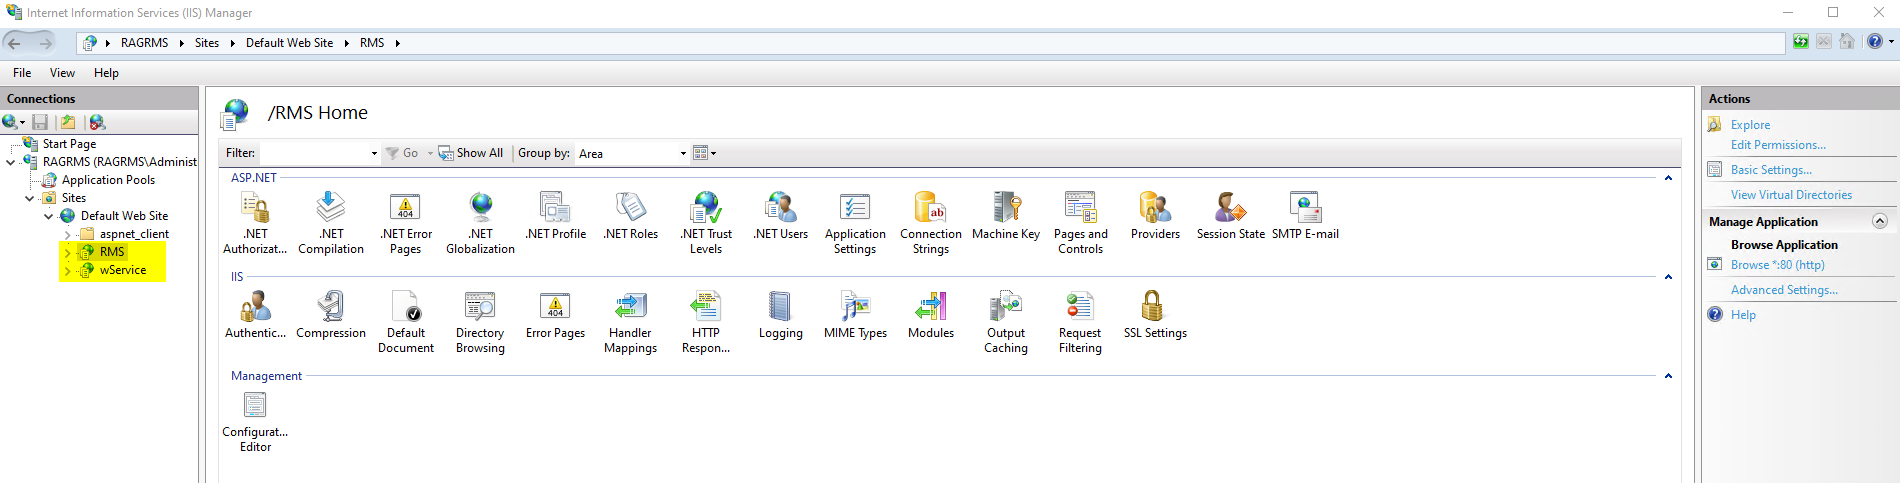 |
| Step 11 | Right click on the UpdatexxToV252.cmd and run as administrator to run the update command and follow the steps in the script: 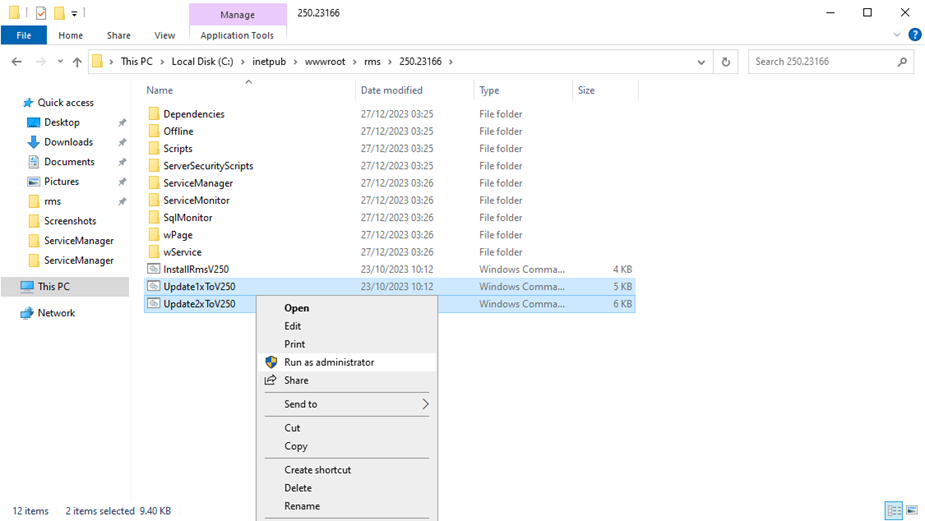 IMPORTANT: should the URL (C:\inetpub\wwwroot\rms\252.24169) not be correct, then the URL needs to be changed within the UpdatexxTo252.cmd file via right click and edit. 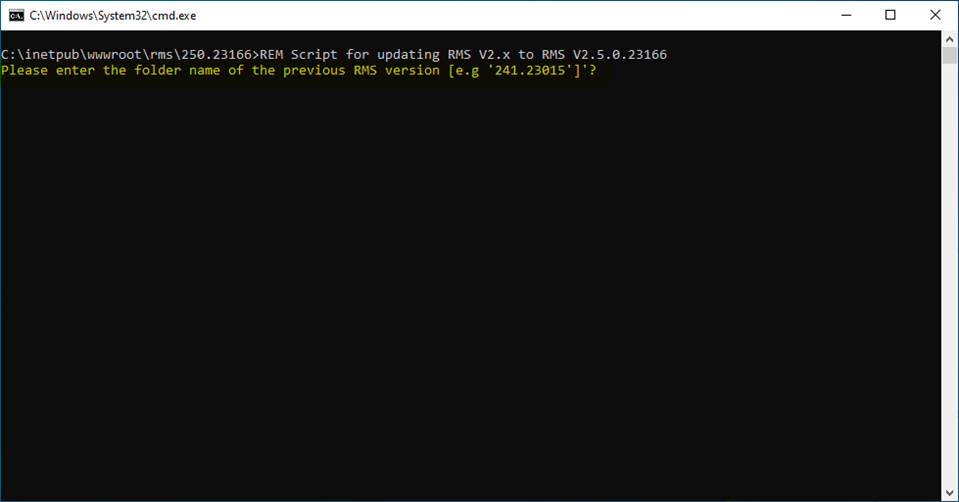 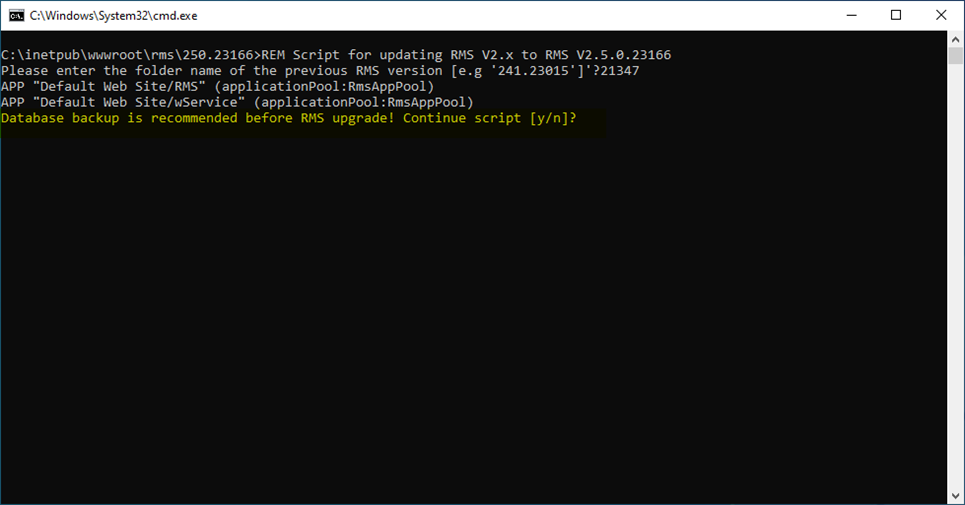 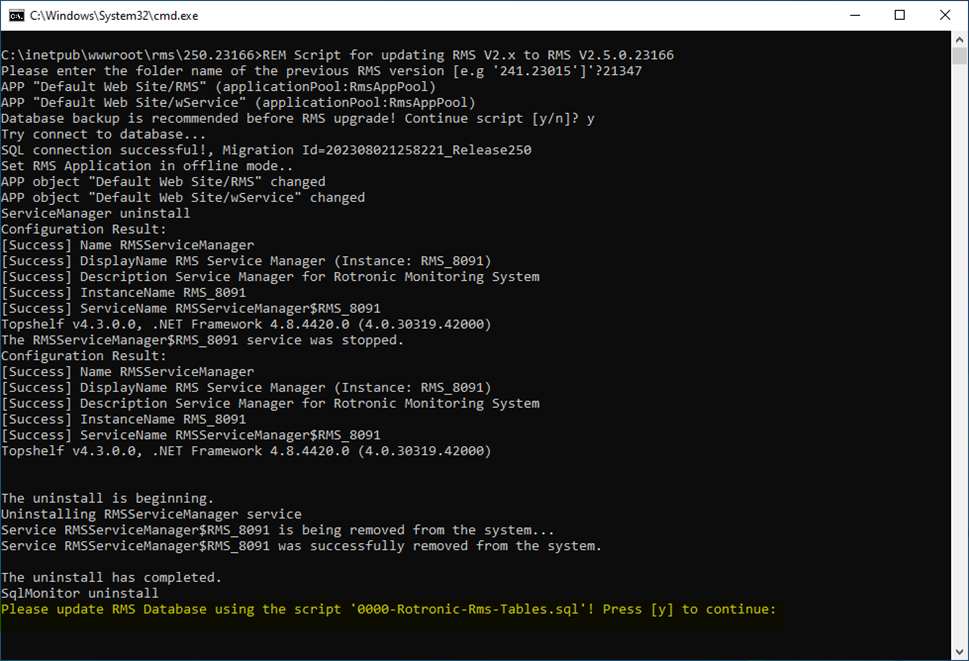 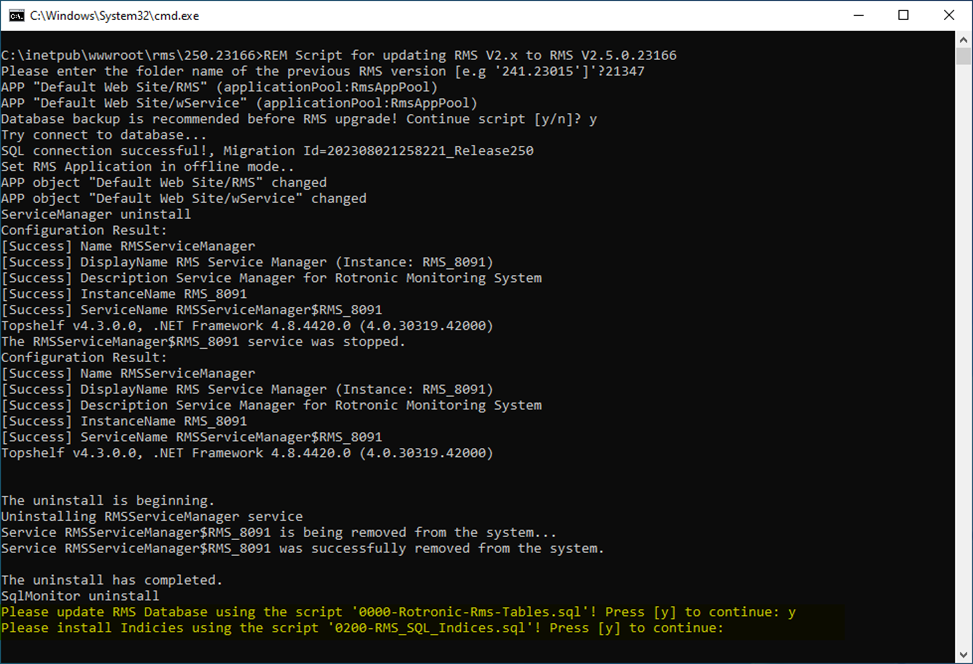 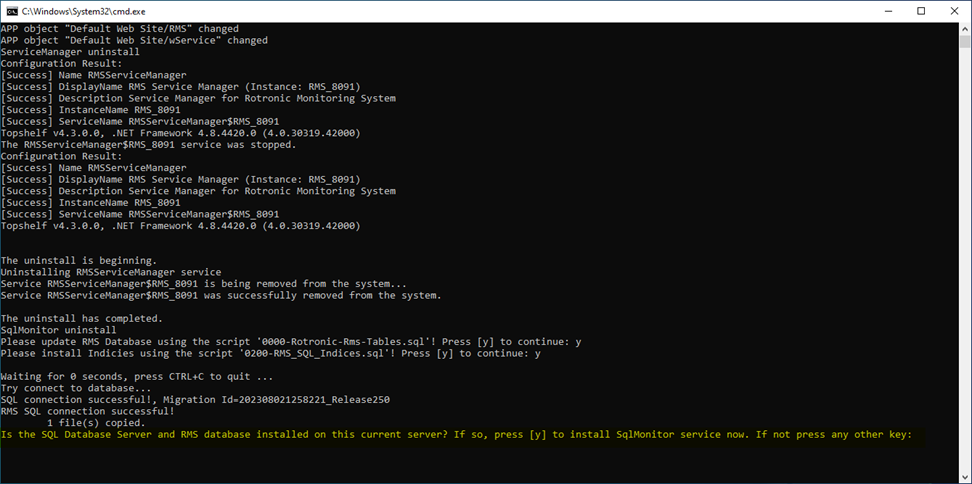  |
| Step 12 | Recycle Application Pool .NET V4.5 (in IIS Manager>Application Pools>Recycle). 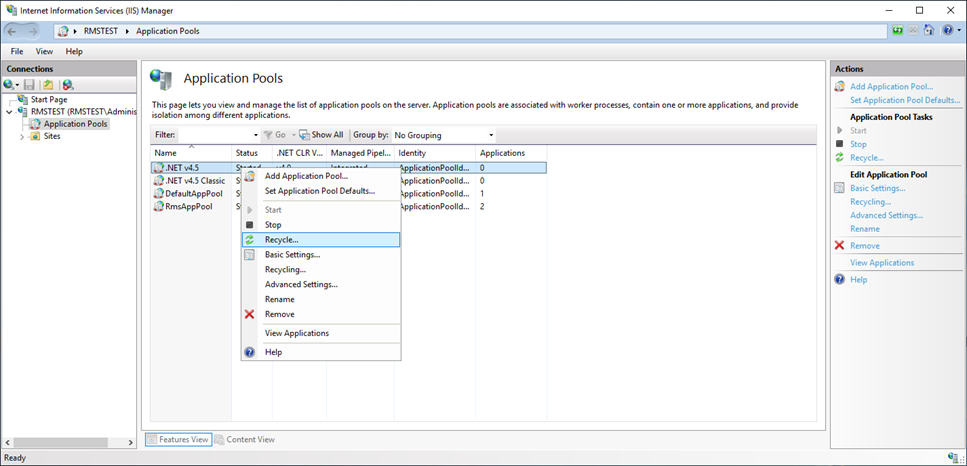 |
| Step 13 | Test to see if the website and the webservice are running: Software Installation Testing. If the following screen appears, simply refresh the URL:  The following print screen should appear:  |
| Step 14 | If additional fonts are required: RMS V2.1.1 Add the Help Menu and Report Fonts. |
| Step 15 | Update the Documentation path in the RMS software accordingly. The update created a new folder. The software update has created a new folder. We recommend either leaving the old folder as it is or integrating everything into the new one. If background images, layouts, etc. are used in the software, they must be copied from the old folder to the new one. Log into RMS and select Tools>Setup>System: 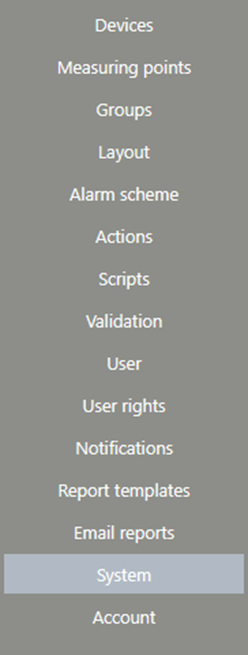 Update the documentation path:  This must match the file patch: 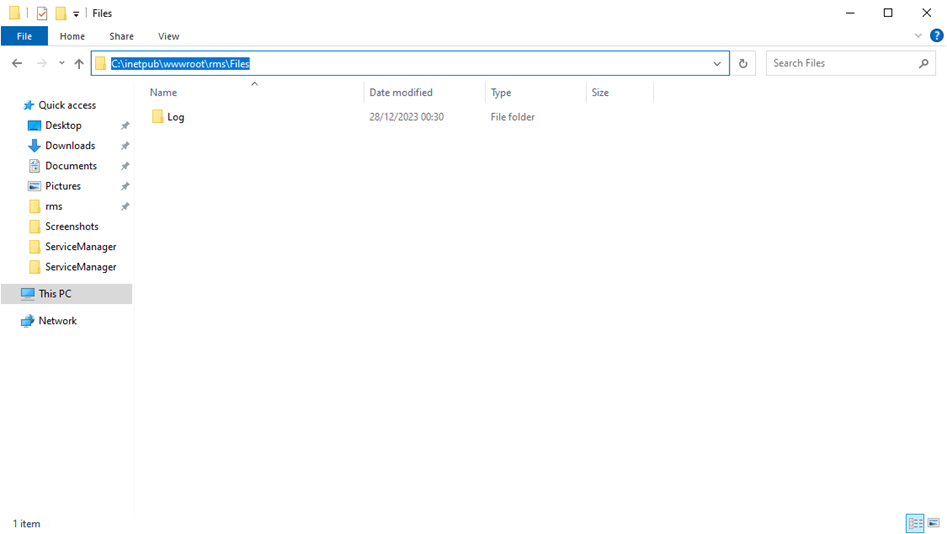 |
| Step 16 | Once the software updated, ensure that a new license key is also added: Update your License Code. |
Updated: 05.09.2024