Configuration of IIS WebServer
| Step 2 | Select the server. 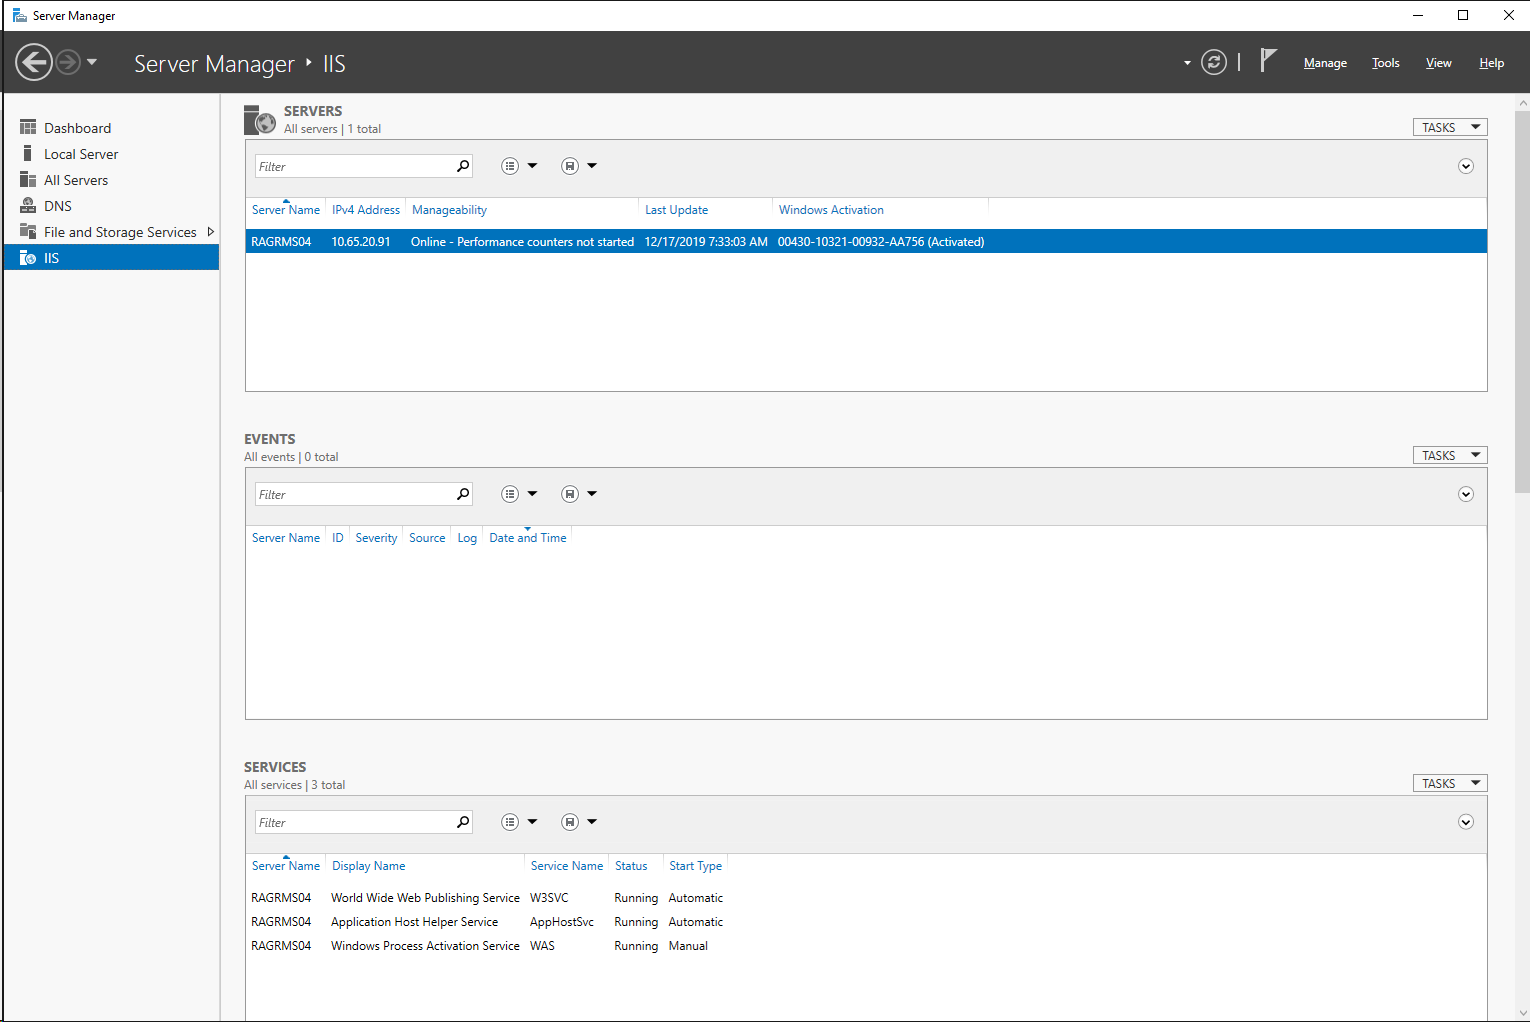 |
|---|---|
| Step 3 | Click on the right button and select "Internet Information Services (IIS) Manager". 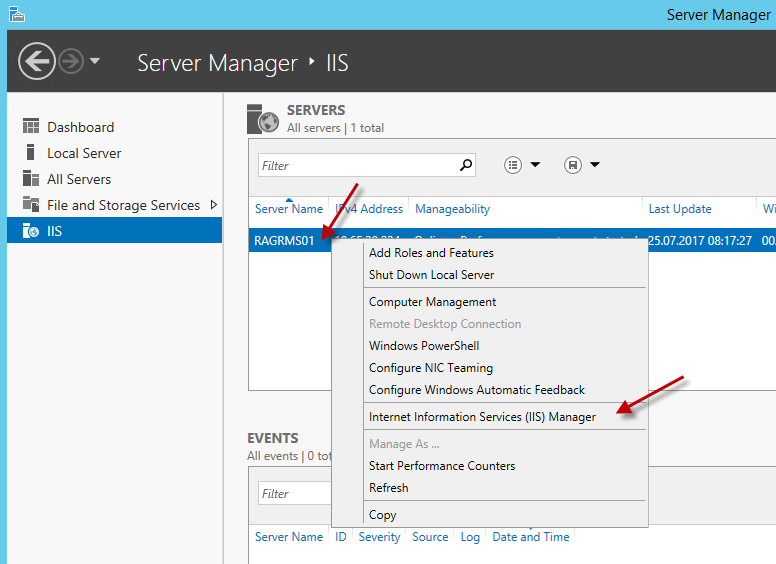 |
| Step 4 | A new window opens, select the "RMS Server". In the next steps, the RMS and wService websites will be created.  |
| Step 5 | Expand the "Server" tree, expand the "Sites" tree. Right click on "Default Web Site" and click on "Add Application".  |
| Step 6 | Creation of the RMS website: wPage. Alias: RMS. 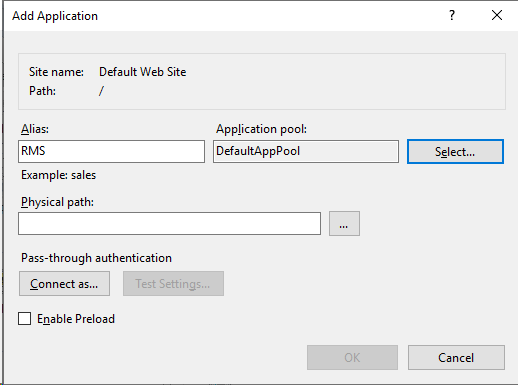 |
| Step 7 | Application Pool: click on select and select ".NET V4.5". Click on "OK". 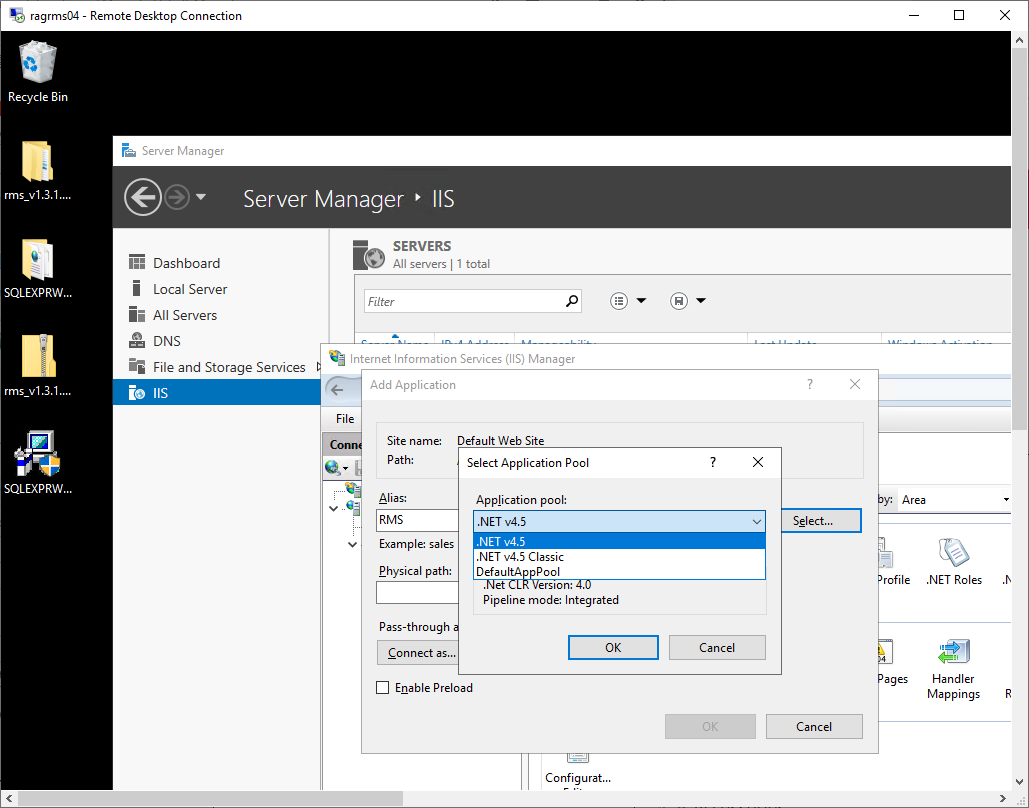 |
| Step 8 | Physical path: click on the "..." and search for the wPage file located on the C:. Click on "OK". 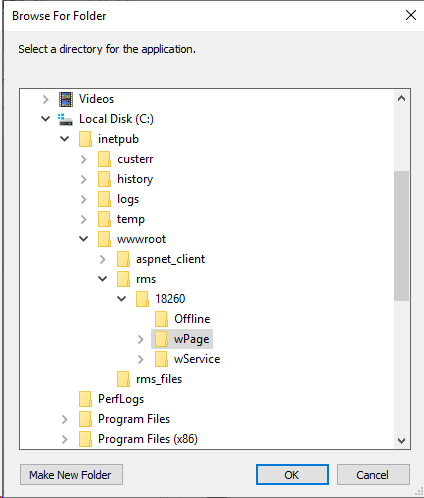 |
| Step 9 | The settings for the creation of the RMS website: wPage are done. Click on "OK". 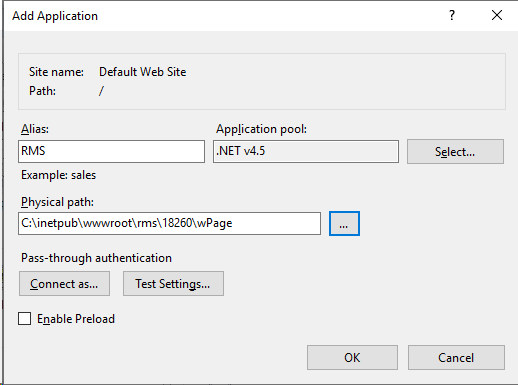 |
| Step 10 | Expand the "Server" tree, expand the "Sites" tree. Right click on "Default Web Site" and click on "Add Application".  |
| Step 11 | Creation of the sub-website: wService. Alias: wService. 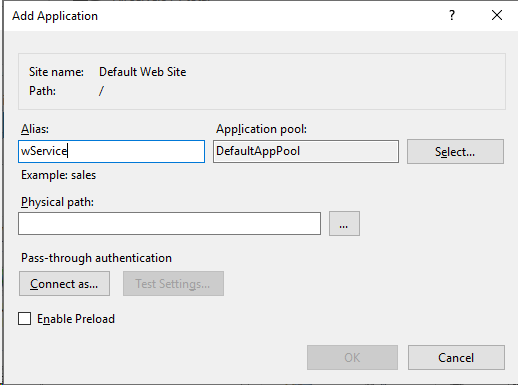 |
| Step 12 | Application Pool: click on select and select ".NET V4.5". Click on "OK". 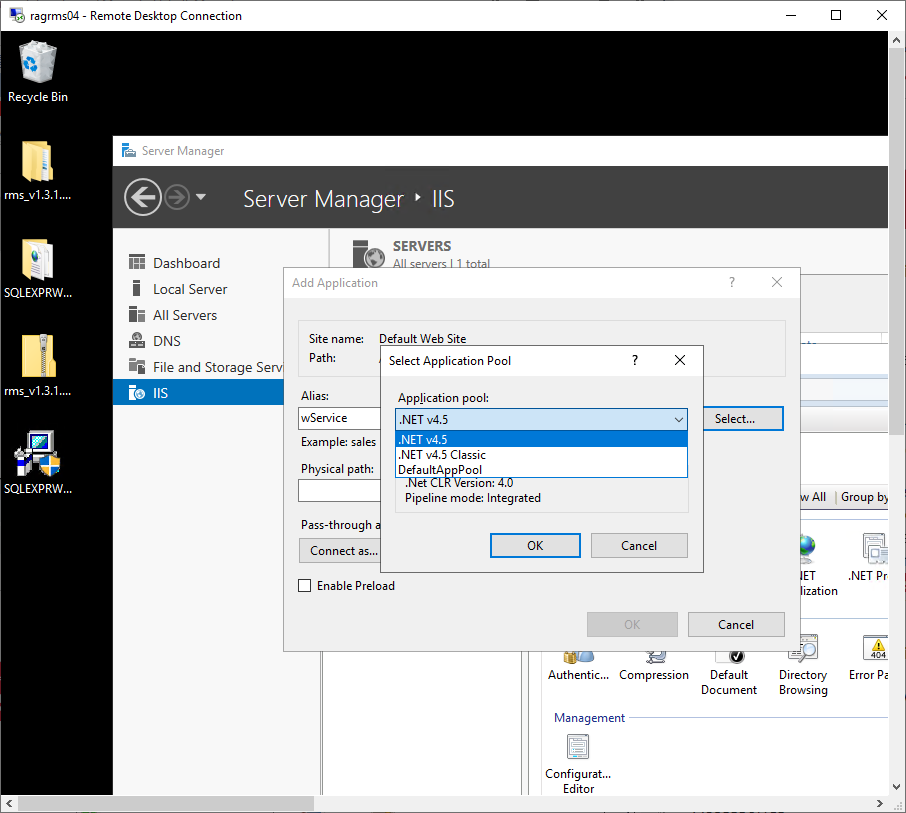 |
| Step 13 | Physical path: click on the "..." and search for the wService file located on the C:. Click on "OK". 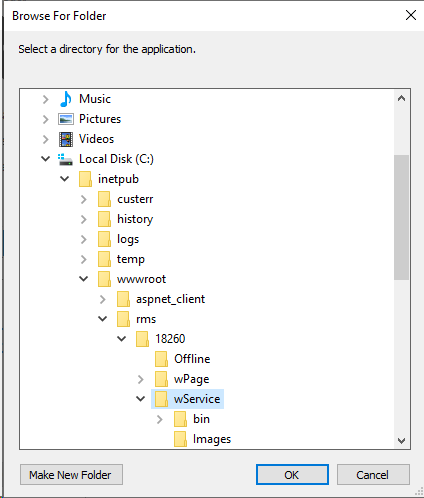 |
| Step 14 | The settings for the creation of the sub-website: wService are done. Click on "OK".  |
| Step 15 | The two websites are now visible within the "Default Web Site" tree. 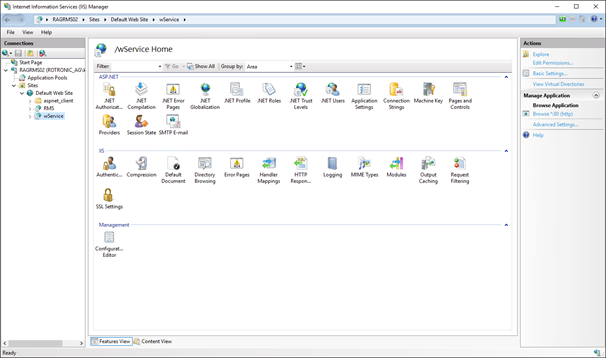 |
| Step 16 | In order to monitor the CPU load and memory usage within RMS, IIS needs the corresponding rights on the server within the application pool .NET V4.5 of the wService and wPage. Using the Windows search function open the Server Manager app. Click on "Tools" on the top right hand side of the screen. 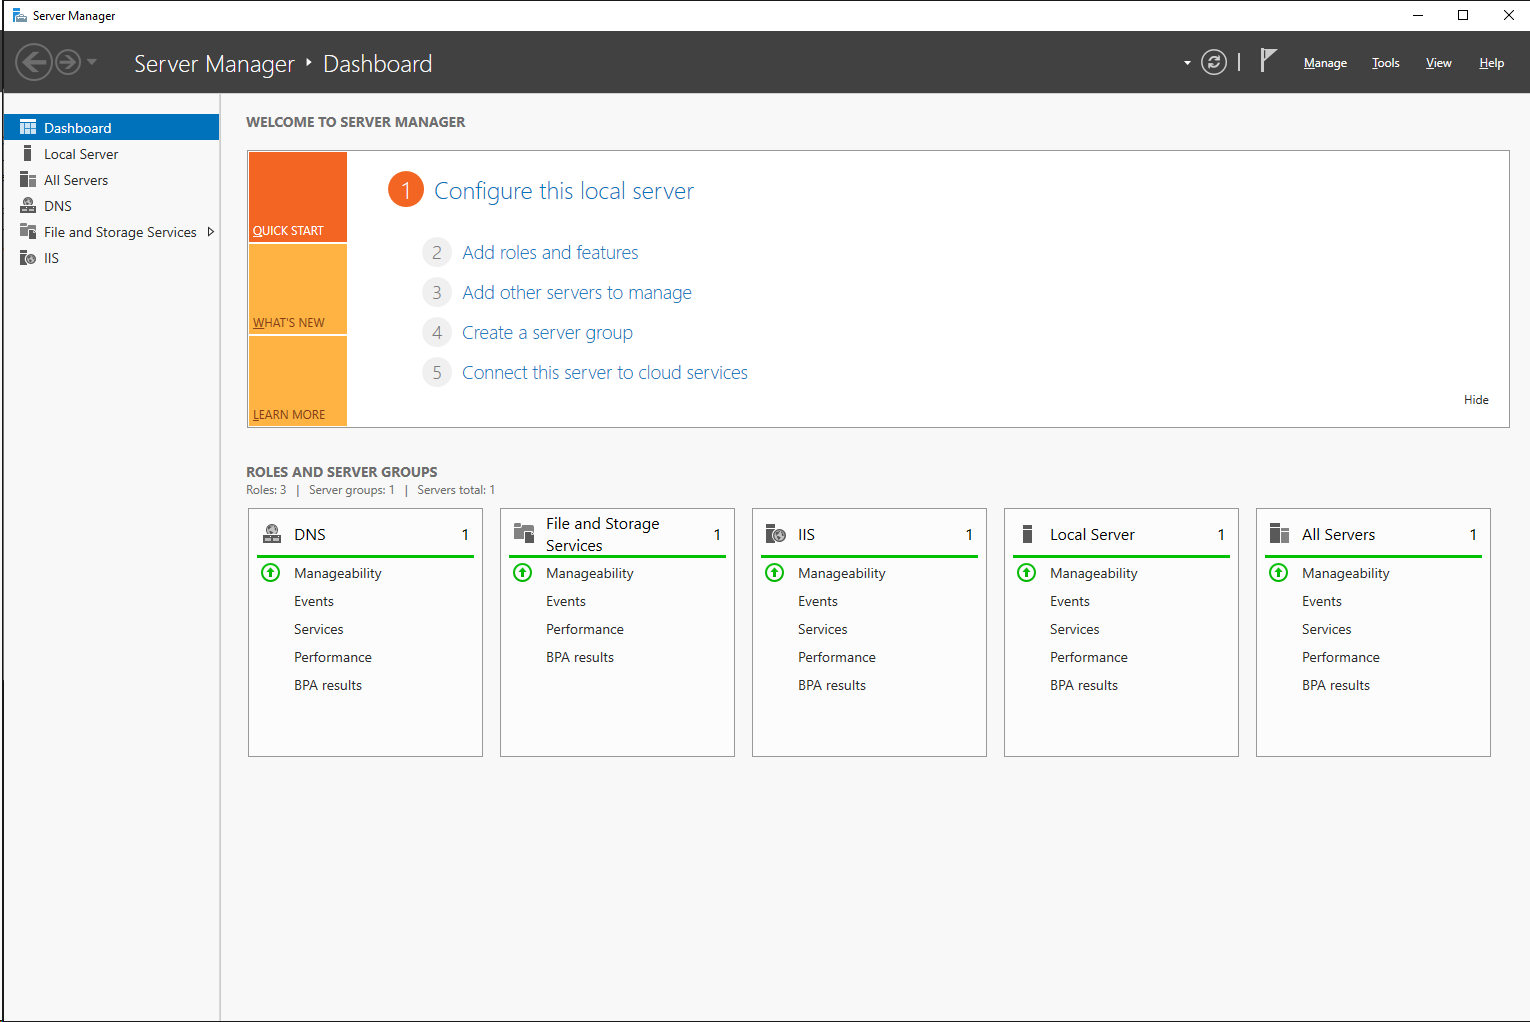 |
| Step 17 | Click on "Tools" on the top right hand side of the screen and select "Computer management". 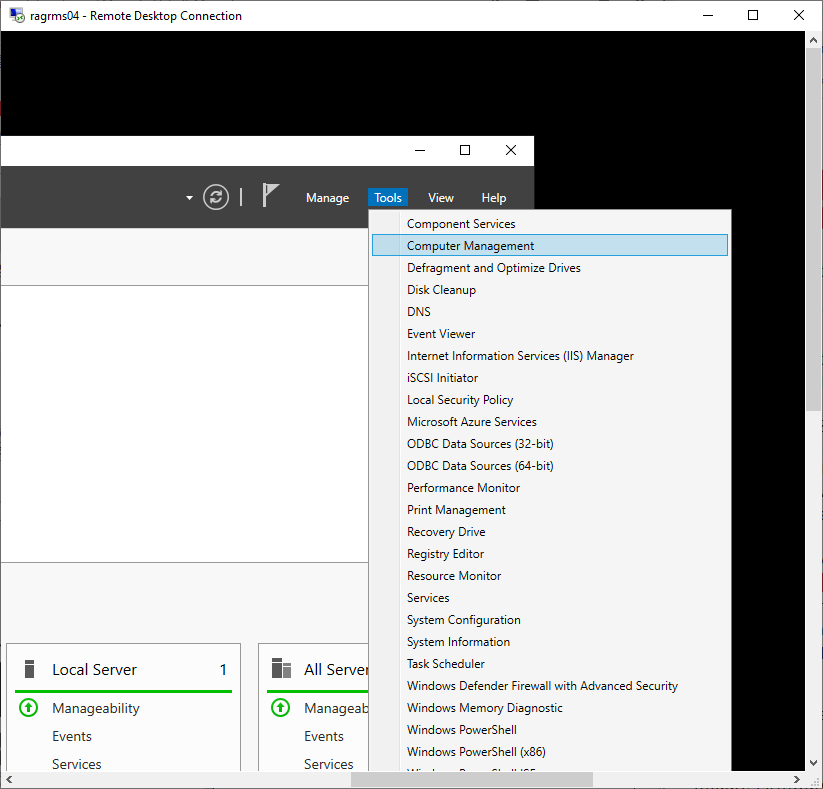 |
| Step 18 | A new window opens. Select "Local Users and Groups" on the left hand side. 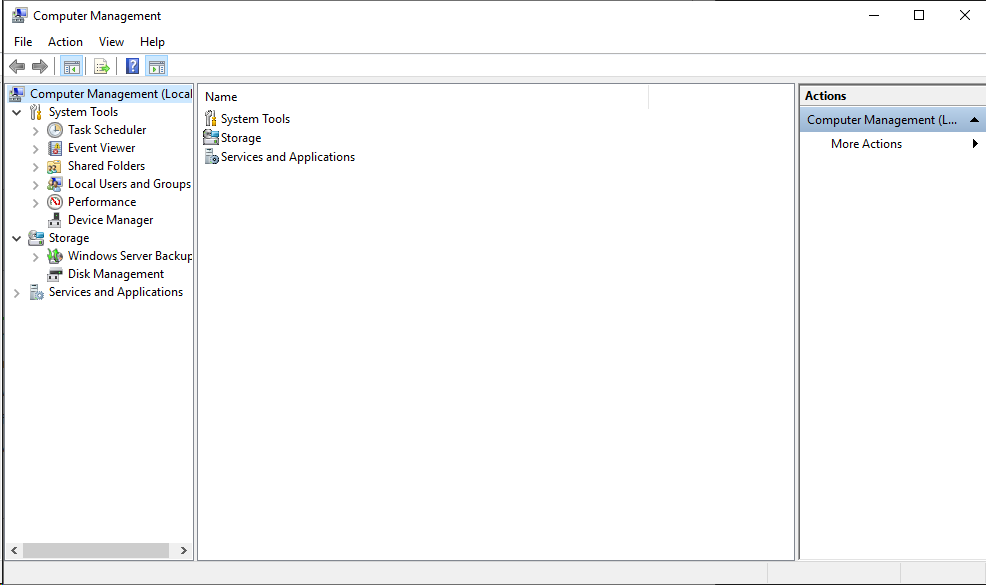 |
| Step 19 | Double click on "Groups". 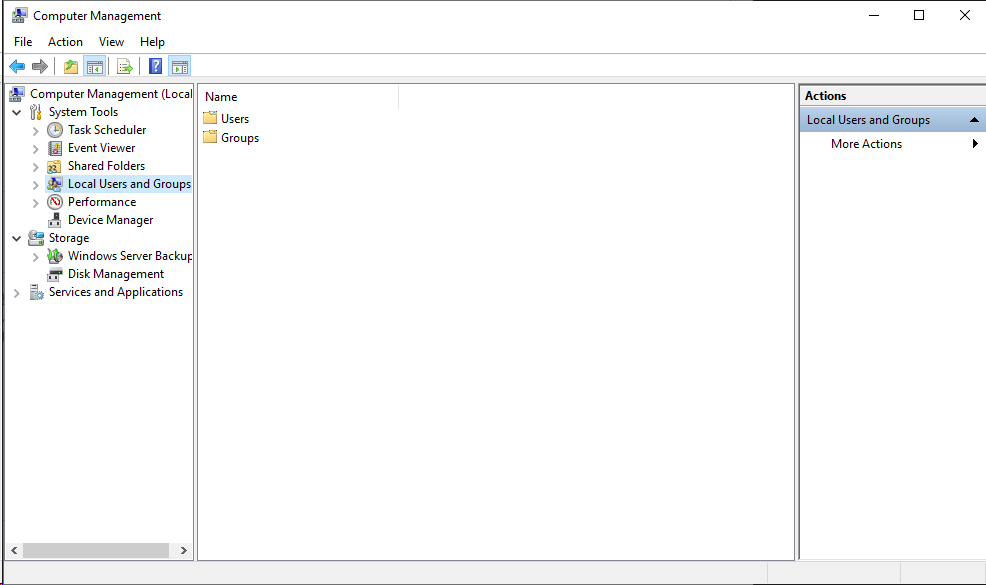 |
| Step 20 | Double click on "Performance Monitor Users" group. 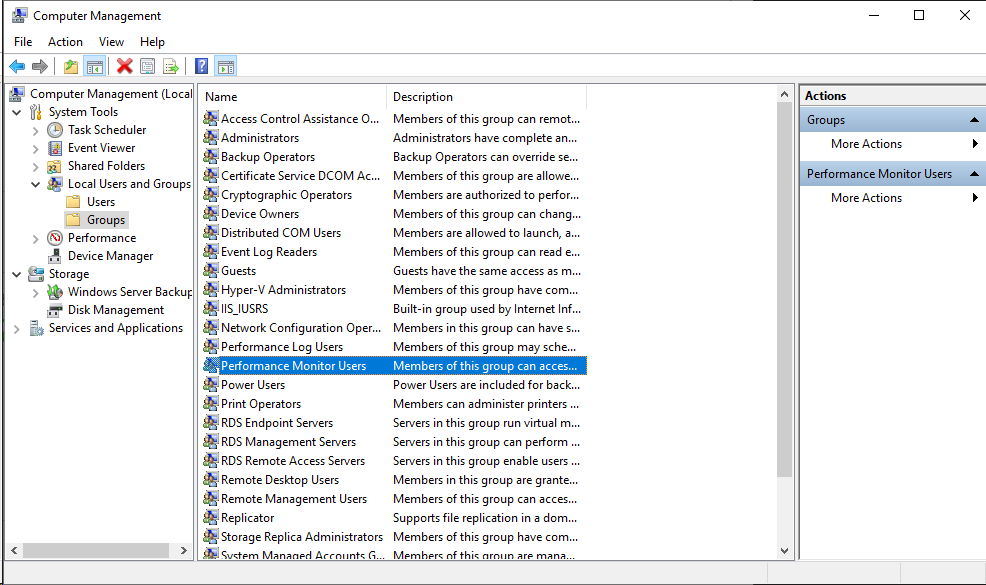 |
| Step 21 | A new window opens. Click on "Add..." 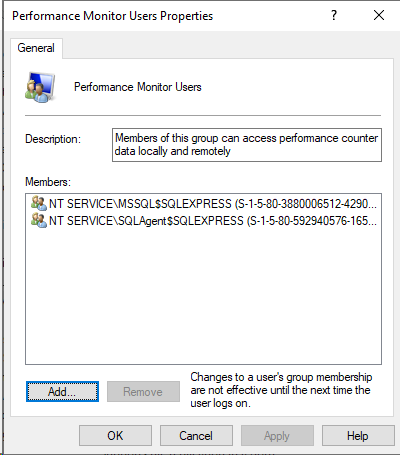 |
| Step 22 | A new window opens. Click on "Locations..." 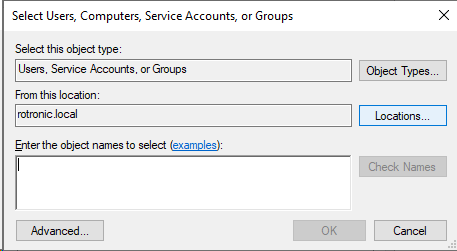 |
| Step 23 | A new window opens. Select the Server used for the installation. Click on "OK". 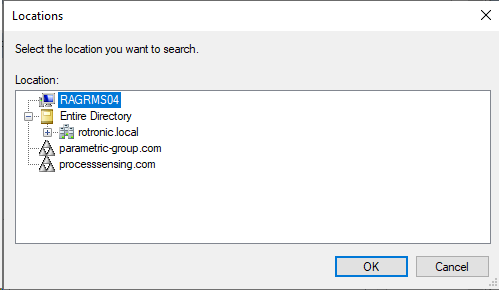 |
| Step 24 | When using the application pool .NET V4.5 add the following object name: iis apppool\.NET V4.5 Click on "Check Names". 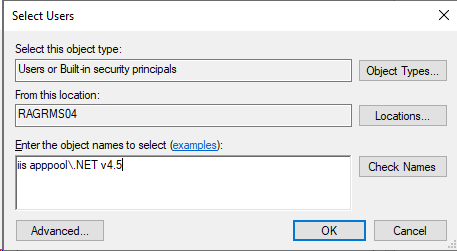 |
| Step 25 | Click on "OK". 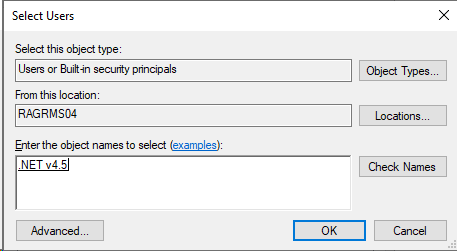 |
| Step 26 | The application pool is added to the performance monitor user list. Click on "OK". 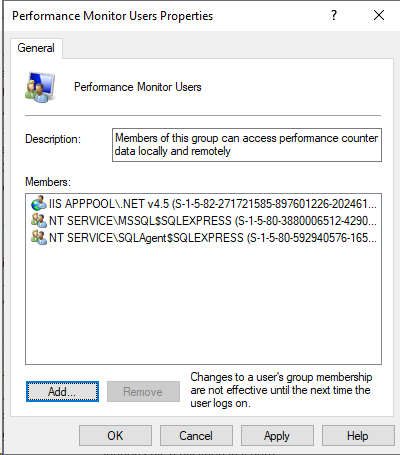 |
| Step 27 | Reset the server so that the changes take effect. Using the Windows search function open the Server Manager app. |
| Step 28 | Select the "Local Server" on the left side. 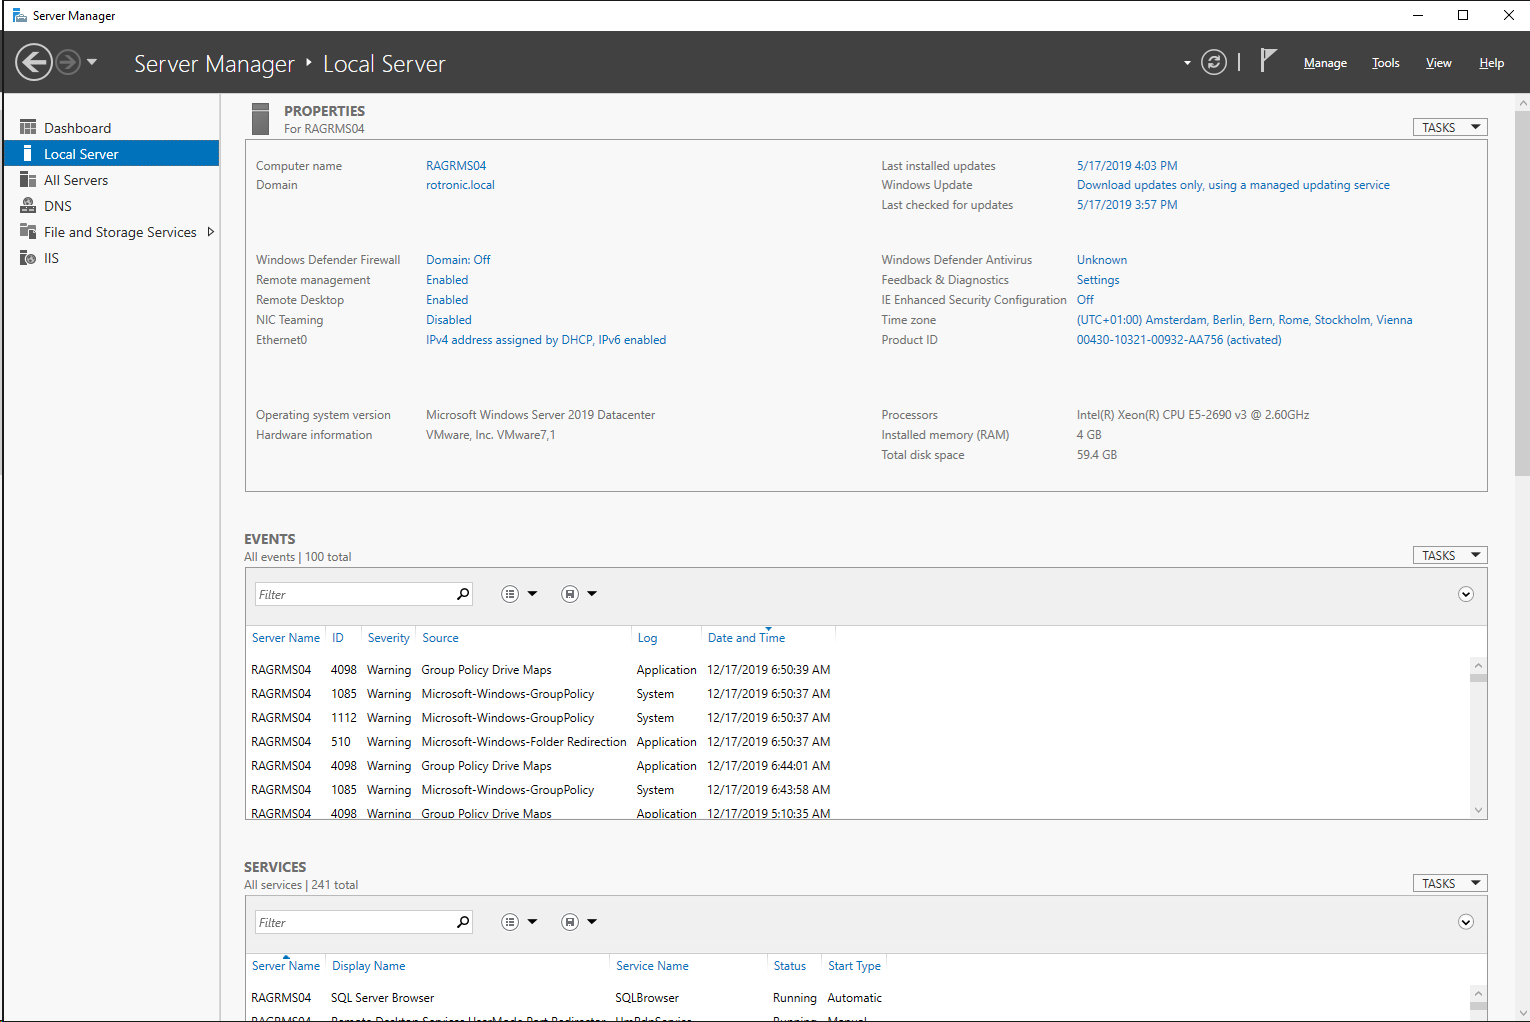 |
| Step 29 | Select "Tasks" and "Shut Down Local Server" on the right hand side. 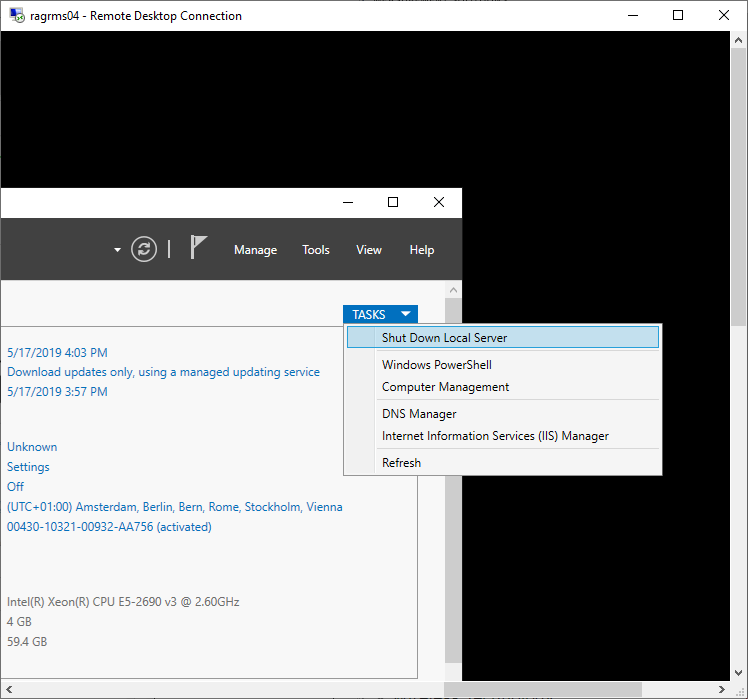 |
| Step 30 | A new window opens. 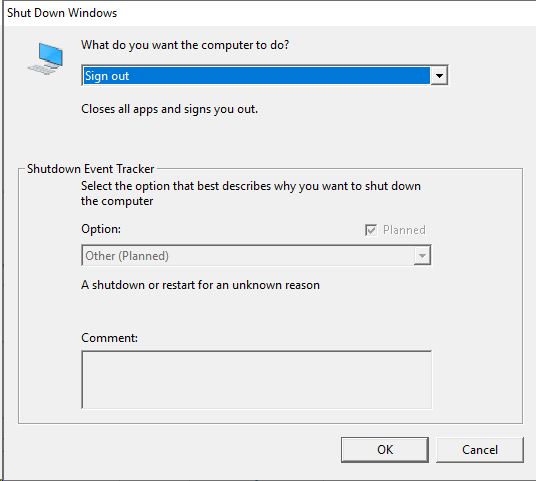 |
| Step 31 | WARNING: If the server is shut down, it physically needs to be started again. If a physical restart is not possible, select restart instead of shut down. Select "Shut down". Add a comment: RMS software installation. Click on "OK". 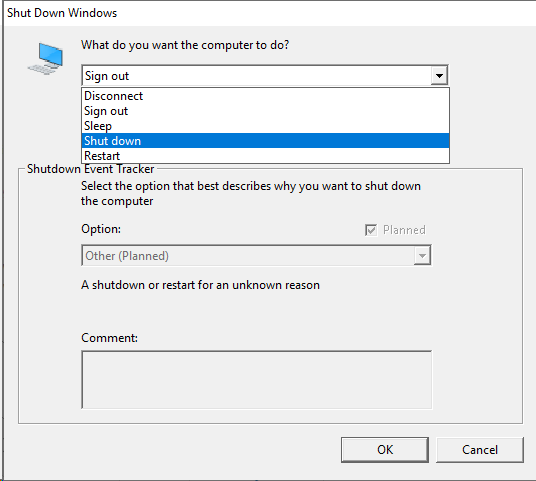 |
| Step 32 | Windows will prompt with a message. Click on "Yes". 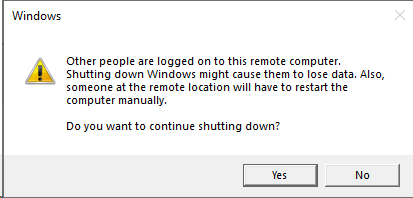 |
| Step 33 | For storage of uploaded documents in RMS, a file path must be created on the server for storage of these documents. The path can be selected at will. This folder path must be entered in the Documentation Path field in the RMS software under the system settings during the system Startup. Recommended: C:\inetpub\wwwroot\rms_files Open up the path C:\inetpub\wwwroot Right click "New" > "Folder". Name the new folder "rms_files". 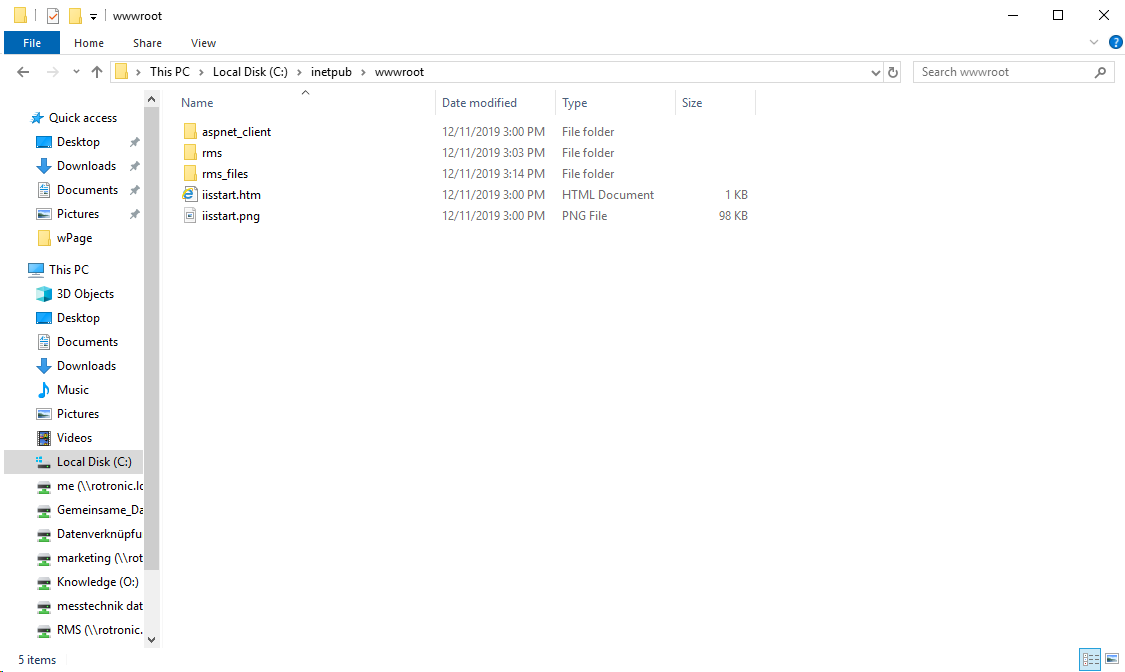 |
| Step 34 | It must be possible for the IIS web service to write to the folder (full access). To this end, right click on the folder and click on "Properties". 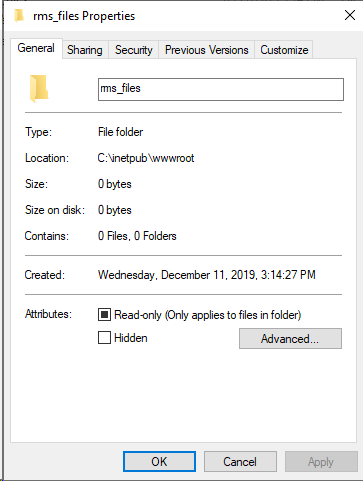 |
| Step 35 | Select the "Security" tab. Select the IIS user and ensure that the full control is given to the user. Click on "OK". 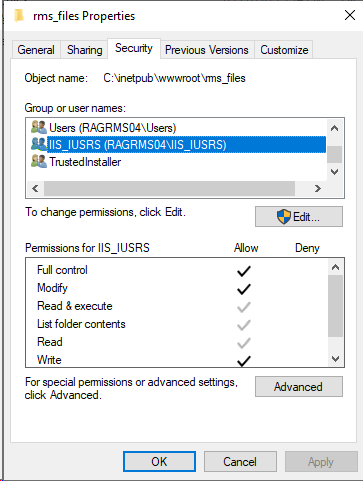 |